Automation: droids are here to help
Today we are going to check MacroDroid. This is again for you Android users out there. This solution converts your push notifications as they arrive into an email and sends it to your mailbox.

In my last post, I covered an automation solution using IFTTT. It can be used to convert the push notifications sent by your mobile banking app into records and send them into a spreadsheet on your Google Drive. From there, this transactional data can be easily copied and pasted into your tracking tool.
Today, I'm going to show you a second option. We are going to check MacroDroid. This is again for you Android users out there. It takes it a step further and converts these push notifications as they happen into an email and sends it to your mailbox. From there, the steps are similar. You can just copy and paste these transactional details into your tracking tool. It's quite reliable, easy to set up, and free.
I am using both tools in combination, which gives me a pretty stable day-to-day basis to track my finances. I have an automatically filled spreadsheet on my Google Drive and email notifications arriving in my mailbox as they happen.
Install MacroDroid on your Android device. Please search for MacroDroid; this is the application that we are going to use. Again, I'm not affiliated with the company or the developer of this application, I just quite like that it's very simple to use, reliable, and it just works.
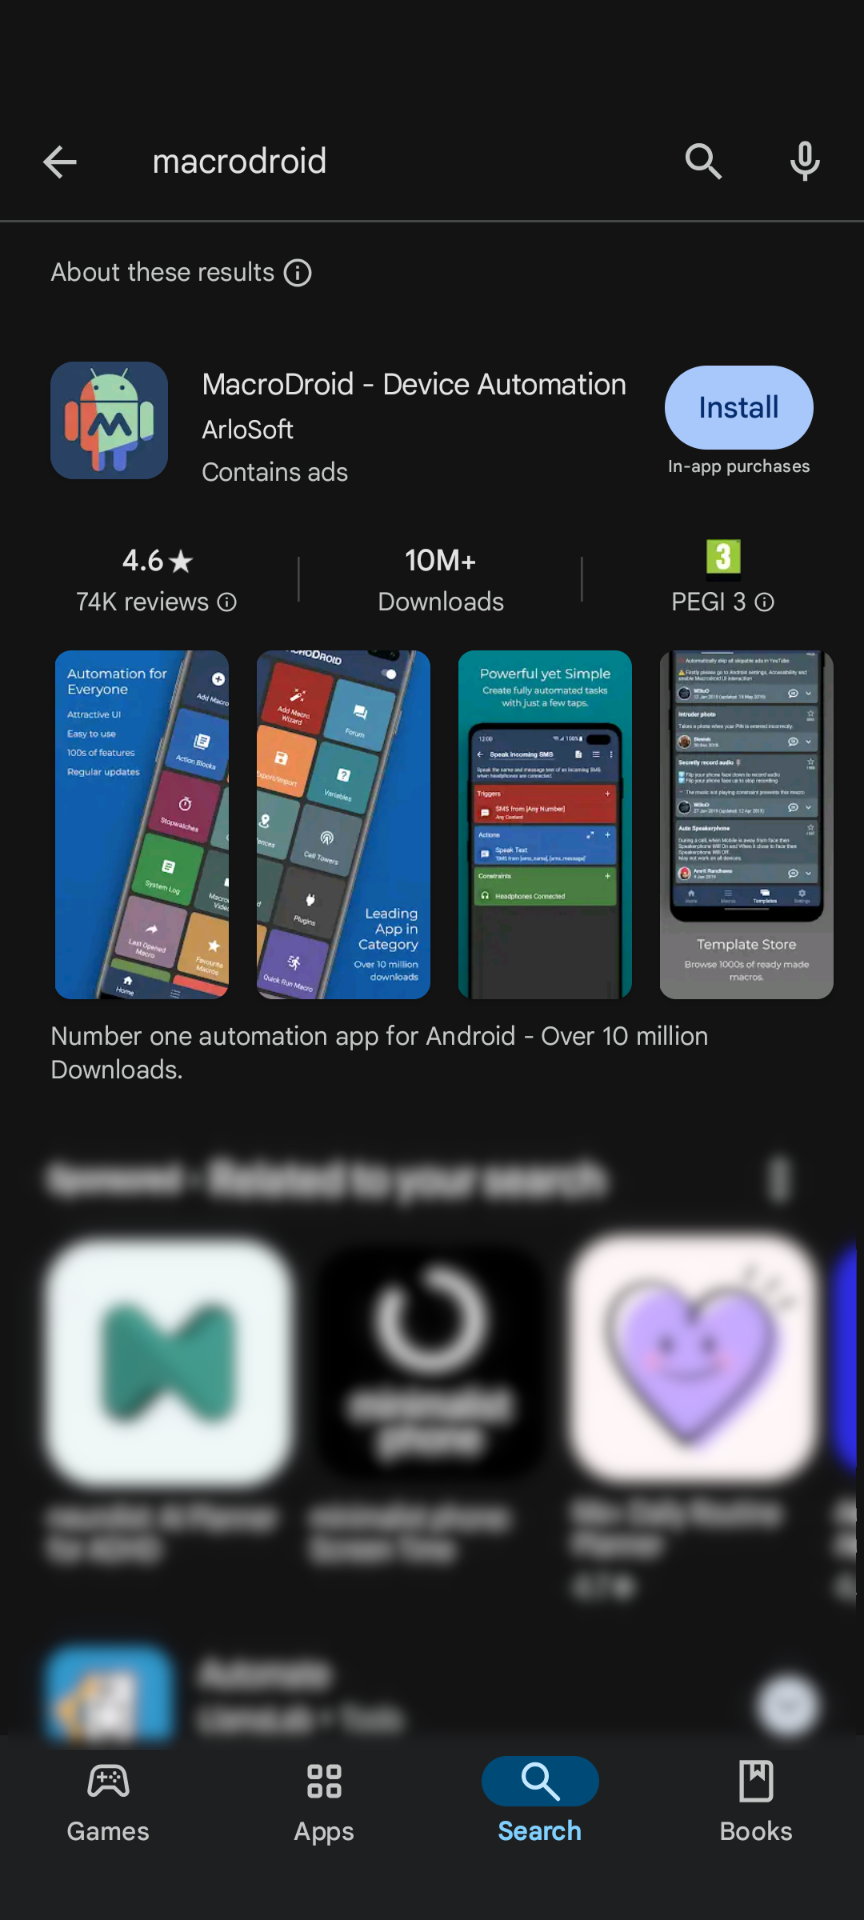
Once installed, please open it.
This is the welcome screen if you are launching it for the first time. The welcome screen explains what MacroDroid does and also explains the three most important fundamental concepts of the whole automation process. MacroDroid makes life easier or simpler by offering automation capabilities.
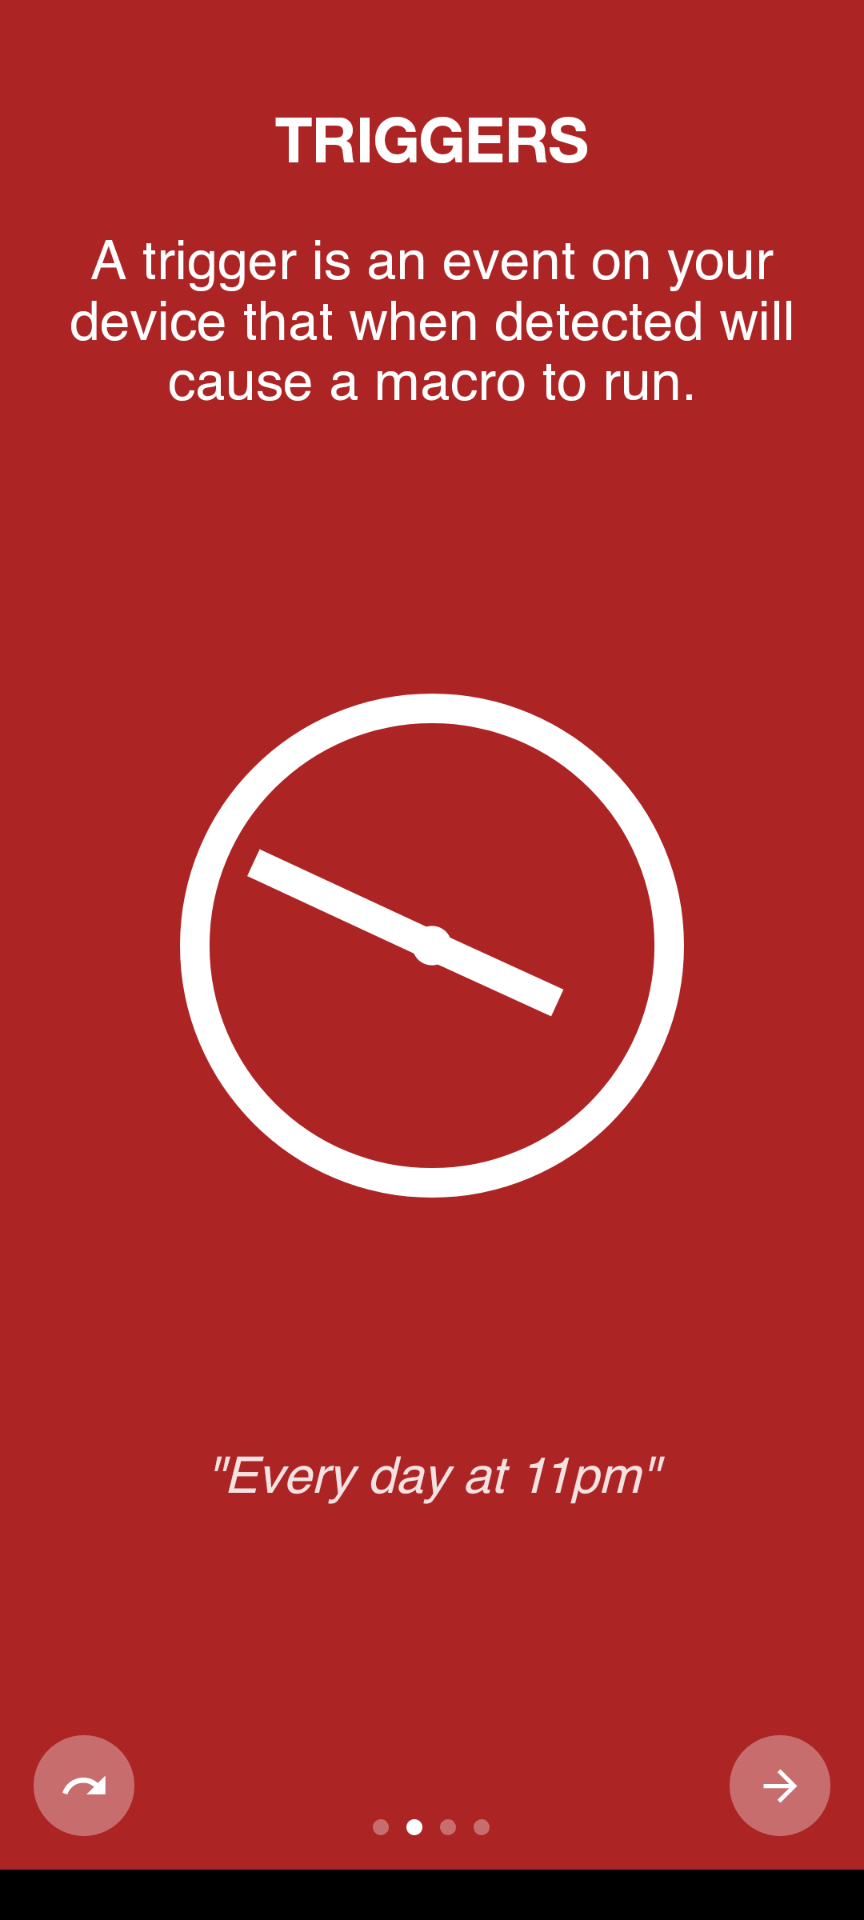
The very first concept it explains is a trigger, which is essentially an event that occurs on your mobile device, and MacroDroid is able to detect this event.
An action occurs after a certain event, which brings us to the second concept, probably the simplest one of the three.
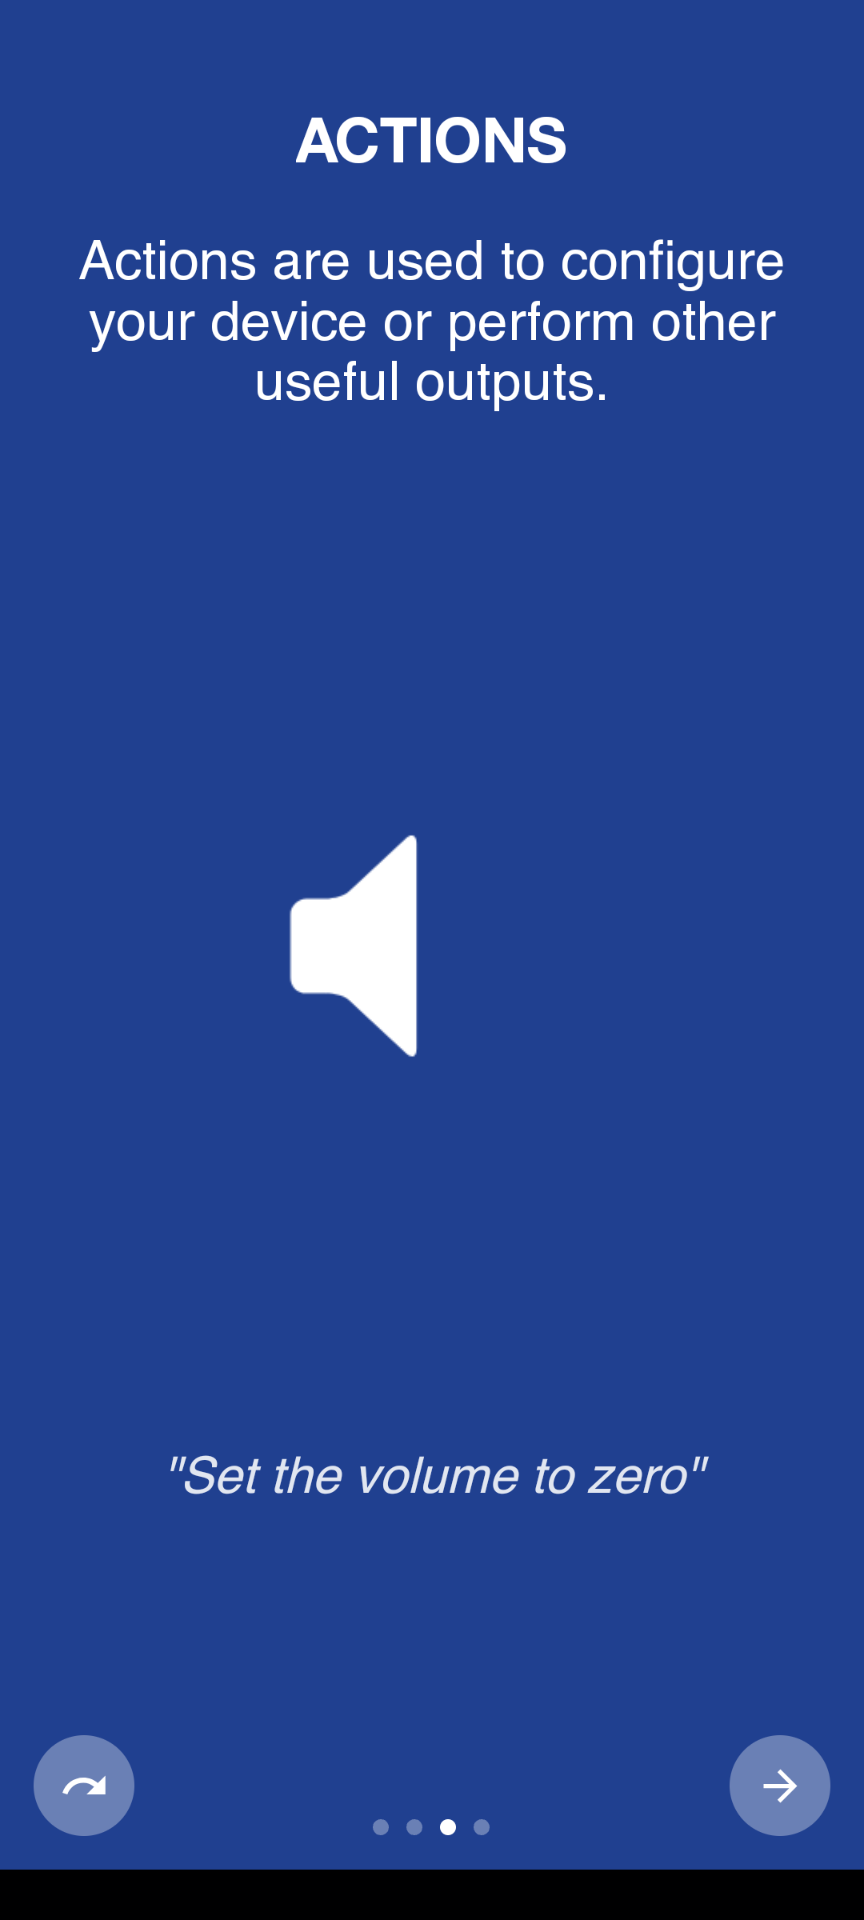
An action is nothing more than a useful step in the automation process. Once a trigger is detected by MacroDroid—which reminds me to mention that MacroDroid needs to always run in the background on your mobile device—the action is executed.
Lastly, the third concept is a constraint.
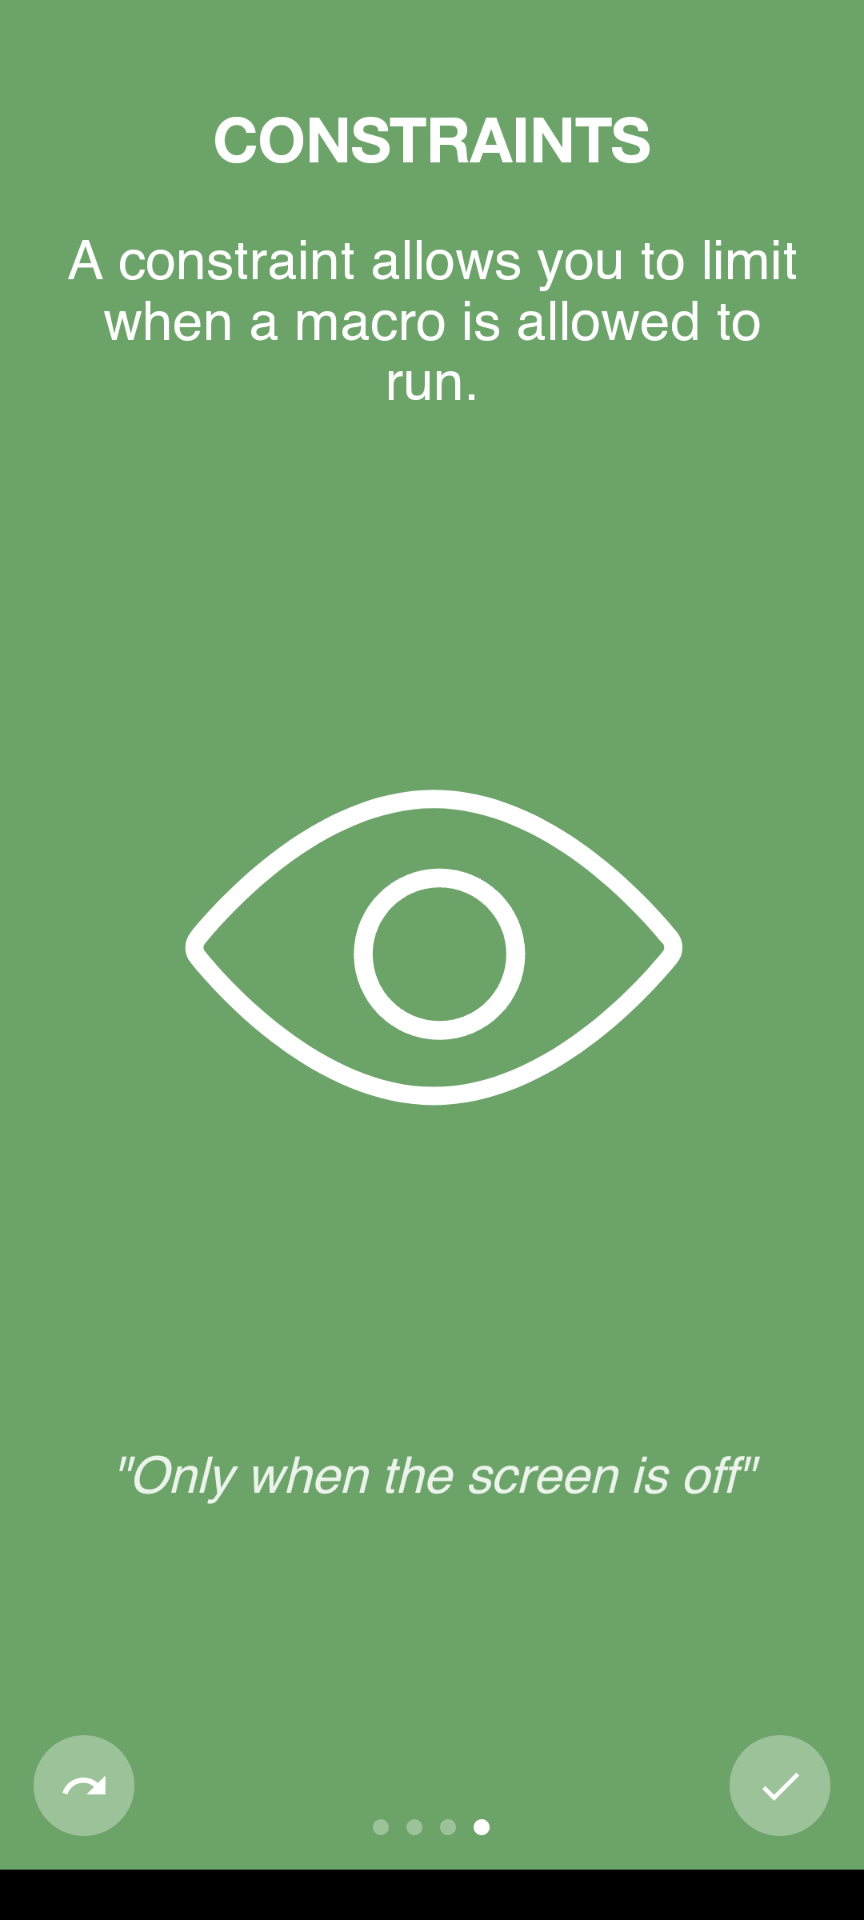
We are not actually going to use it for our example today, but a constraint means that based on a certain trigger, an action should only run under specific circumstances. In simple terms, that's what a constraint is.
If you are launching MacroDroid for the first time, it will ask for some permissions. One is to be able to send you notifications, so please allow it because it will be useful in the future.
Next: the main screen of MacroDroid.
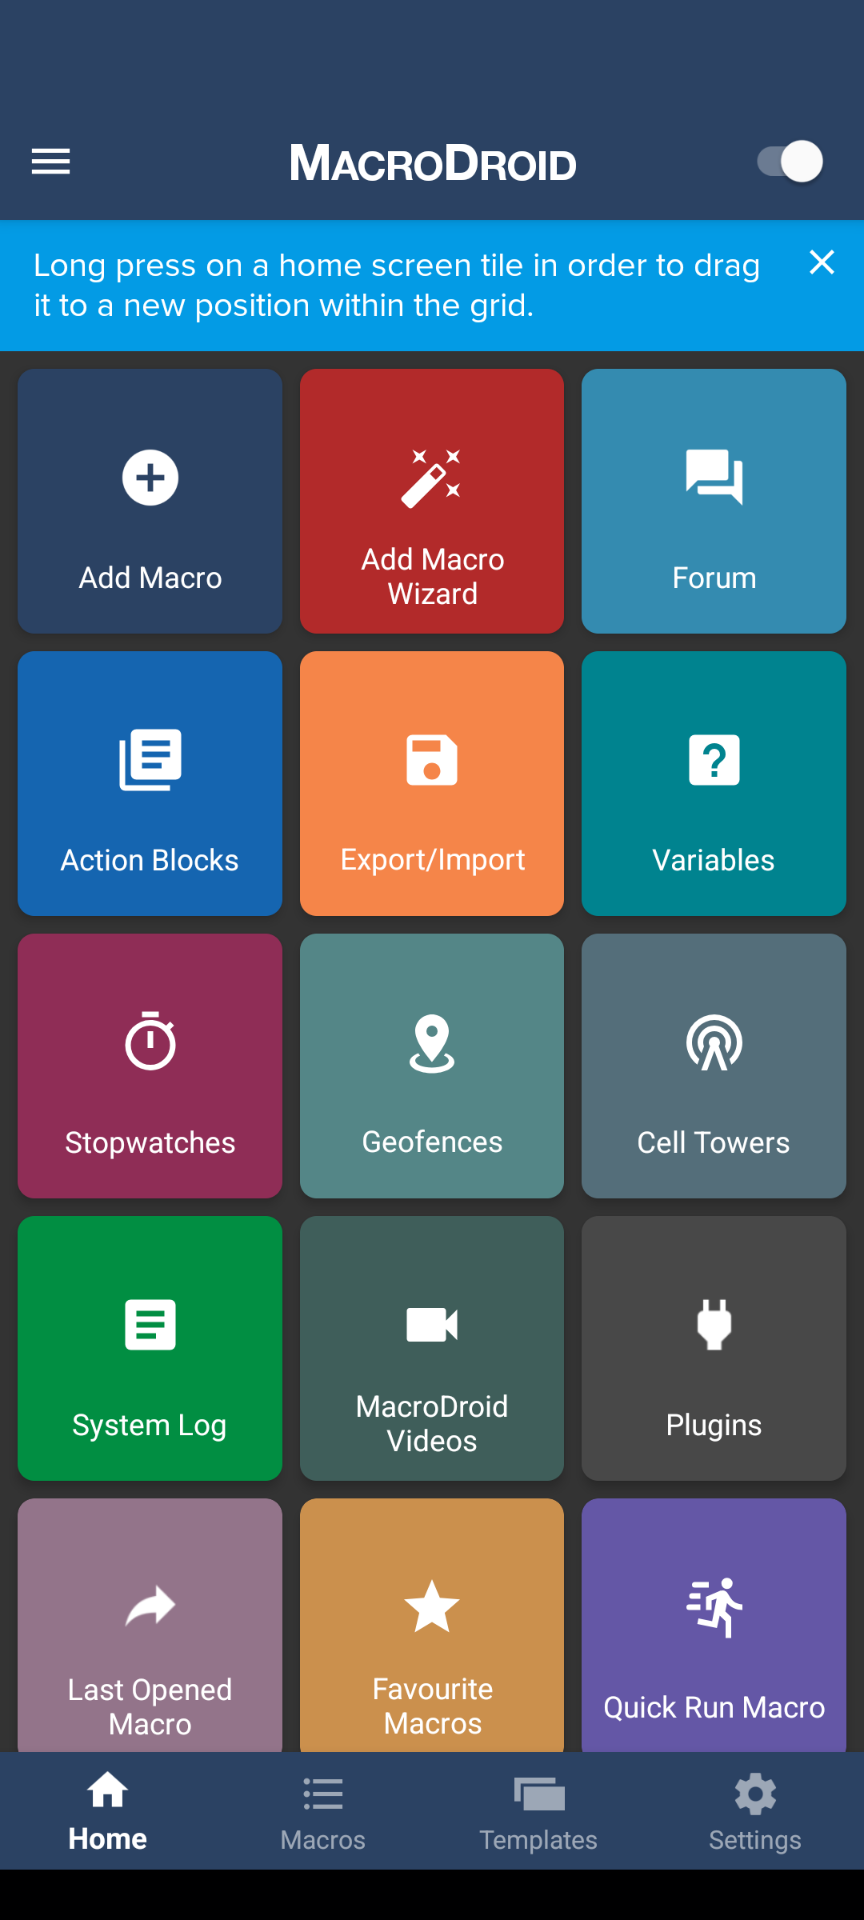
At first, it may seem super complicated because it is a complex piece of software offering many capabilities. But don't worry, we are just going to build a very basic automation, which is called a macro with this tool.
Touch on the macros icon, the second from the left, in the bottom row.
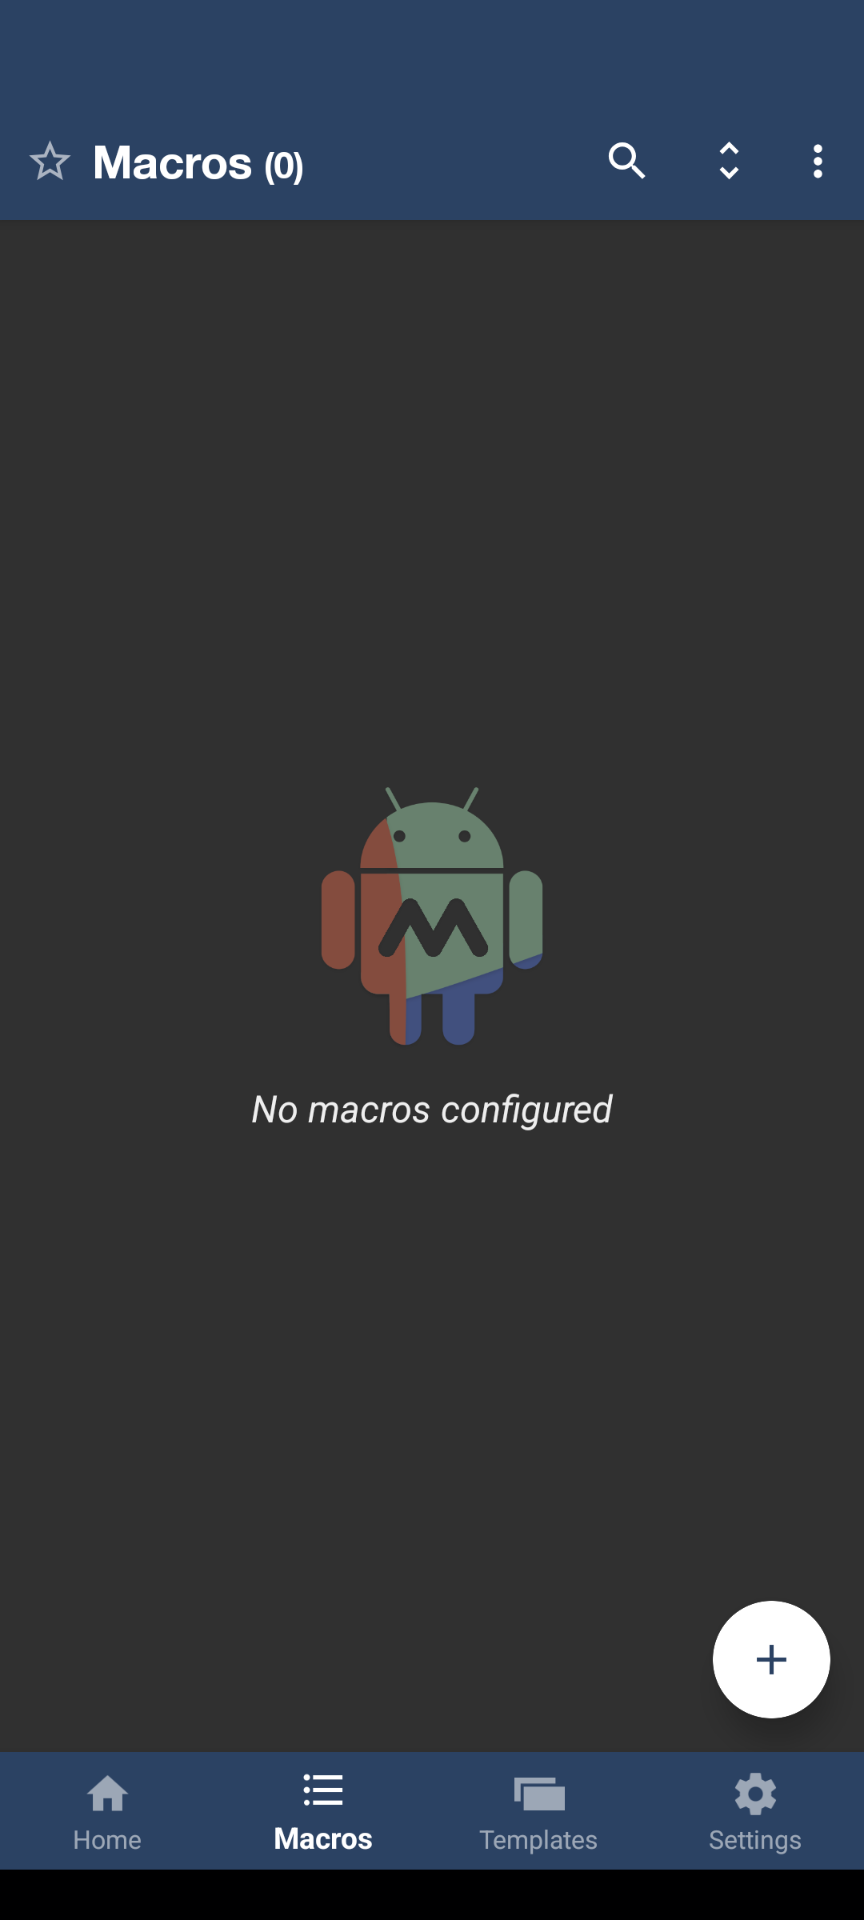
Since we don't have anything yet, it clearly indicates that we are a blank slate with no macros created so far. Let's click on the plus sign, and a very simple, streamlined user interface pops up.
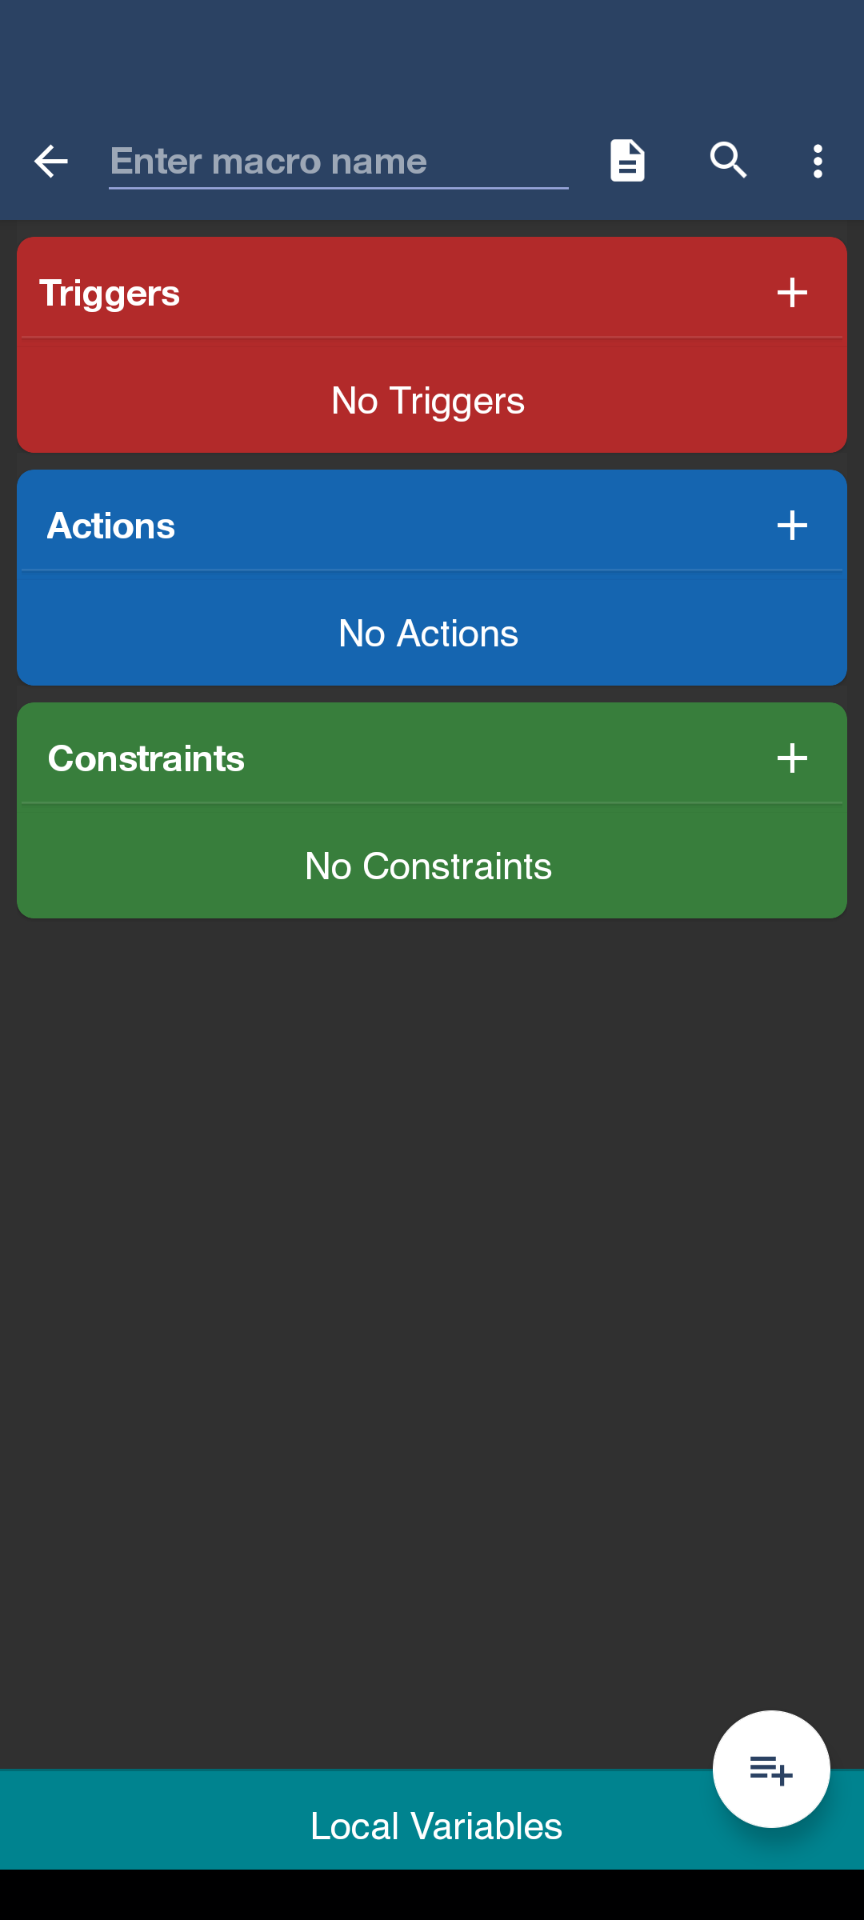
It explains that we need to define at least two of the three steps in a certain macro. Again, a macro equals a certain automation that helps us in our daily lives. Let's click on the trigger.
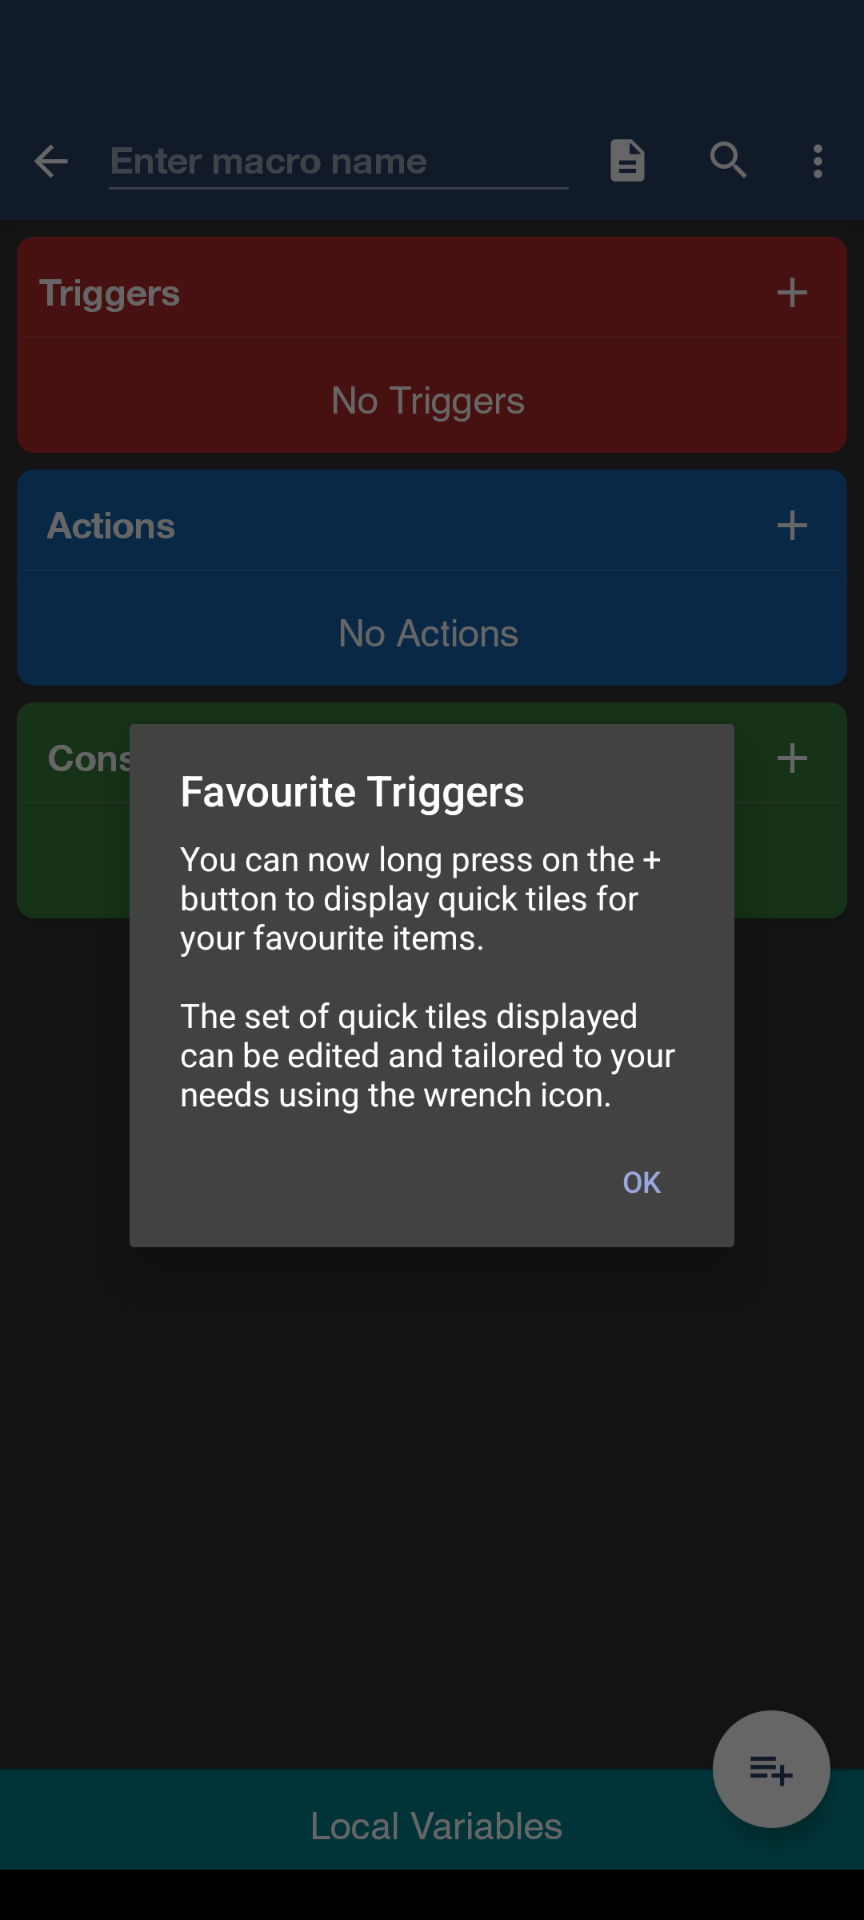
In our case, the trigger will be a notification that comes from a certain application. For the first time, it indicates that if you have favorite triggers, they can be launched in a much more streamlined way. But let's just hit okay. Once again, for the first time, it explains what the trigger is.
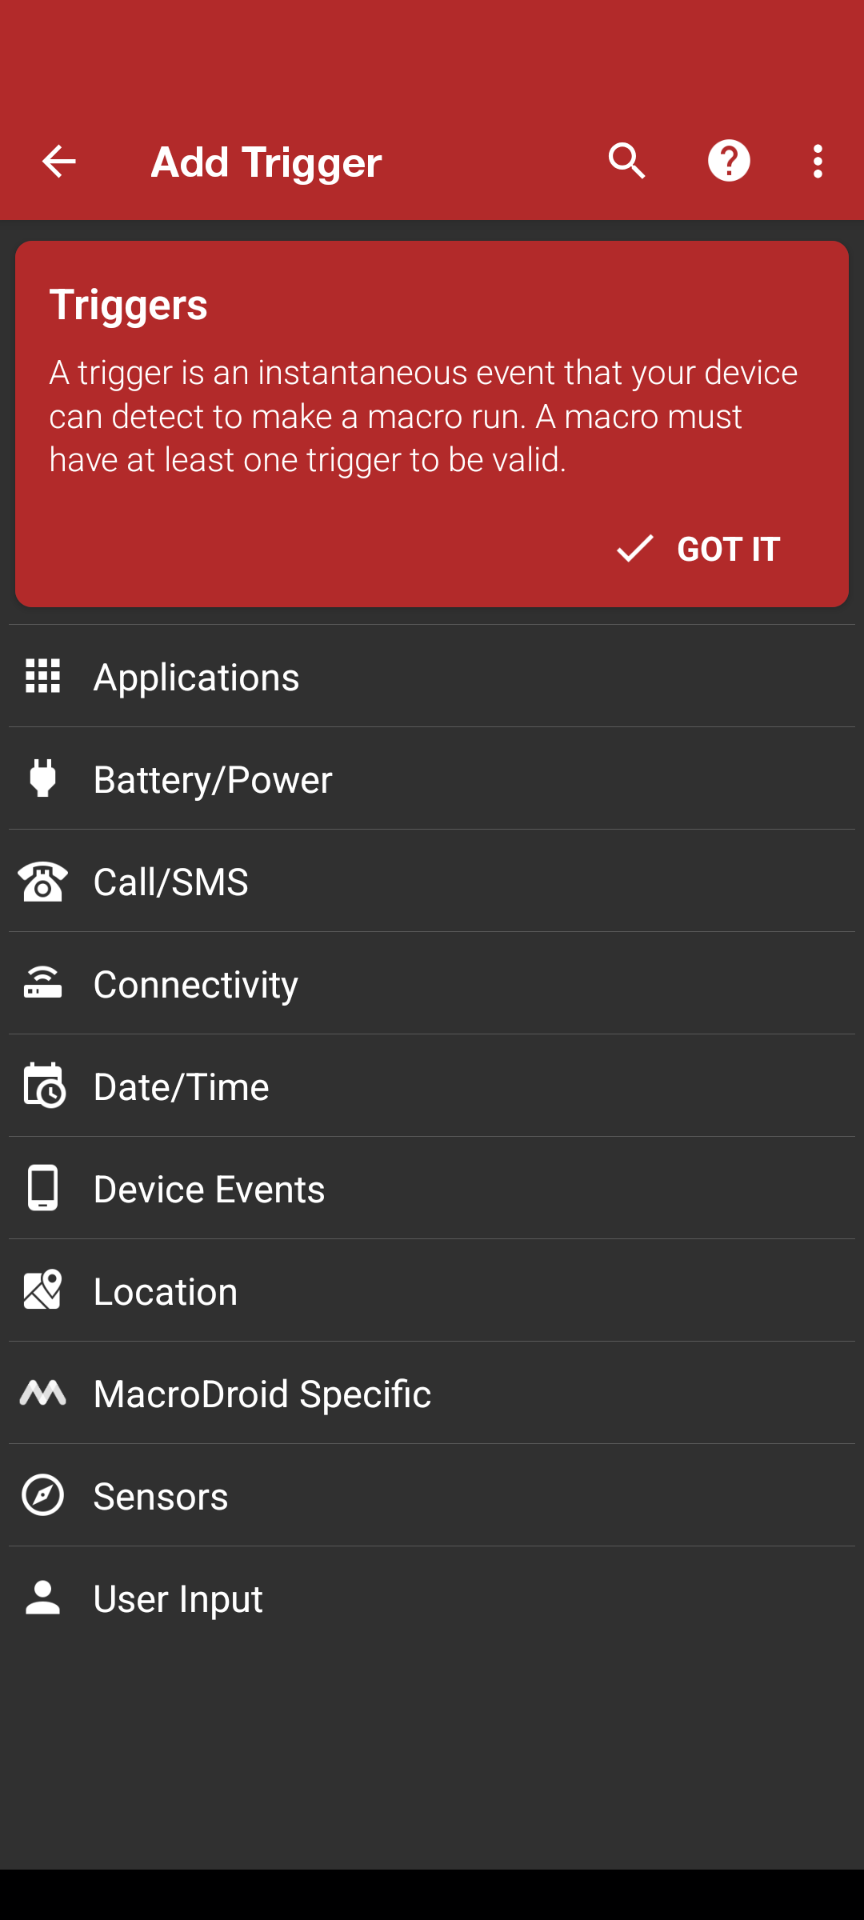
We already know what it is, so let's move on to device events. A notification is a device event, but as you can see here, there are lots and lots of events that can be utilised. This is golden! For our purpose, let's find notifications.
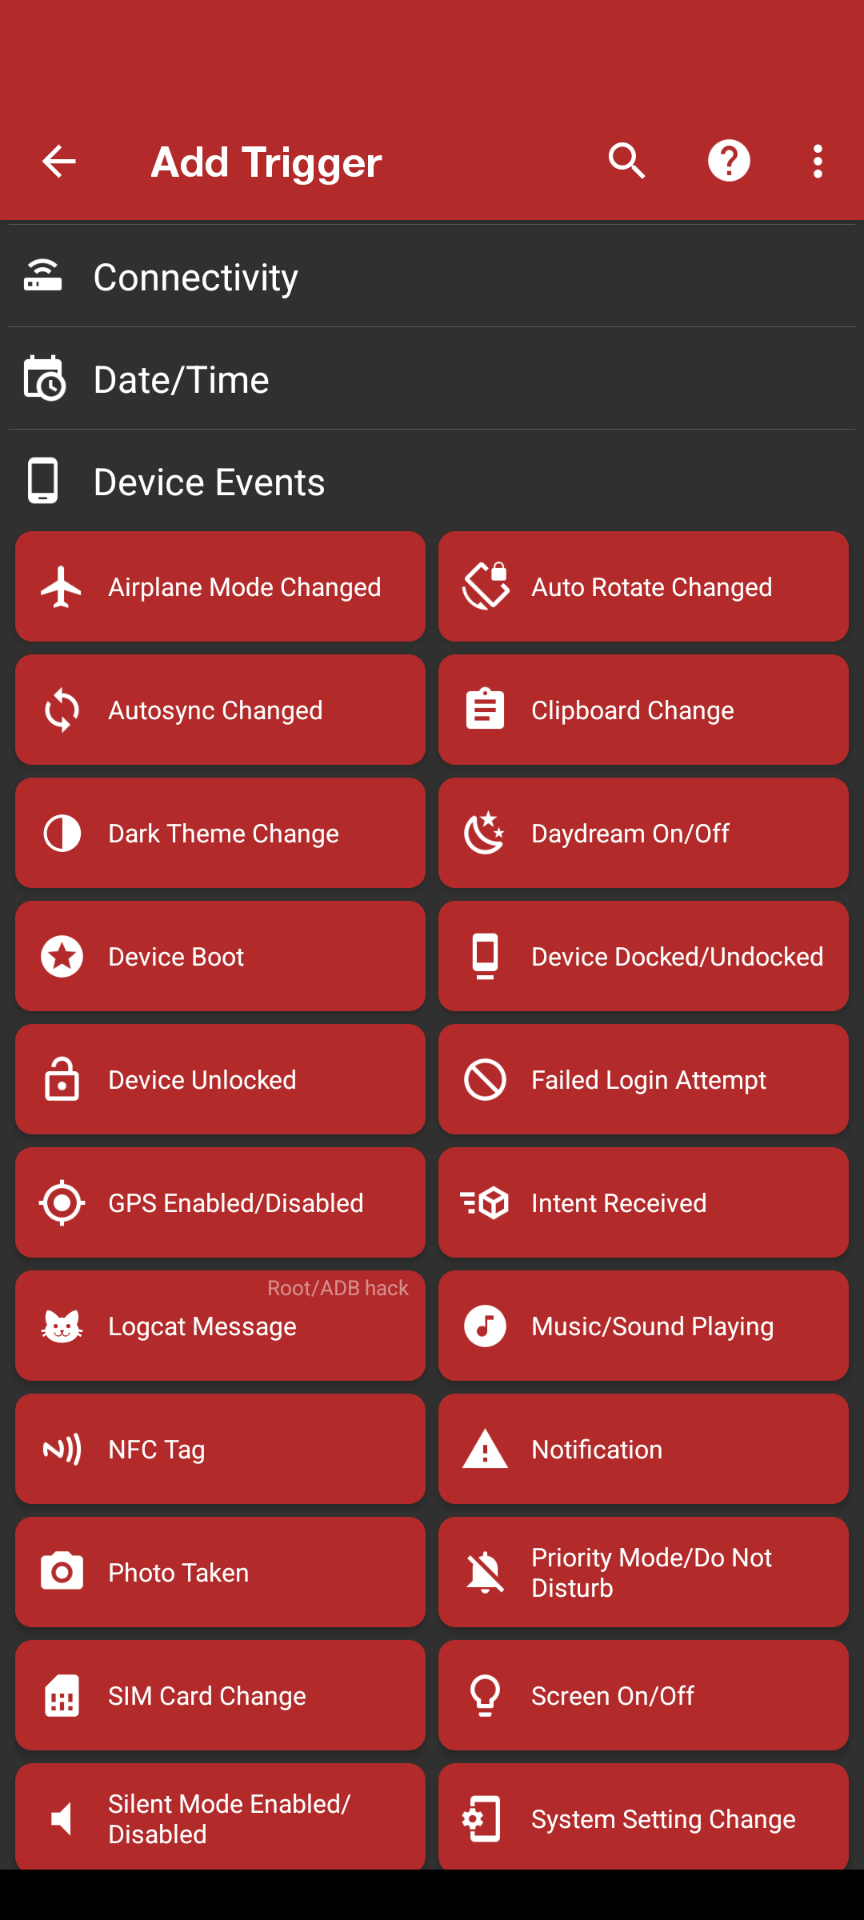
Yes, MacroDroid requires access to notifications, so we have to accept it.
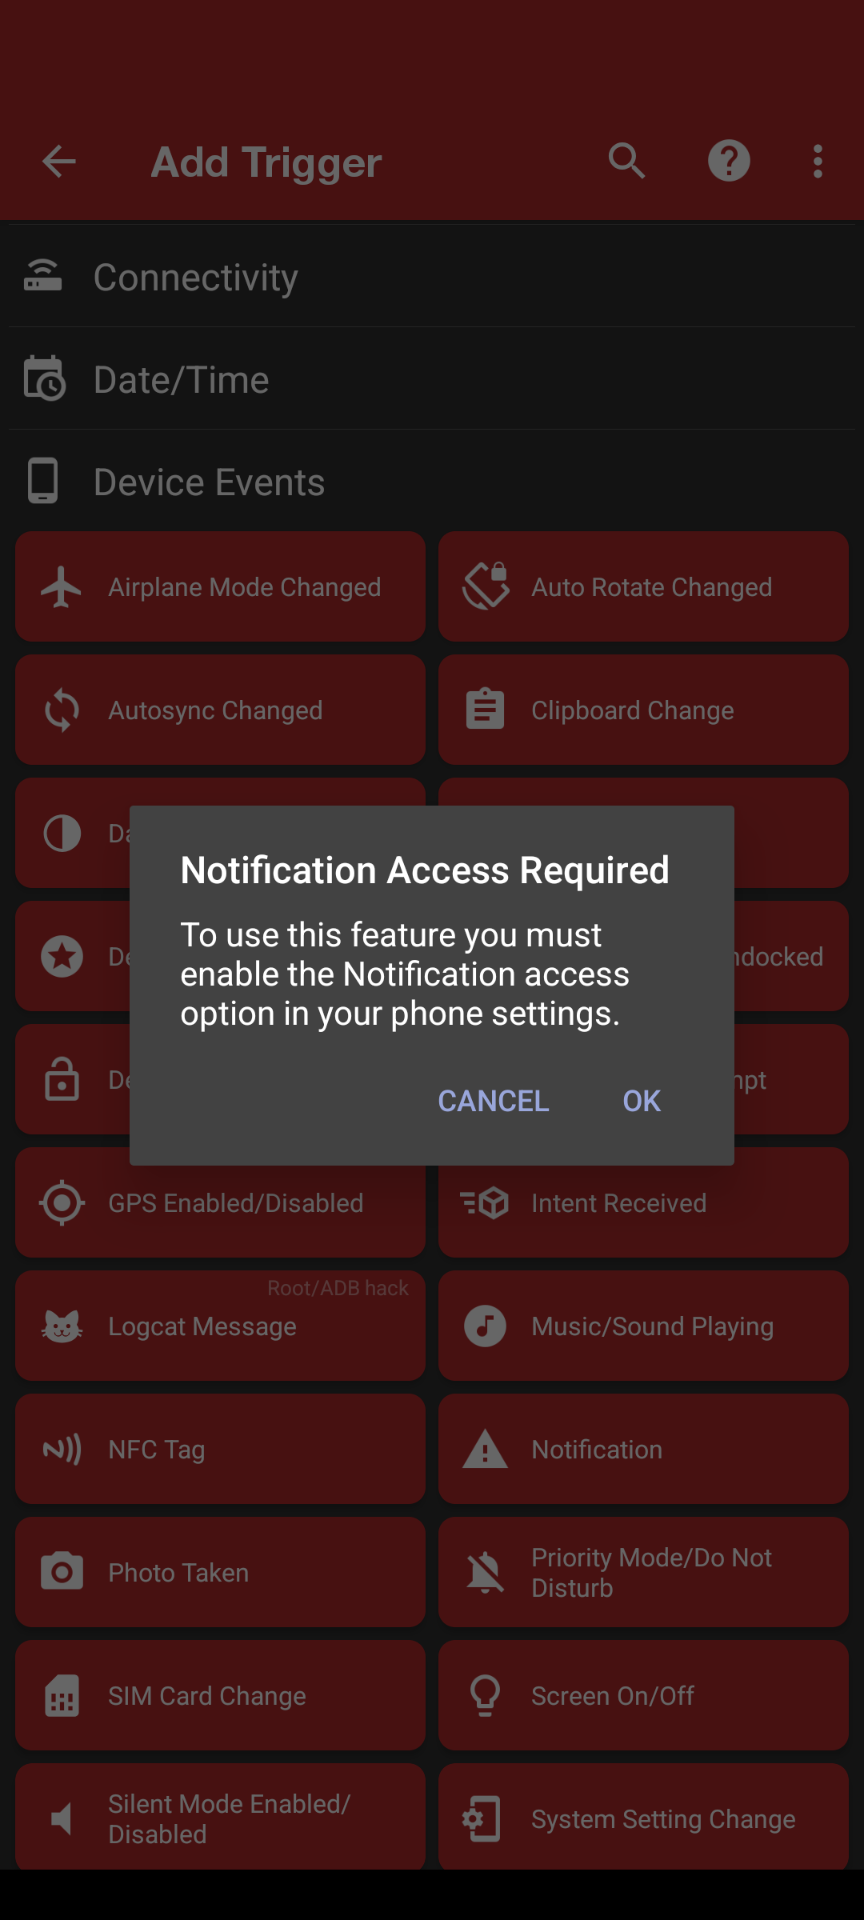
This takes us to our Android device settings, where you have to enable it. In order to do that, you have to allow certain permissions for MacroDroid.
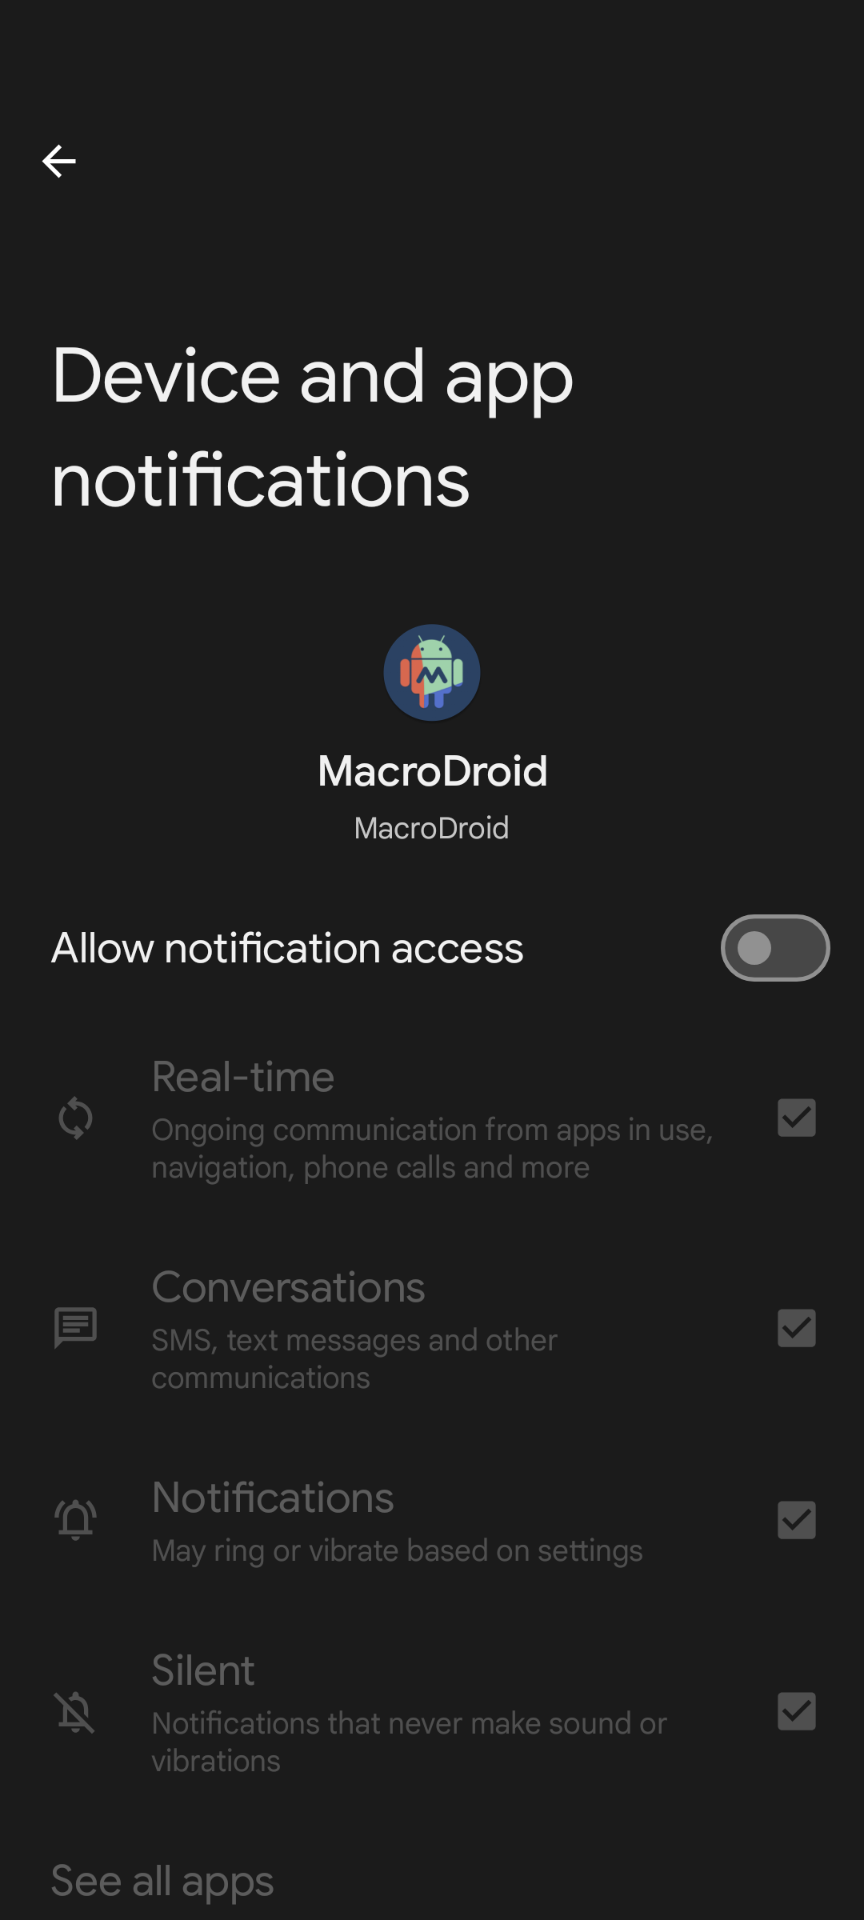
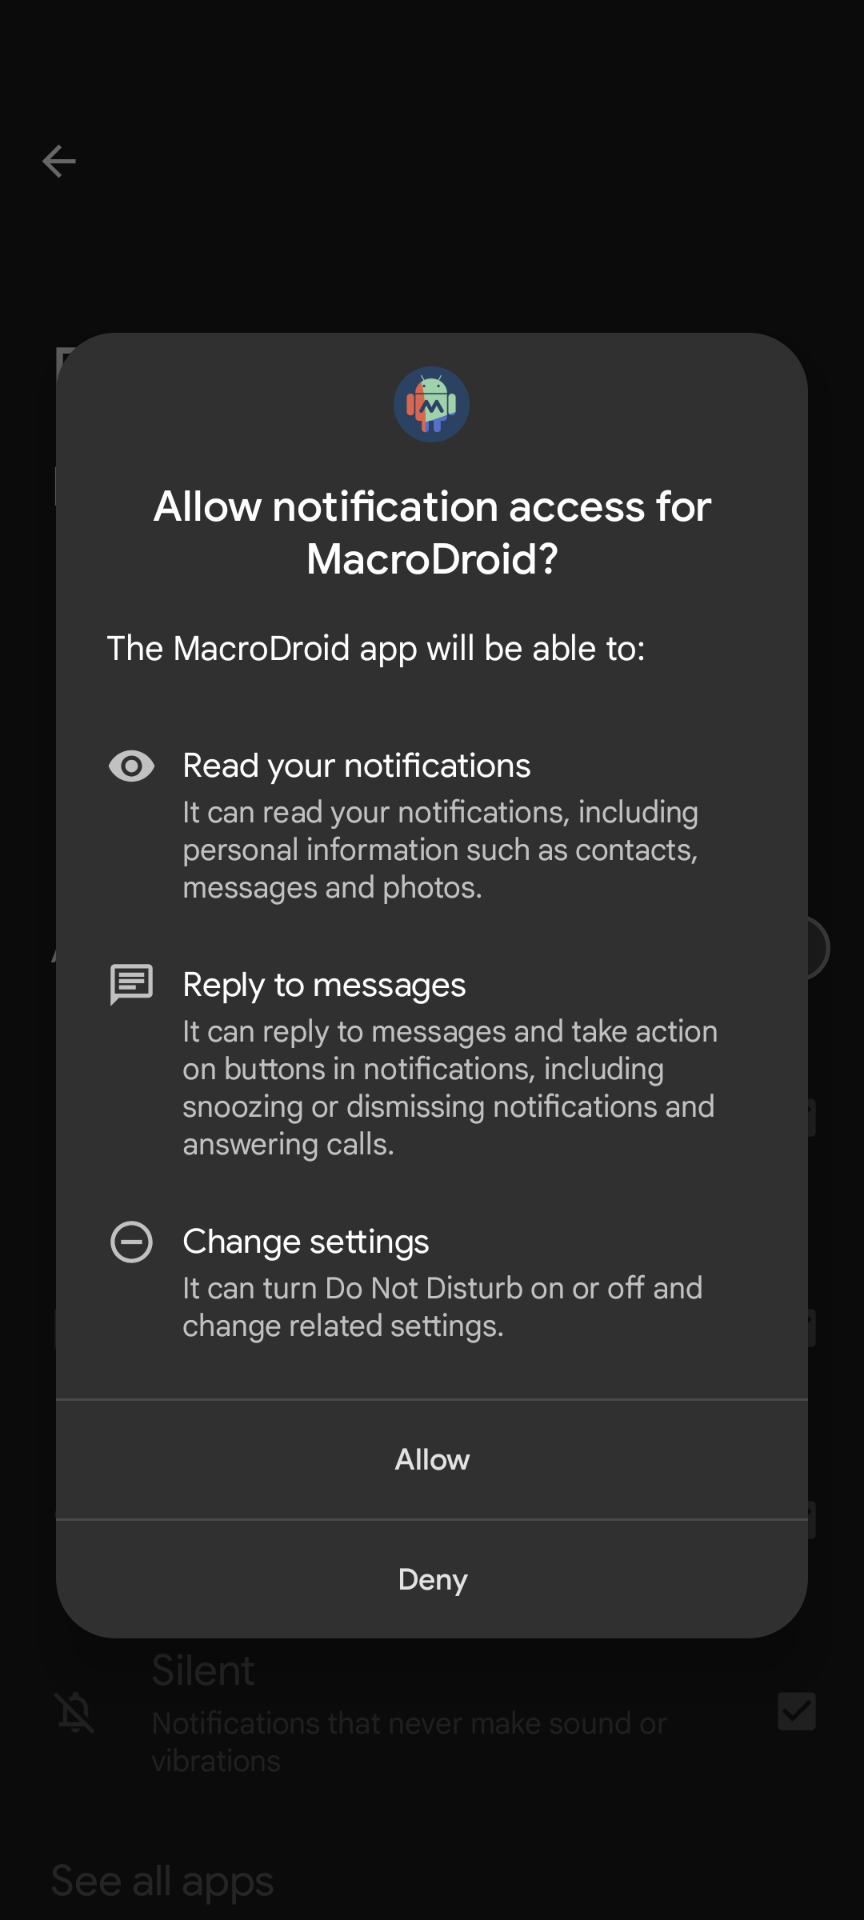
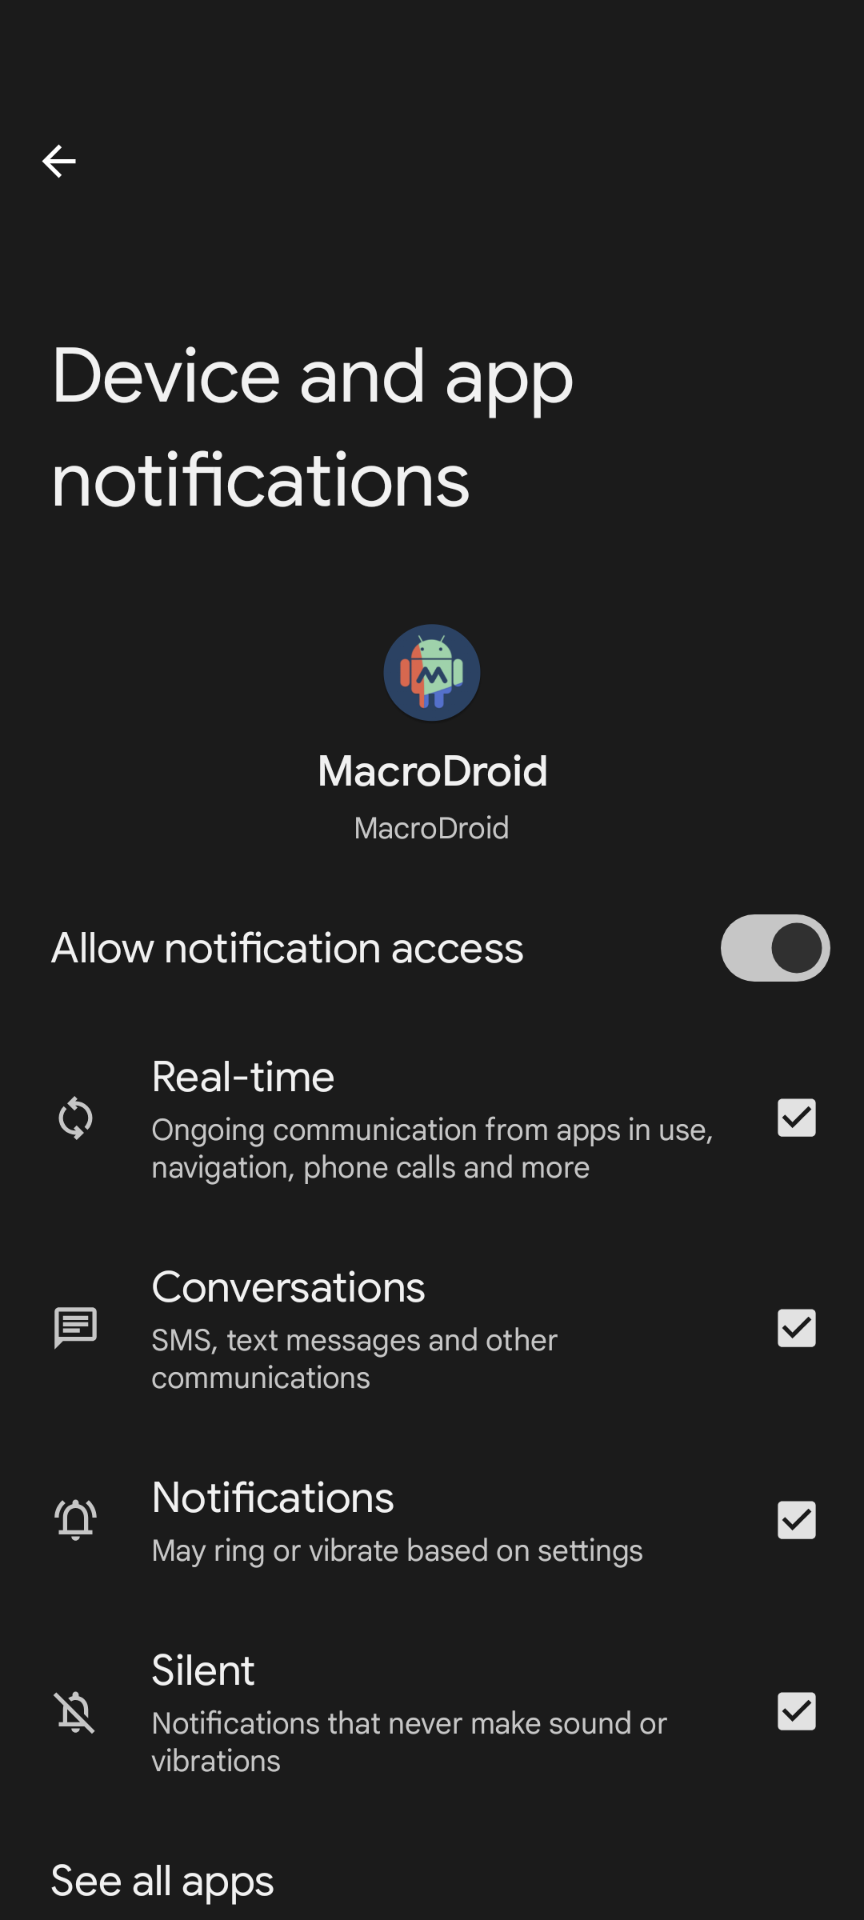
Once the little switch is turned on, we can go back to the MacroDroid application.
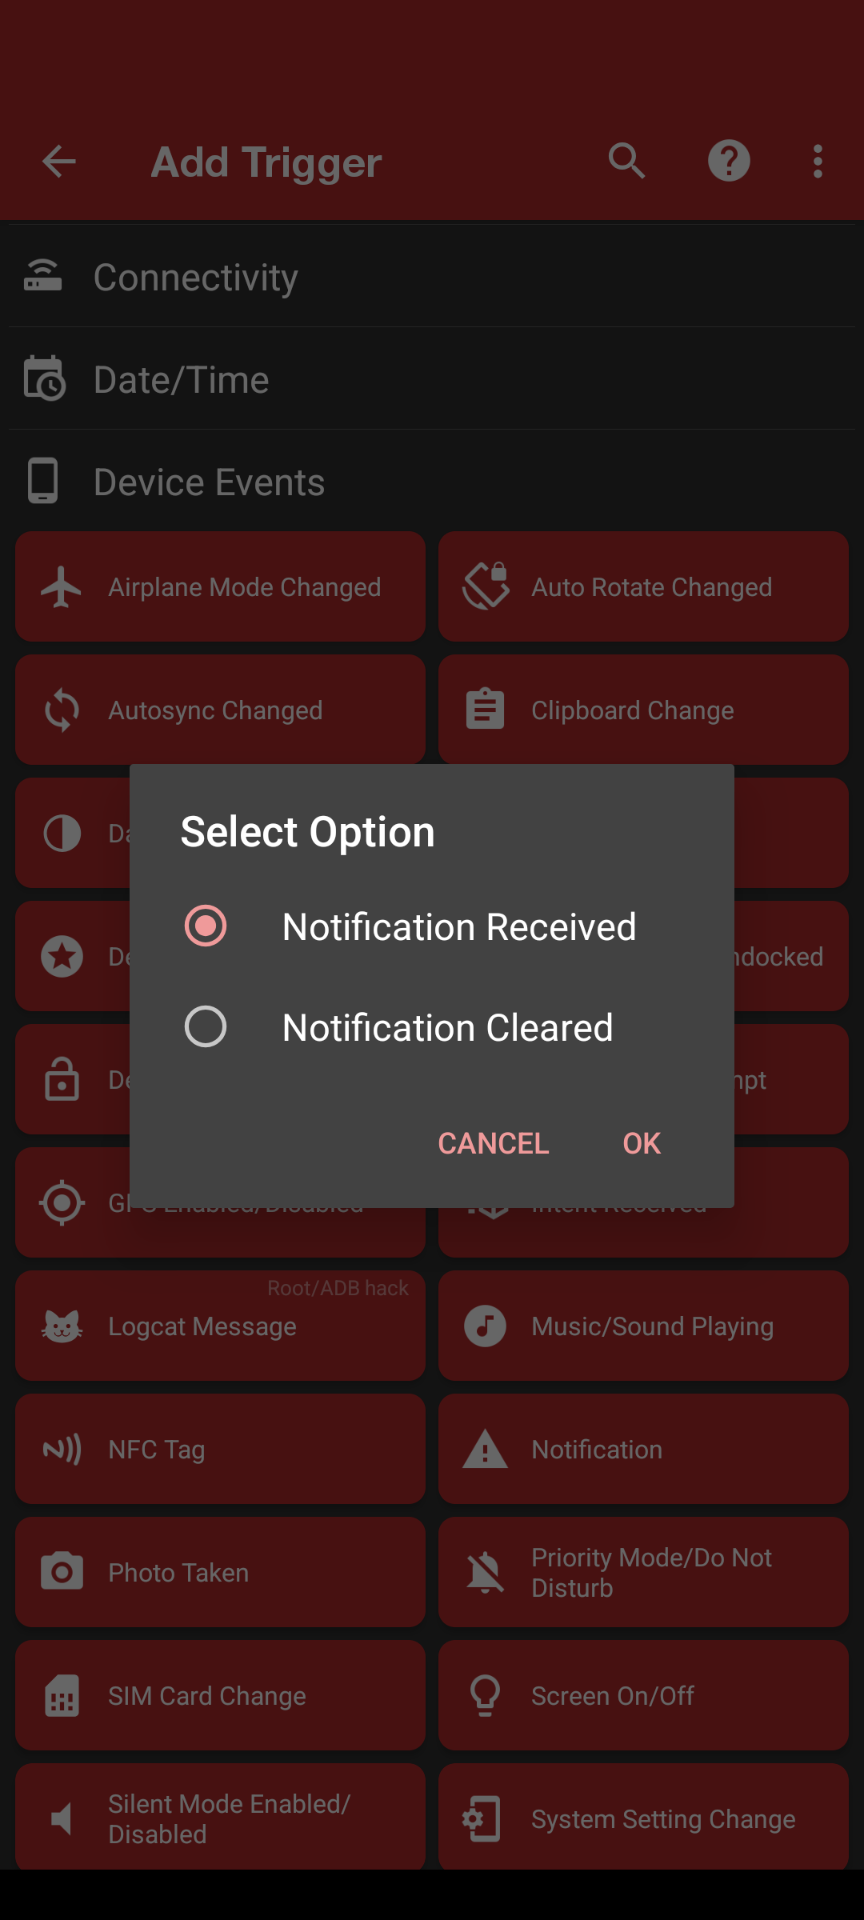
Here is the interesting part: this whole process begins here. It asks you, "Okay, you said notifications, but when exactly should this trigger be recognised?" Is it when a notification is received, when you dismiss a notification, or when you clear a notification? In our case, the trigger should be when a notification is received.
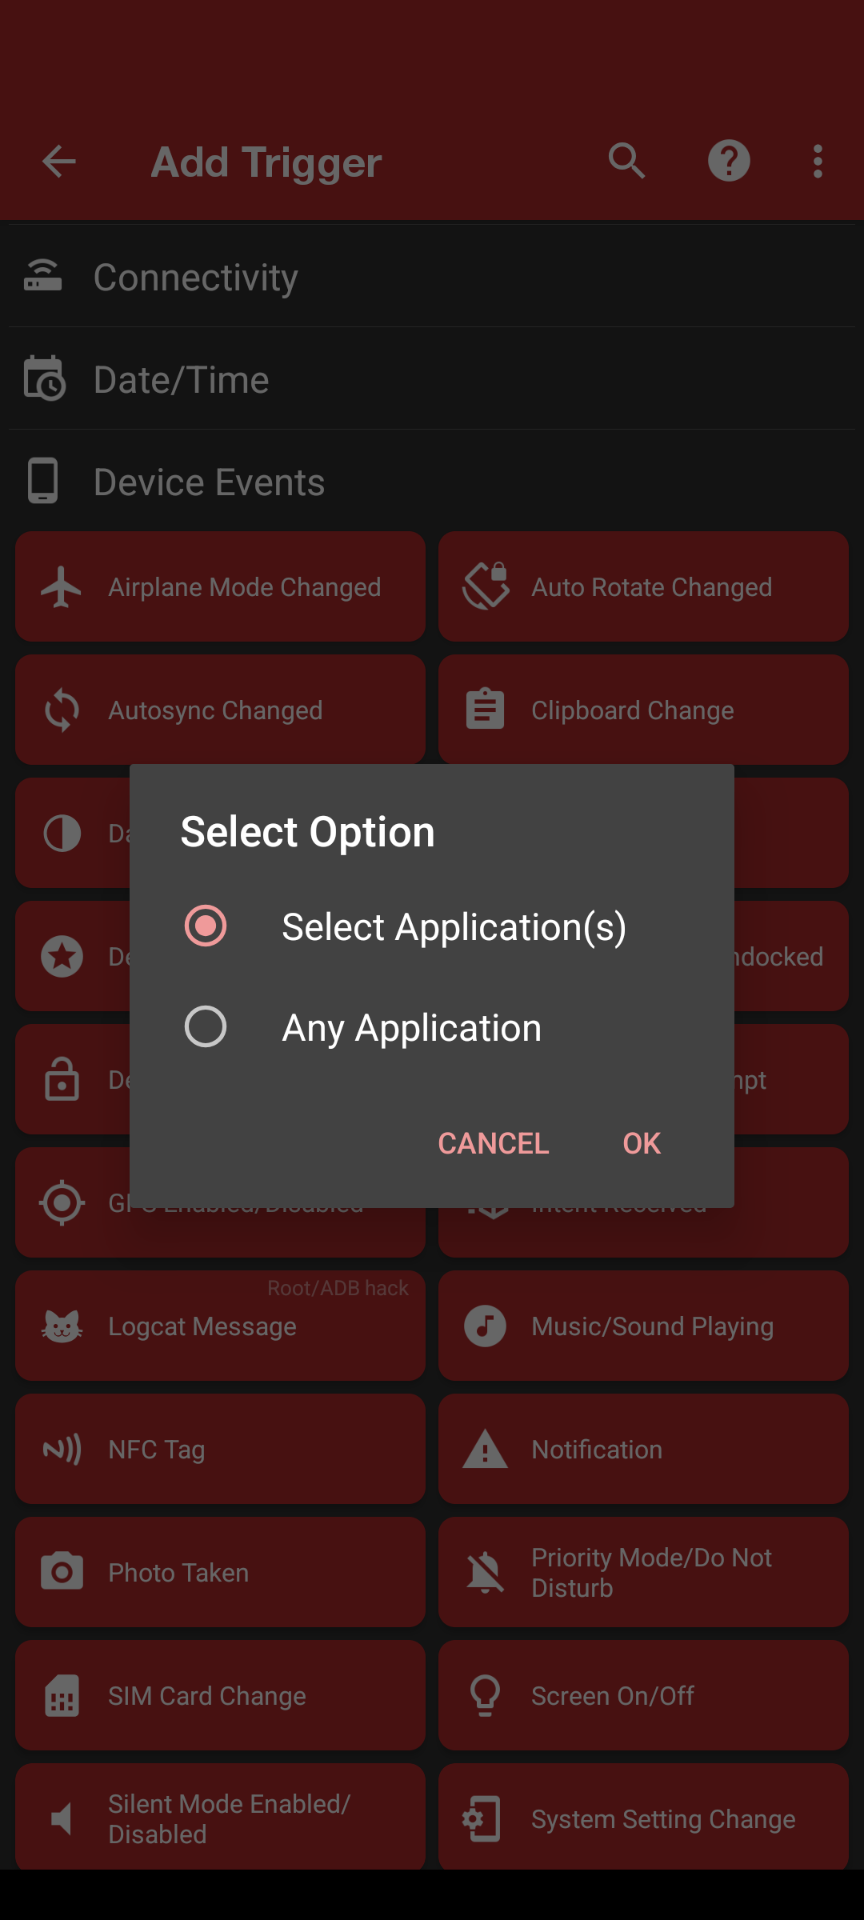
Very smartly, it says, "Okay, but please select the application or applications that can be used for this triggering step." In my example case, I searched for Revolut.
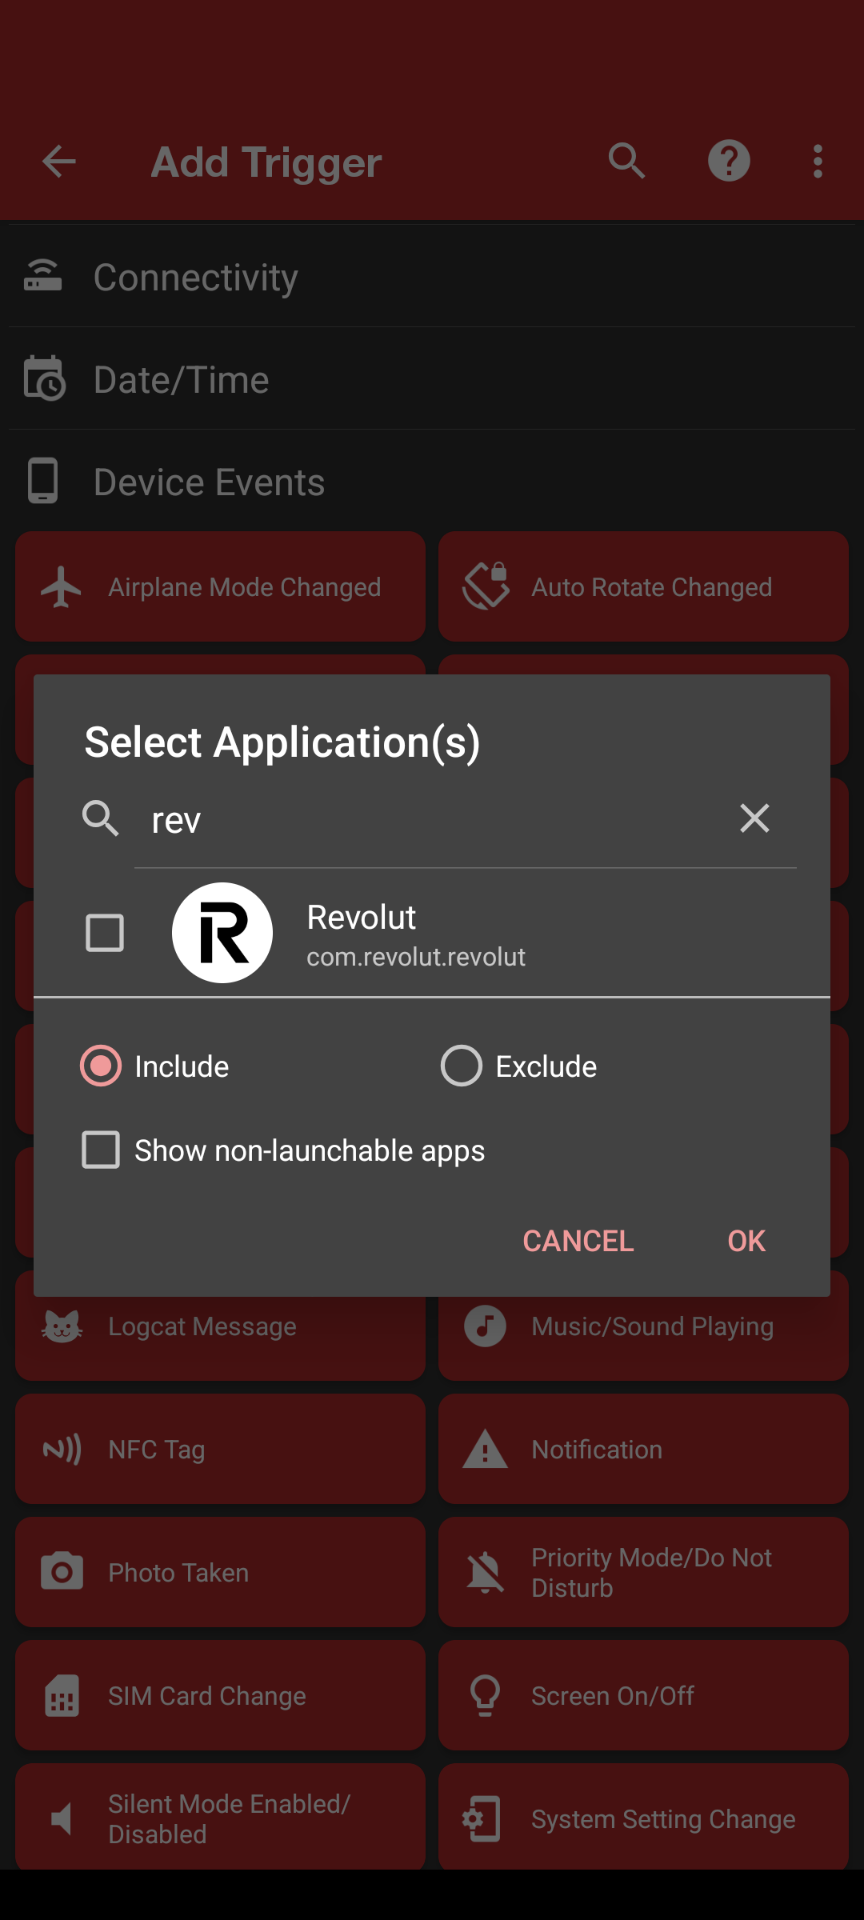
I simply typed in "rev" and then checked the box next to Revolut.
The next one is a very interesting screen because here you can specify very specific message patterns that you would like to be used as a trigger. In our case, let's leave everything as is, so you don't have to change anything here.
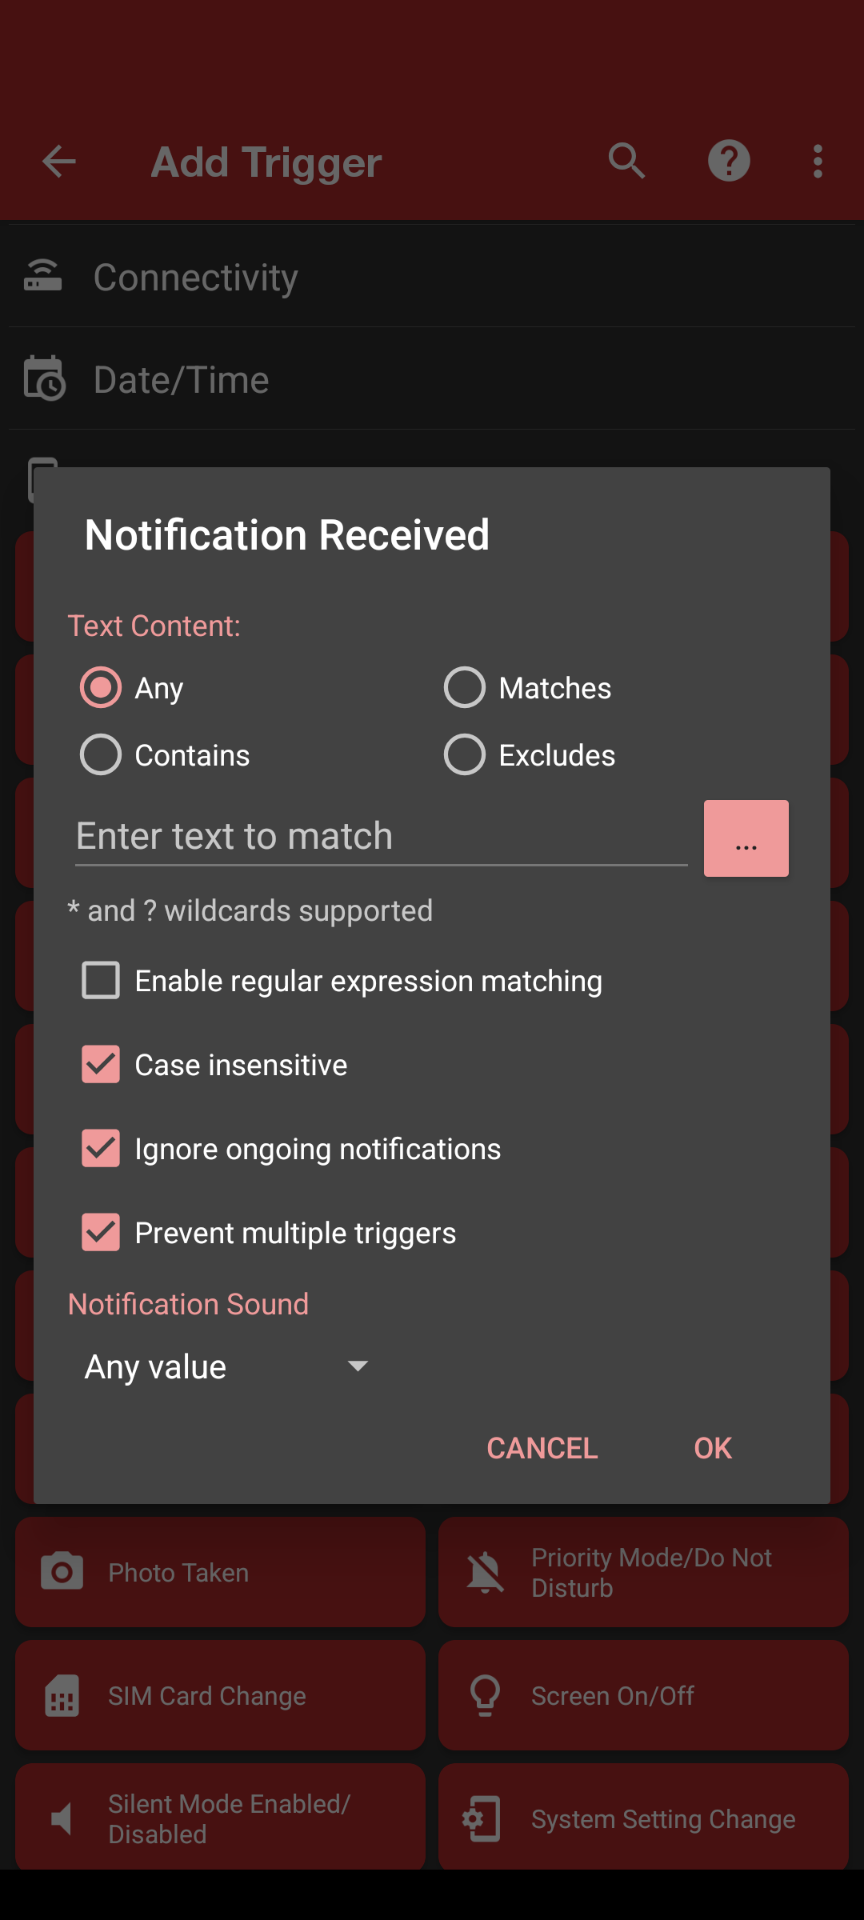
We will accept any message from Revolut regardless of the case. By the way, the first checkbox towards the bottom is case insensitive, meaning it doesn't matter if the message contains uppercase or lowercase letters. It doesn't matter to us, so we will just use it.
"Ignore ongoing notifications" means that just imagine the scenario where you are triggering on a navigation tool, and with every turn of your car or your bike, it triggers the notification. We don't want that, so we just want to get one message, one trigger, one notification to be accepted. That's it.
Also, the third option is important: prevent multiple triggers. We just want to send one email based on one notification. That's all good, but again, these are the very smart default settings, so just click "Okay," and we are good. Our trigger is done.
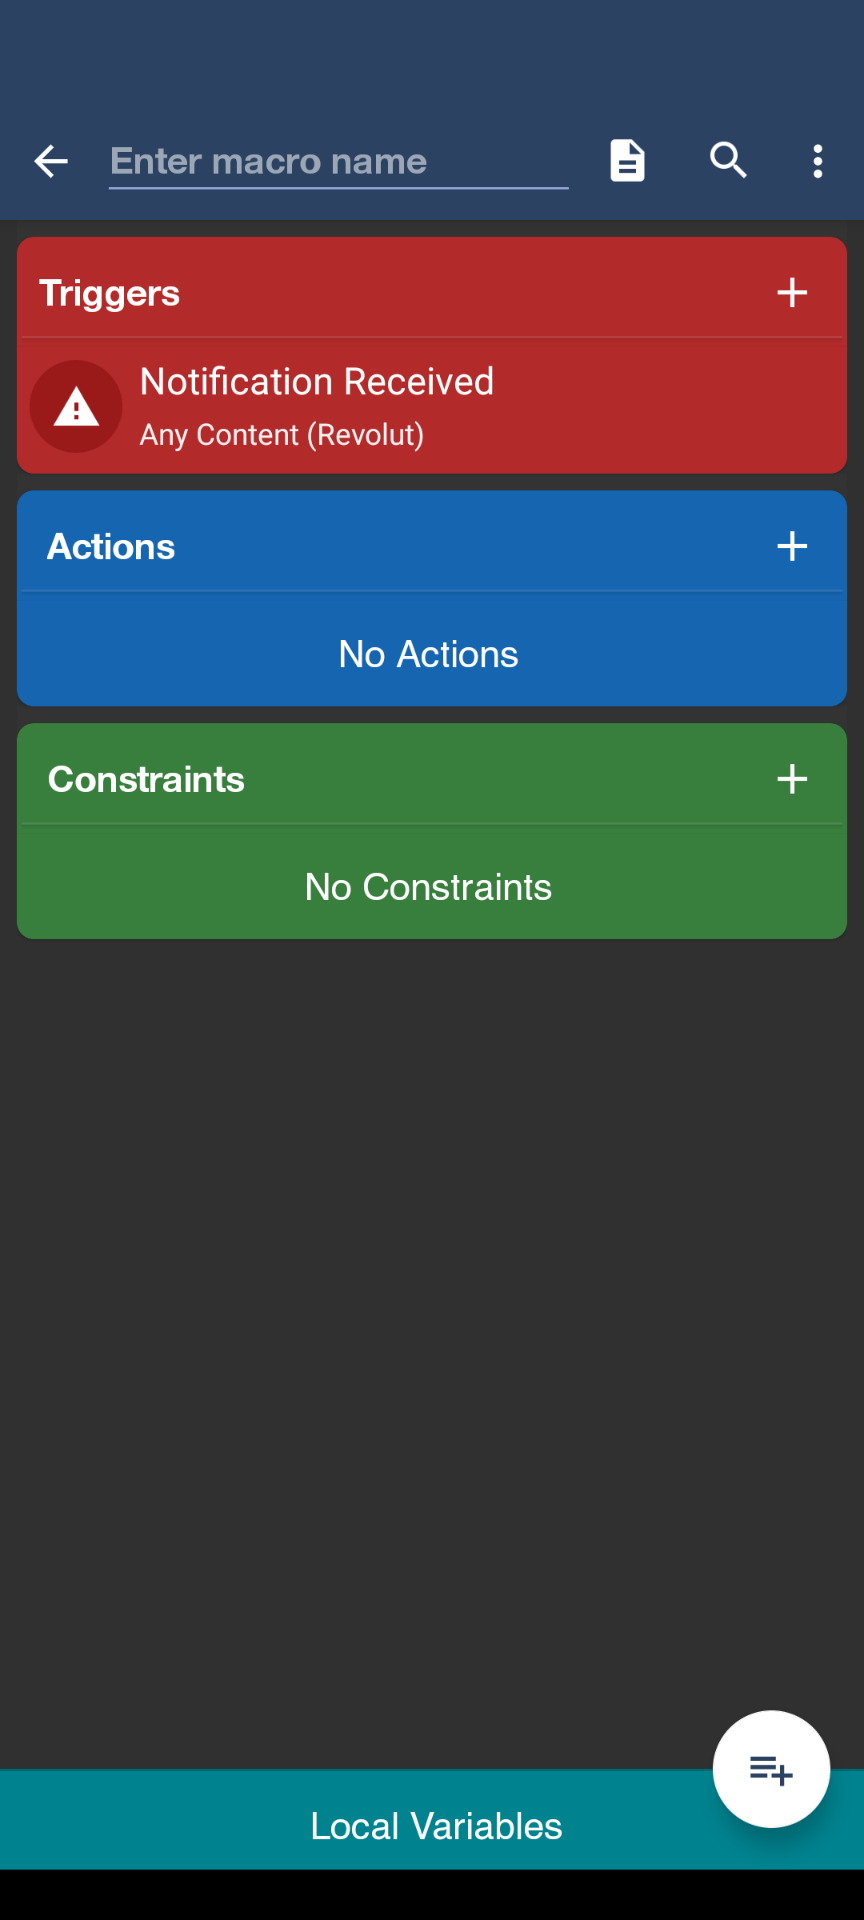
The next step is the action. What should happen when Revolut sends a notification or when this trigger occurs on your mobile phone? Click on "Actions."
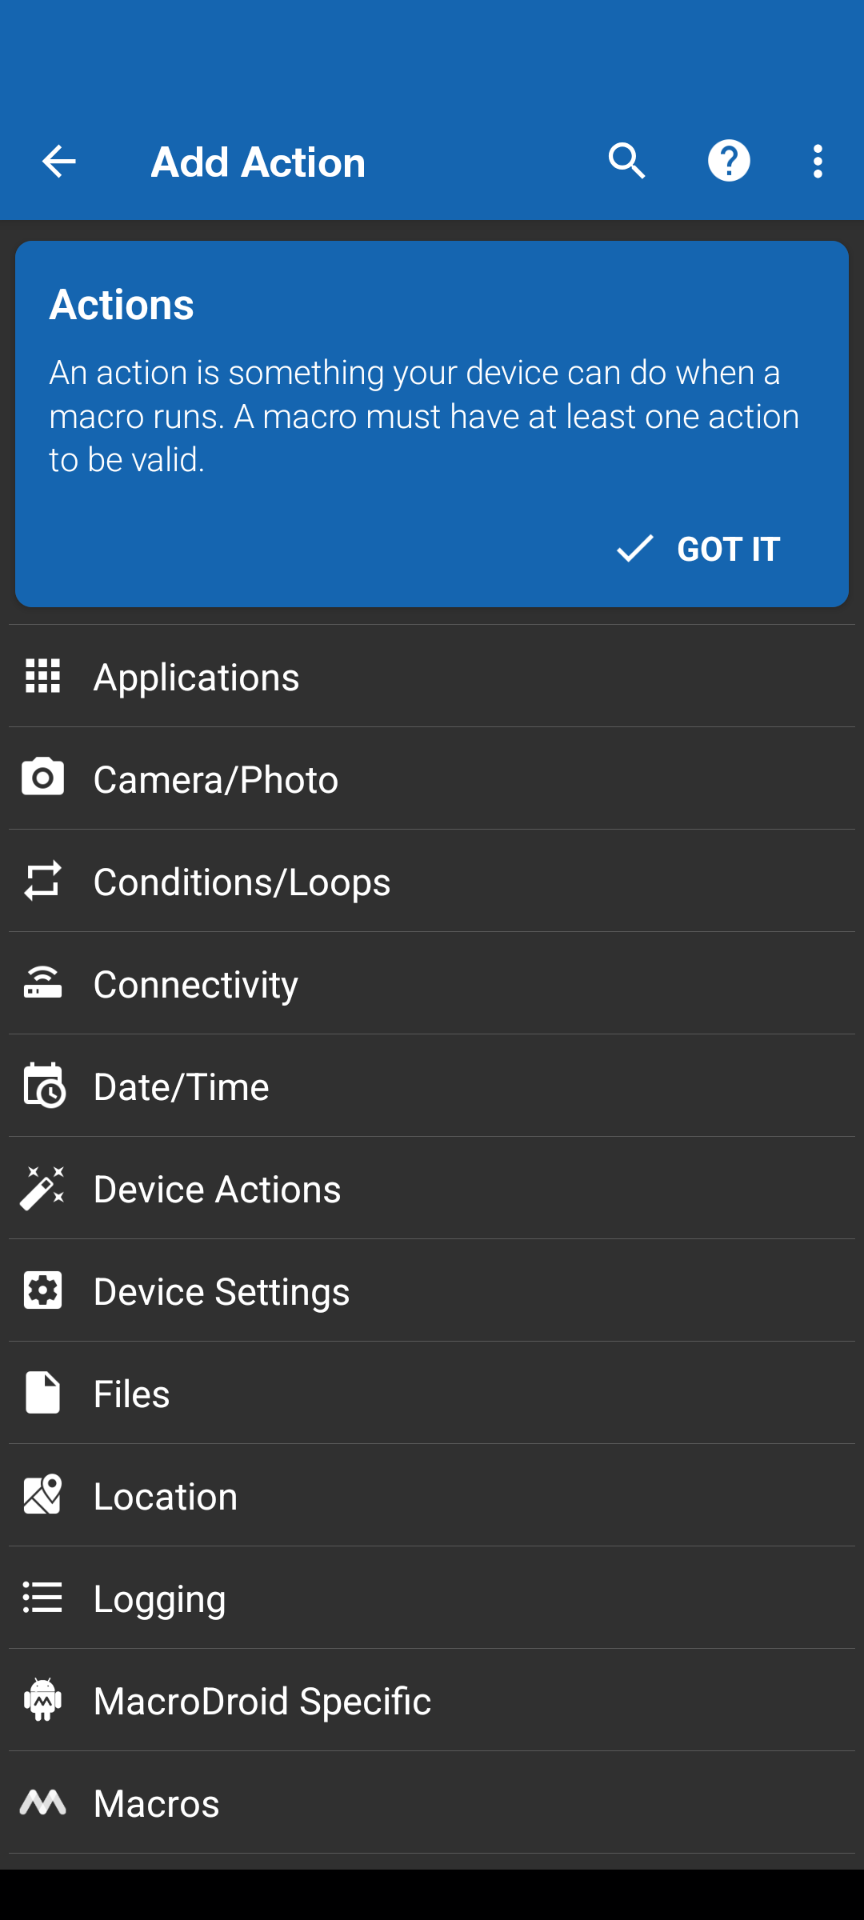
Here, you need to scroll a little bit down because the messaging section is what you ultimately need since we need to send an email. Find this messaging section and select "Send an email."
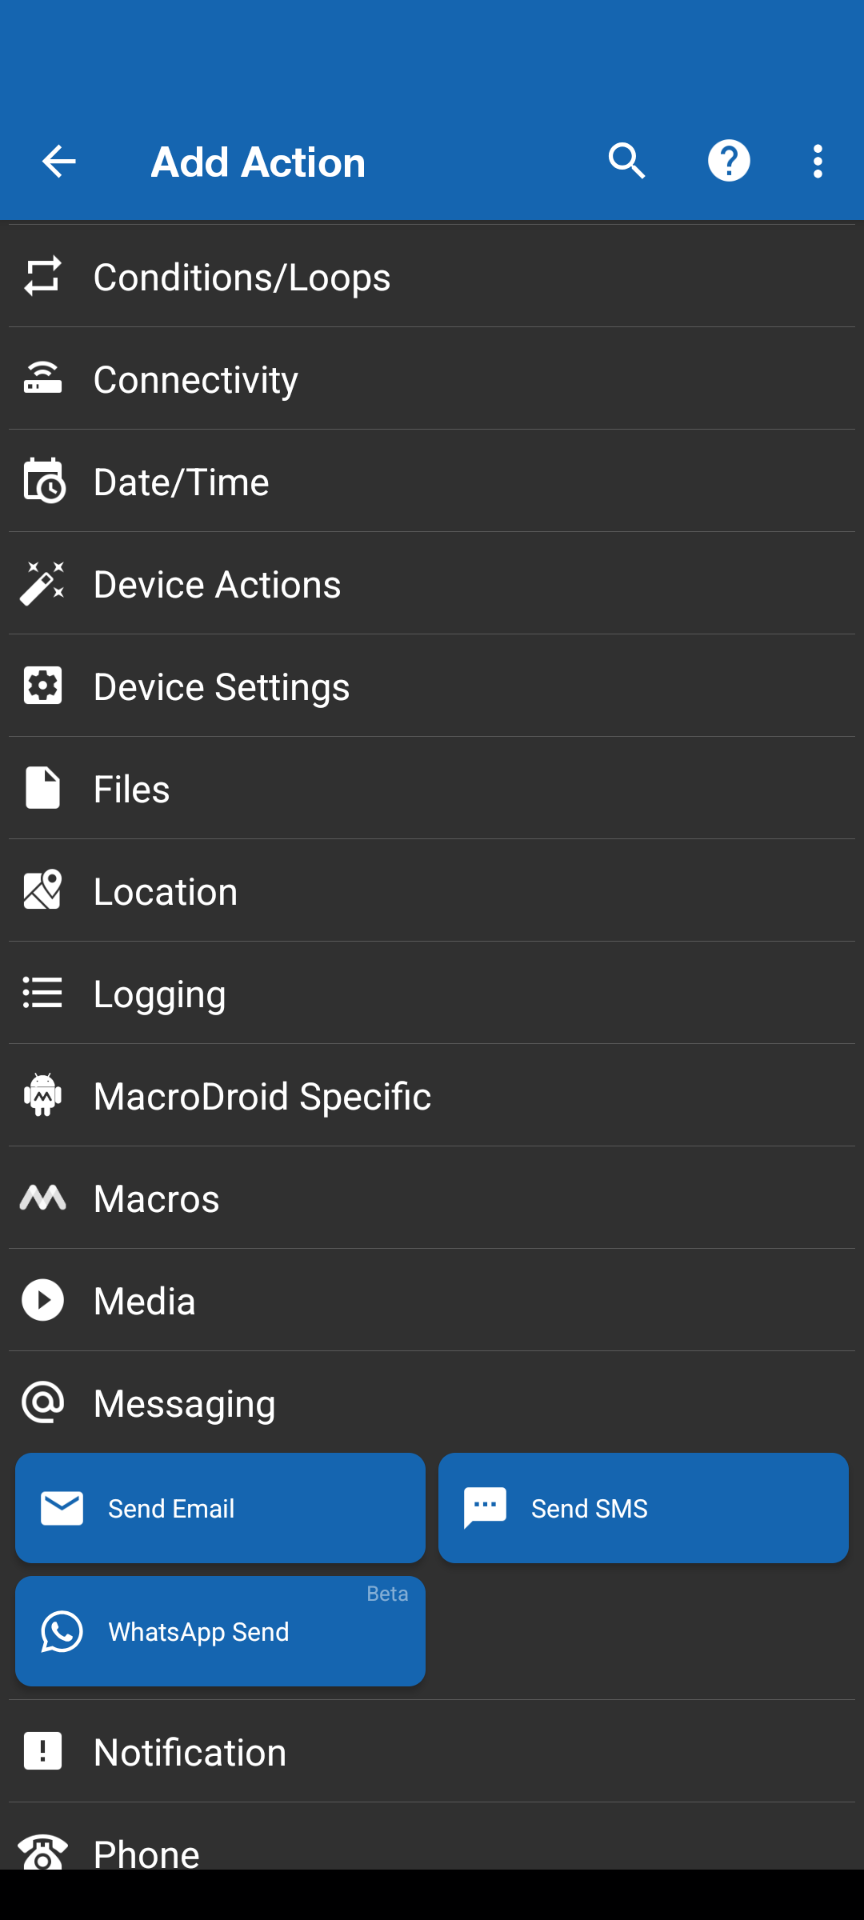
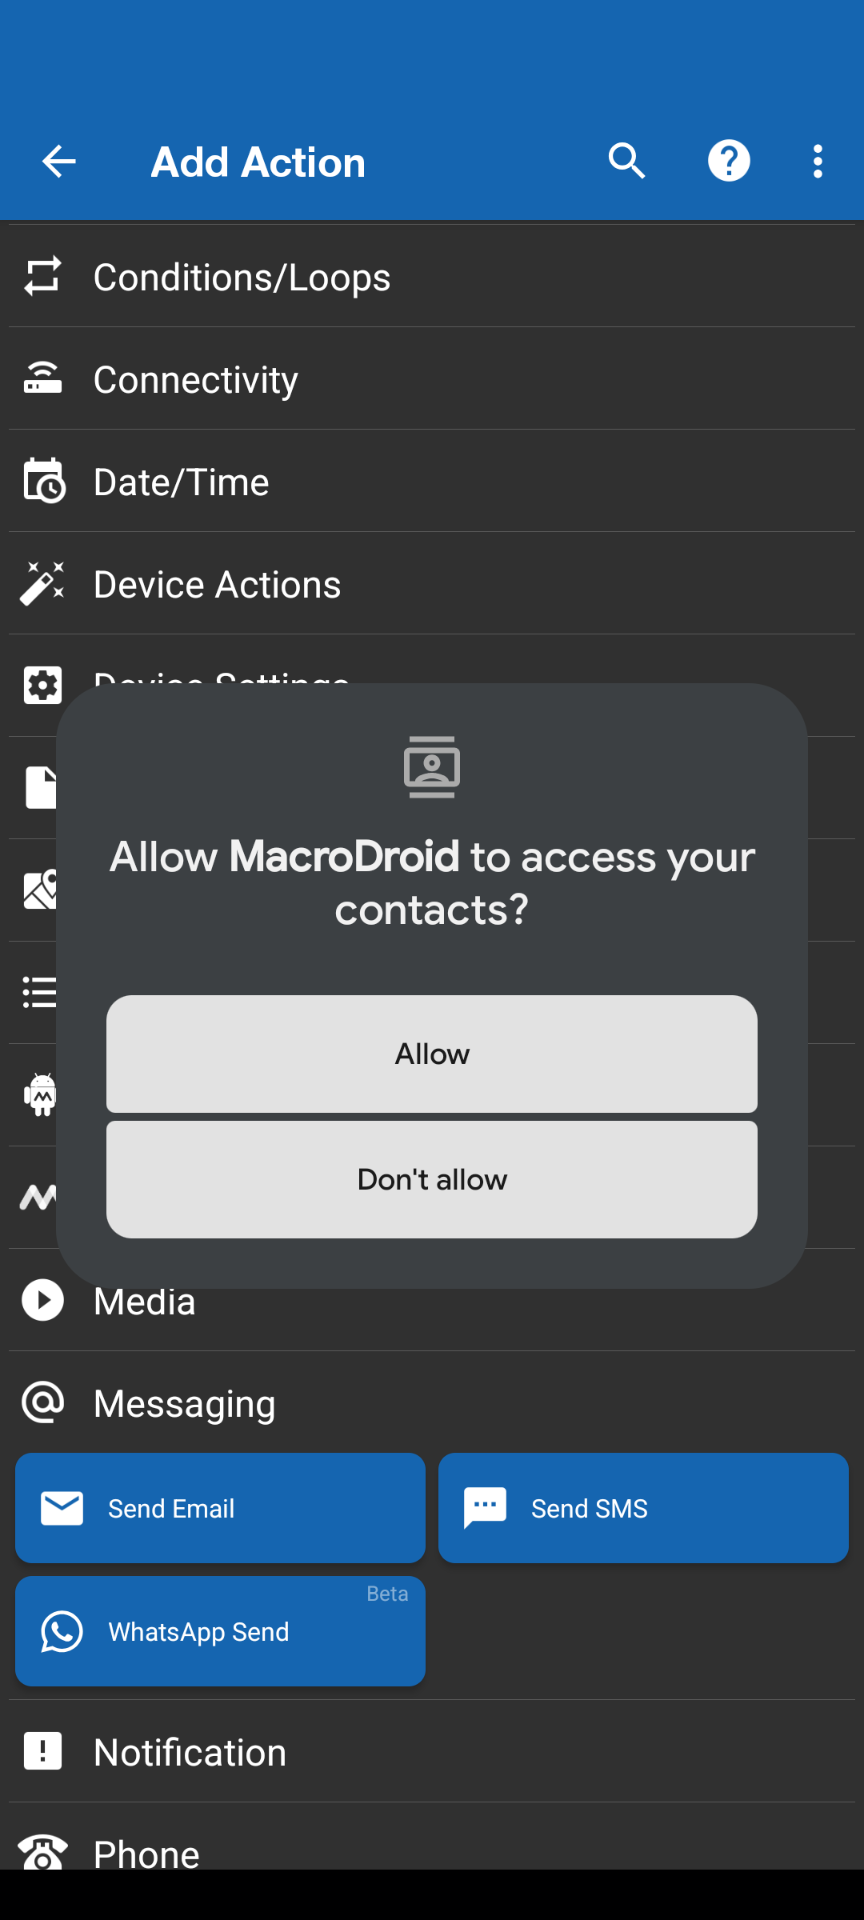
It asks you for permission to access your contacts, but don't worry too much. It's not like other social media applications that can actually pull your contact list and share it in the cloud or somewhere anonymously. No, it's basically a technical requirement to access your mailbox setup. So, just allow it.
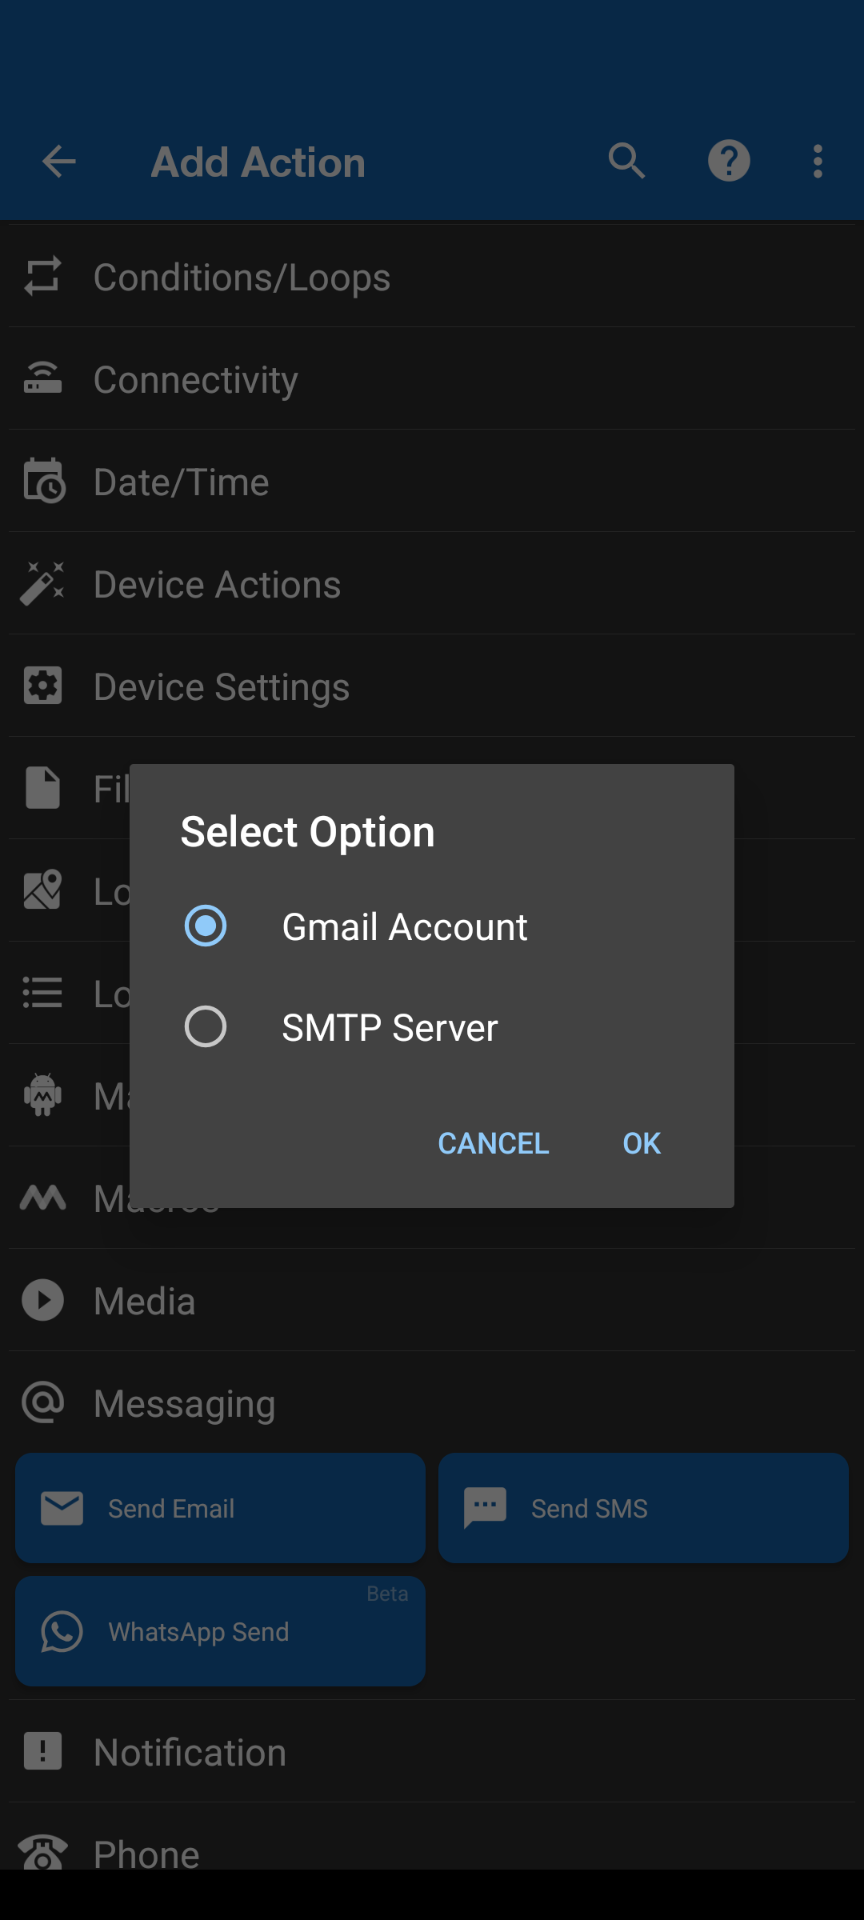
The next step asks if you are going to use a Gmail account to send that email. Remember that MacroDroid itself cannot send an email; it needs to use a proper account and send the email on behalf of that account. So, we select "Gmail."
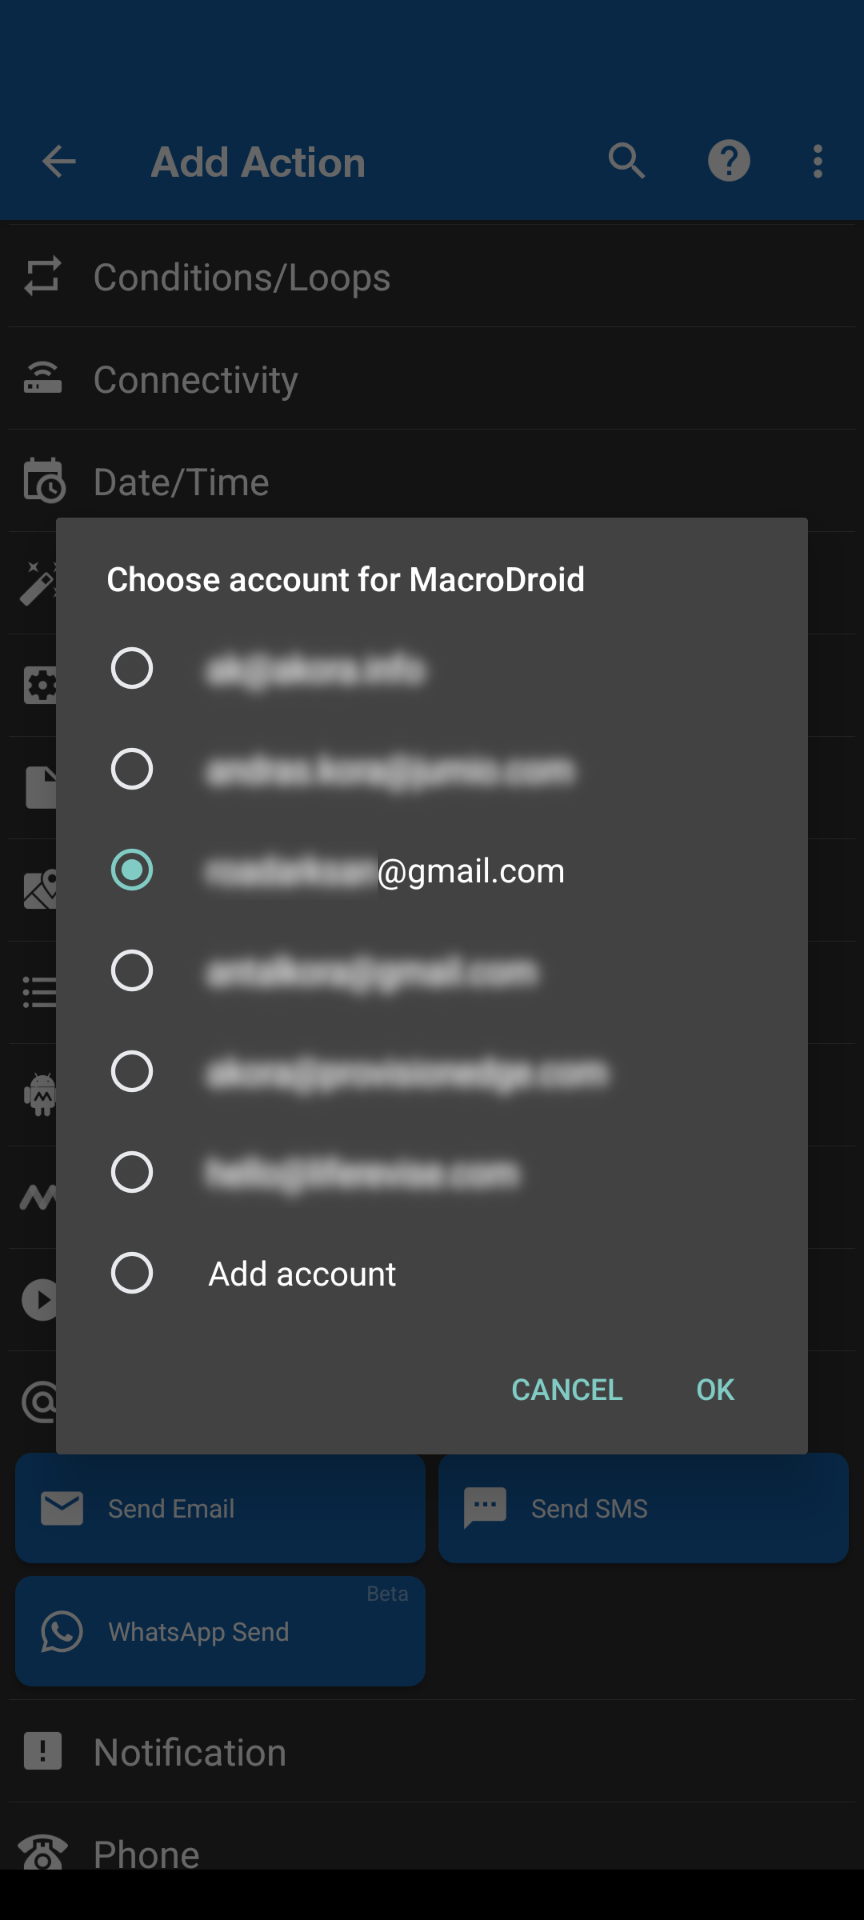
On my specific mobile, I have many mailboxes, so I select the one I need to use to send this email on behalf of that mailbox or the sender, essentially.
I select that, and here is what the email message will contain.
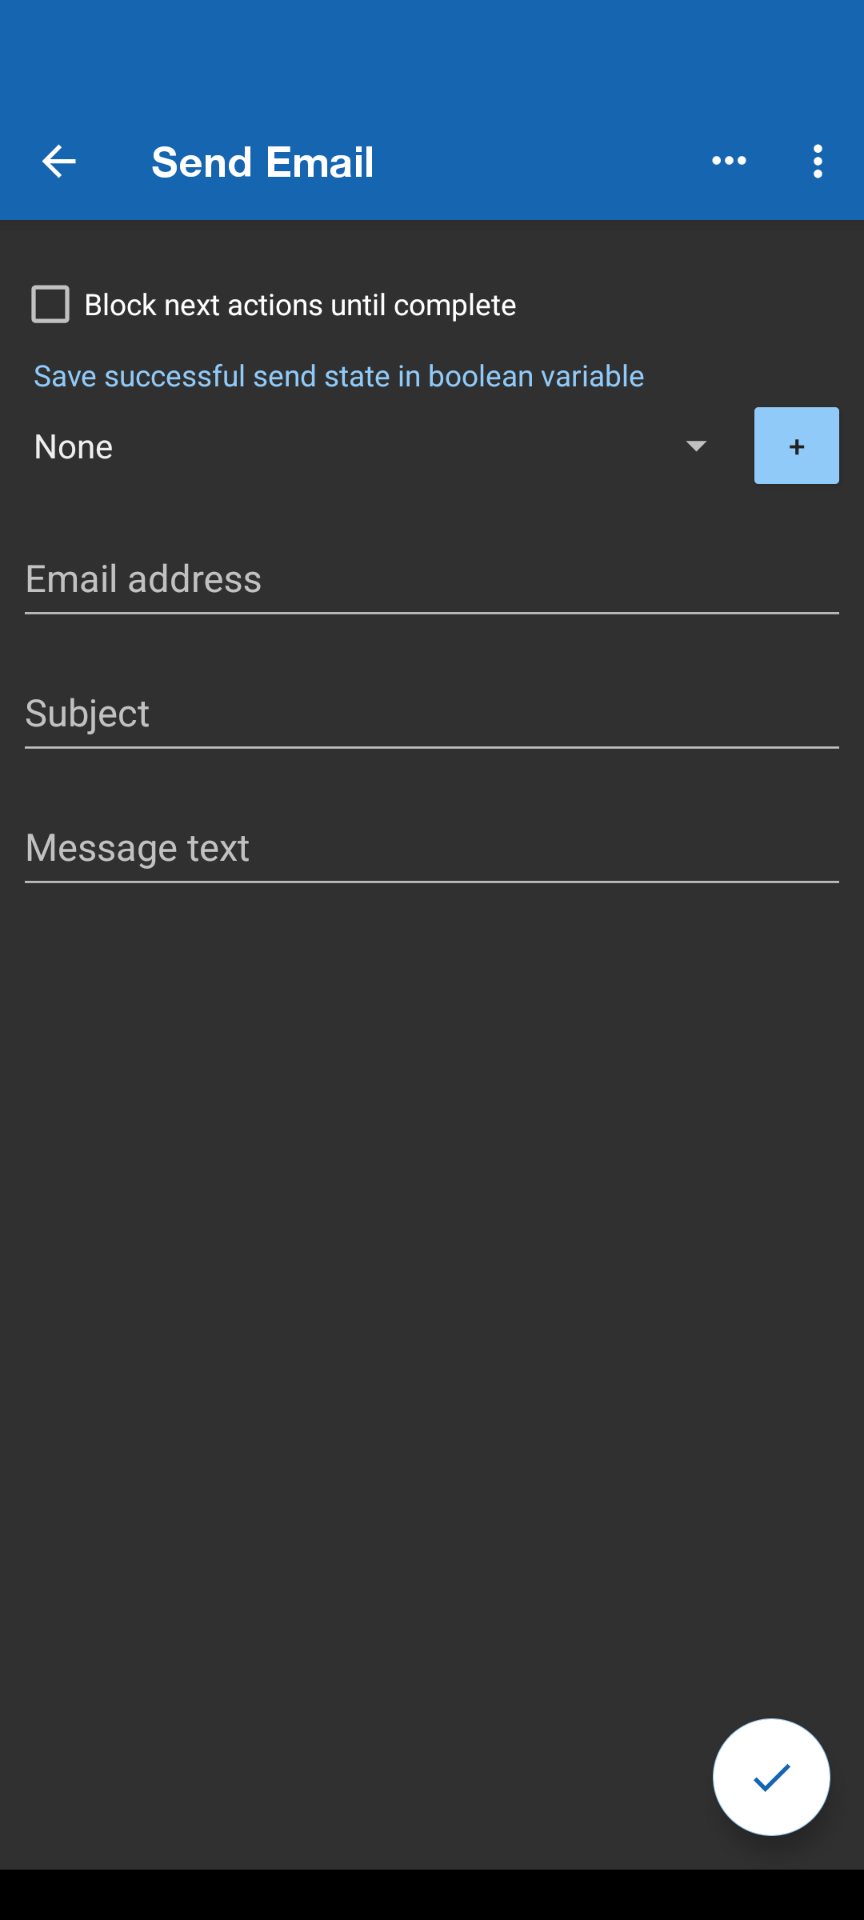
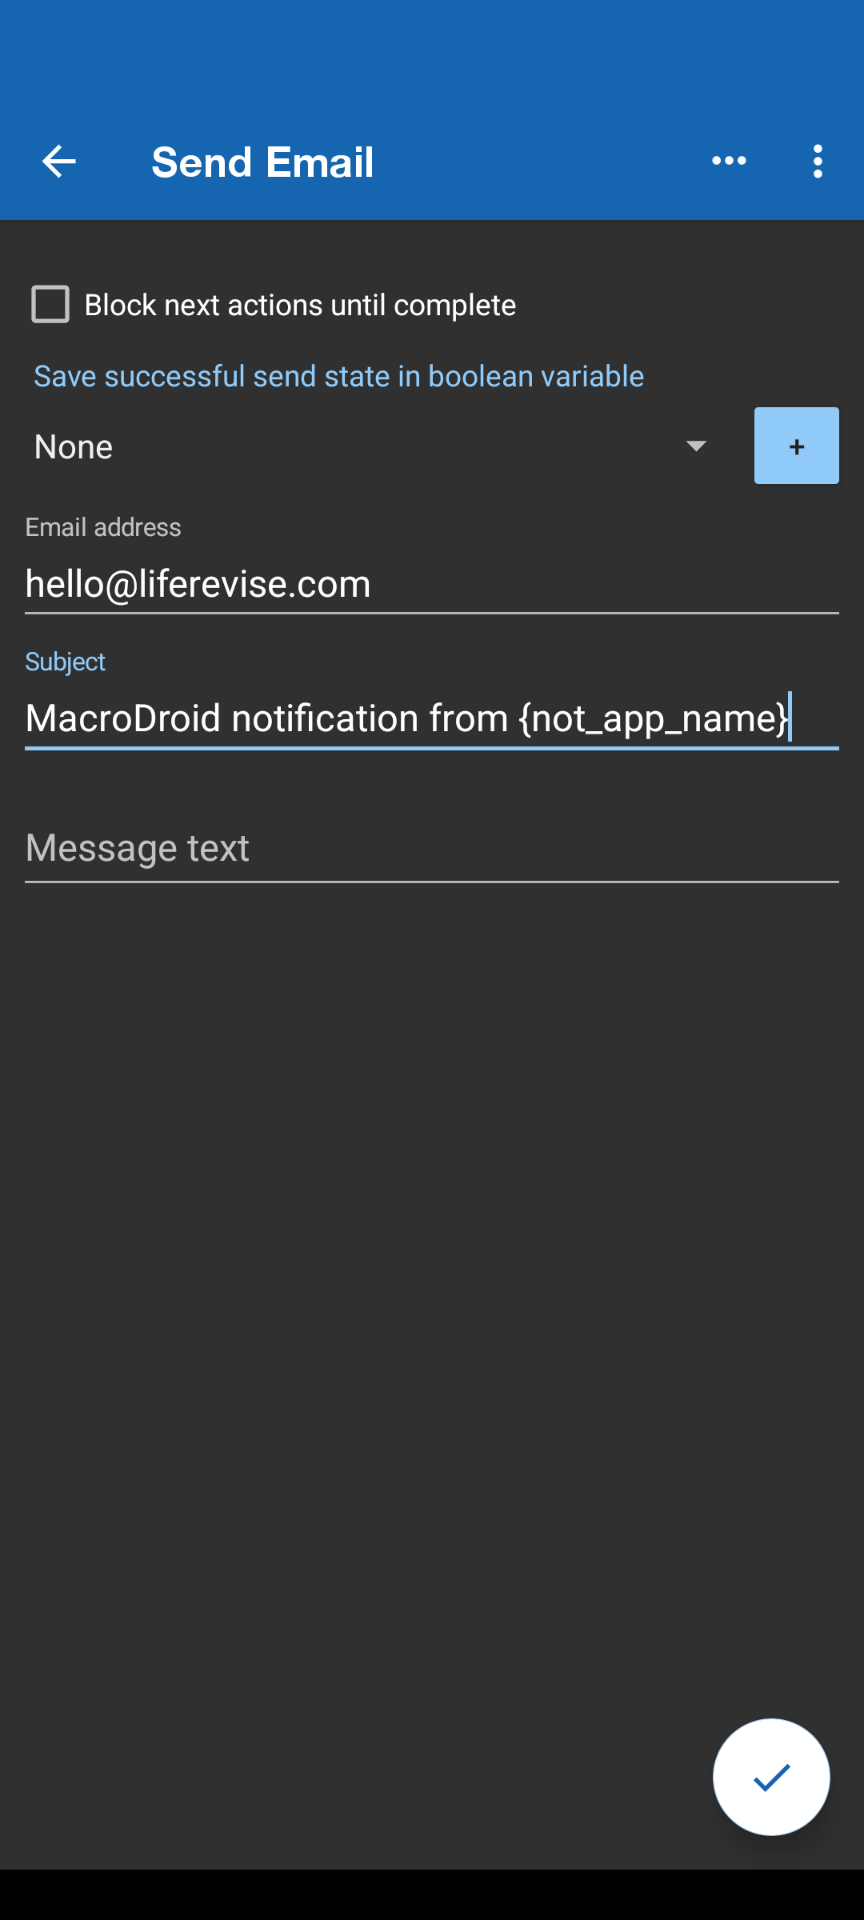
This is a very interesting step, and it's the most complex one, but it's still simple enough. The email address that you have to send the email to is going to be hello@liferevise.com The subject is going to be a text that I just added as the subject line of the email: "MacroDroid Notification from." But here, we are going to be smart and use a variable.
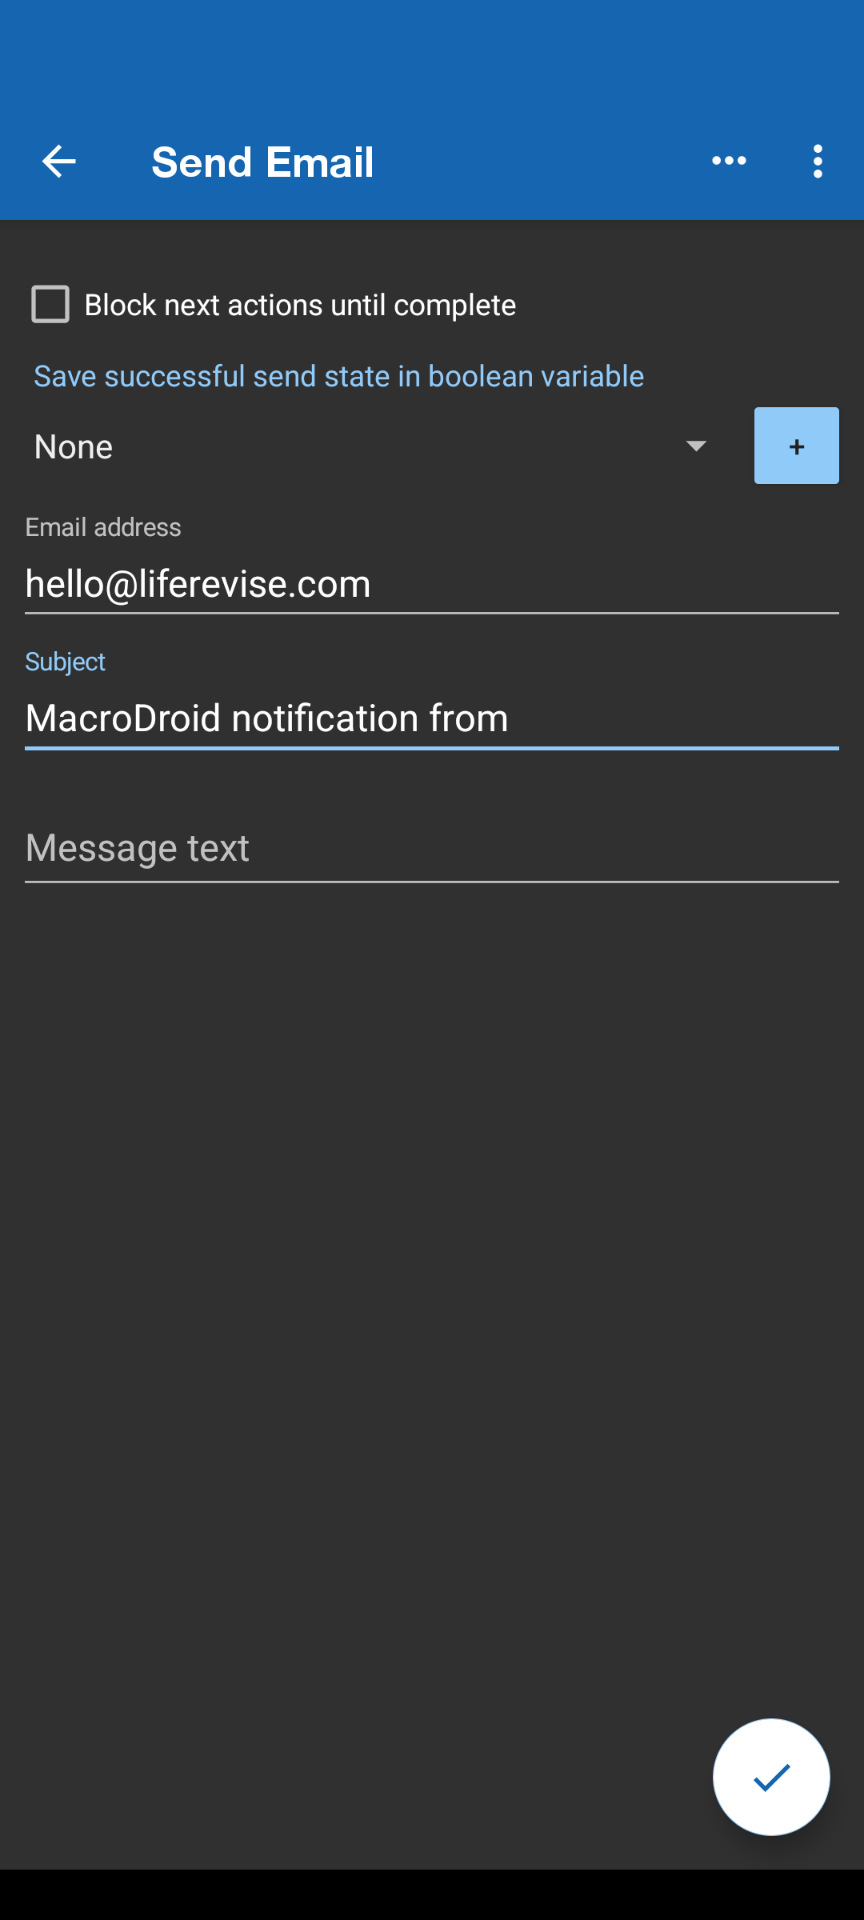
We are going to use the name of the application that we selected in a smart way. Please hit those horizontal three dots and search for "app."
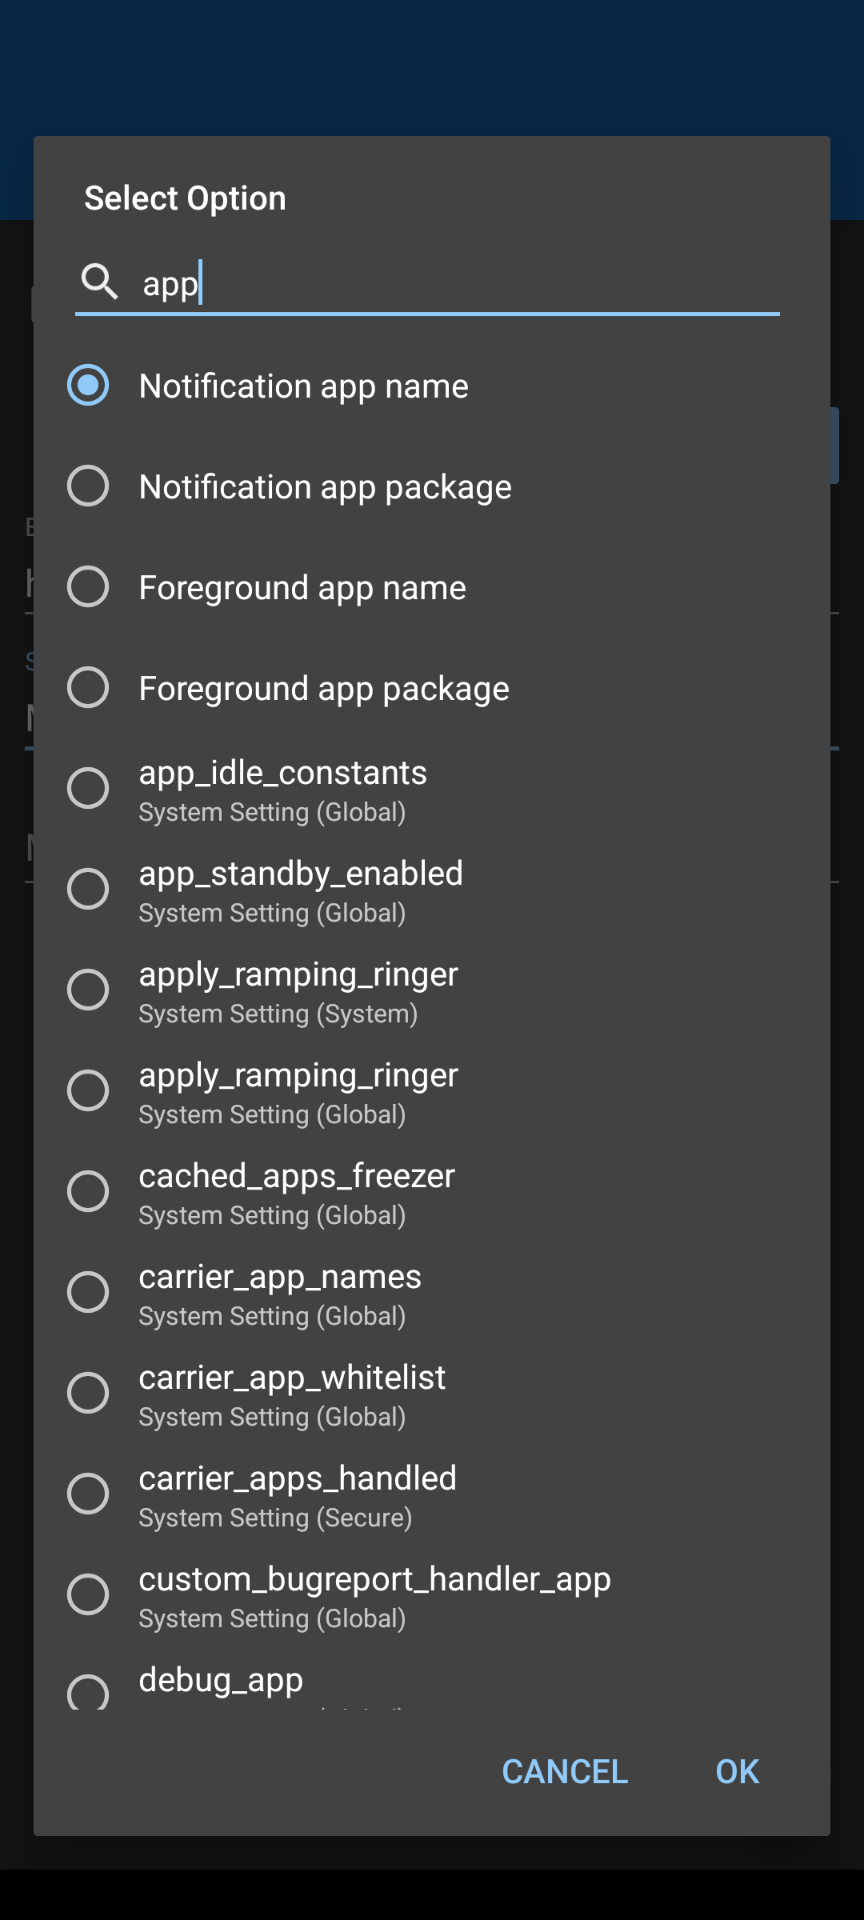
We are going to insert the notification app name into the subject line. It will make sense when I show you an example at the very end of this presentation, what it actually means.
Then, the most important step is to hit the horizontal three dots again and search for "notification text," which is going to be the body of the notification.
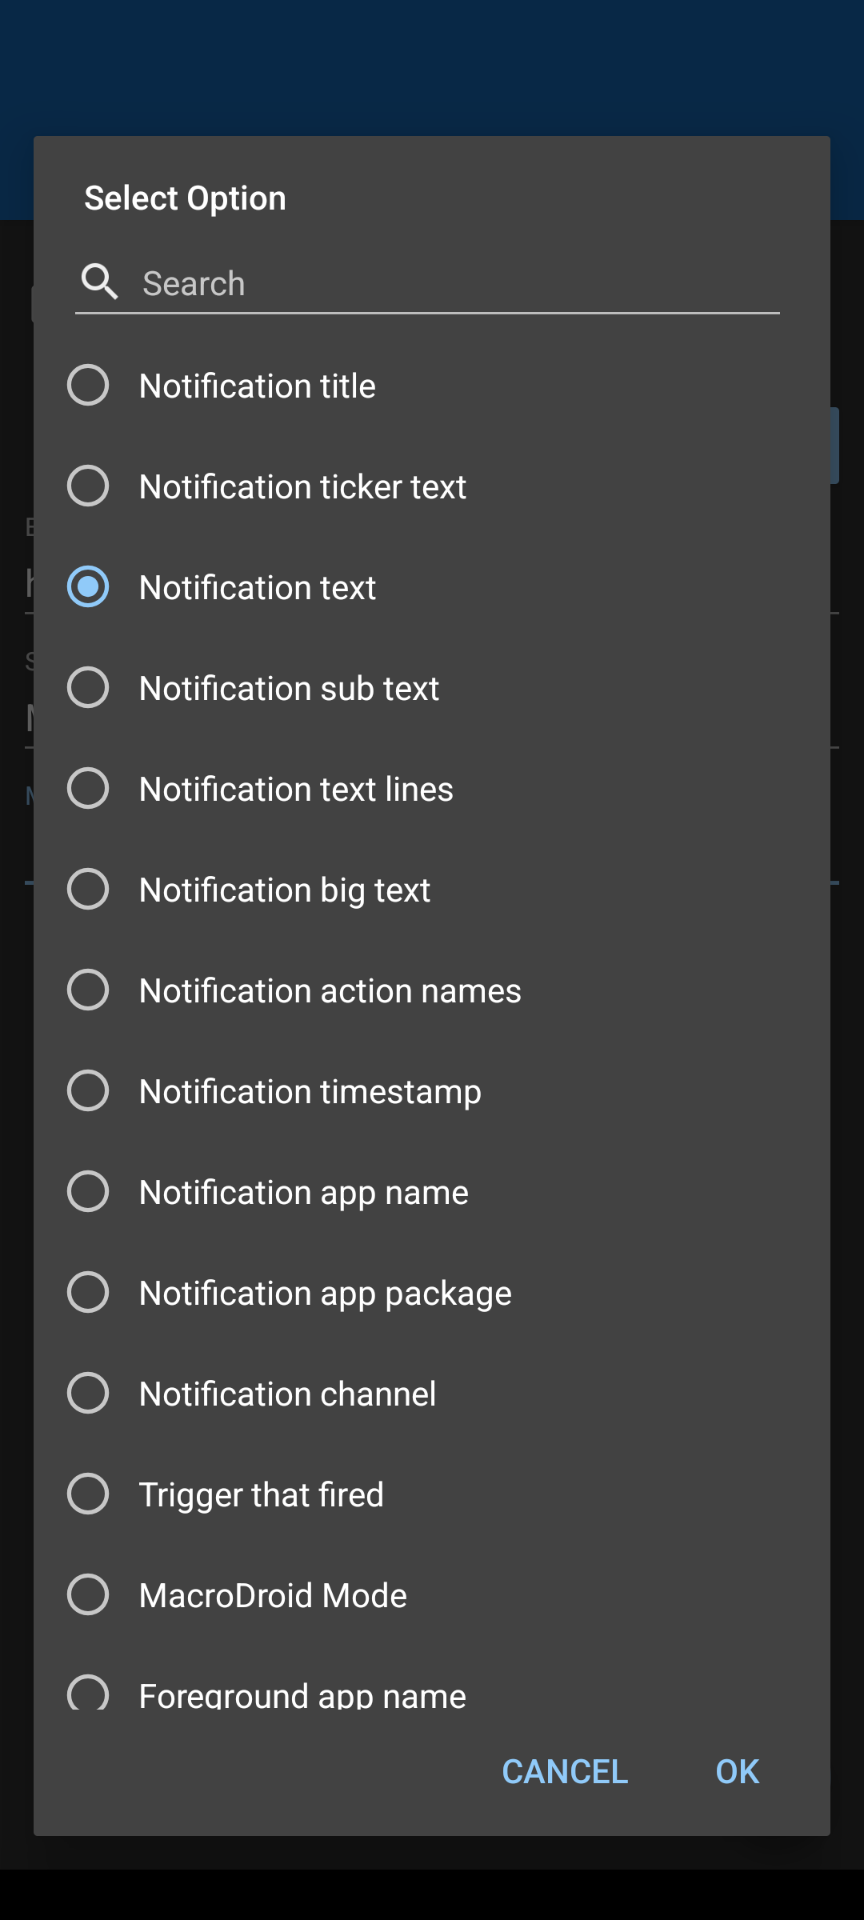
This is the main text in the notification that you're going to use, and this is what we are going to send as part of the body of the email.
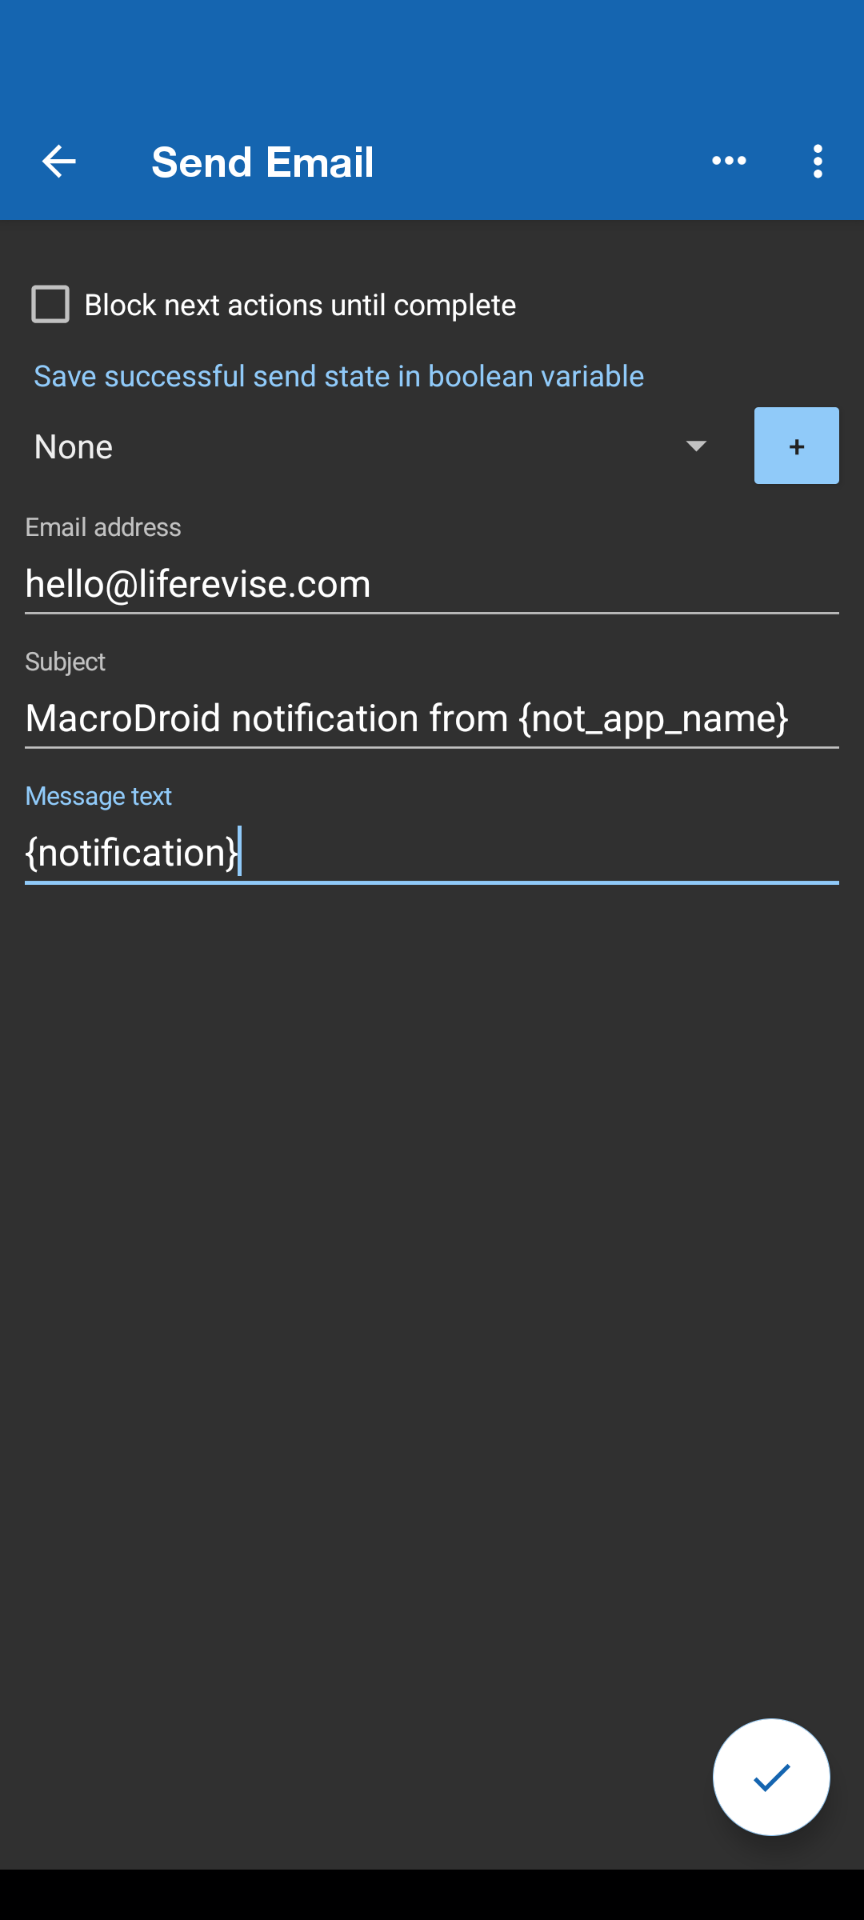
That's it! You can hit the check mark at the bottom, and we're done. No constraints are needed.
Ultimately, we need to give a name to this macro or this automation, which is going to be "Notifications from Revolut."
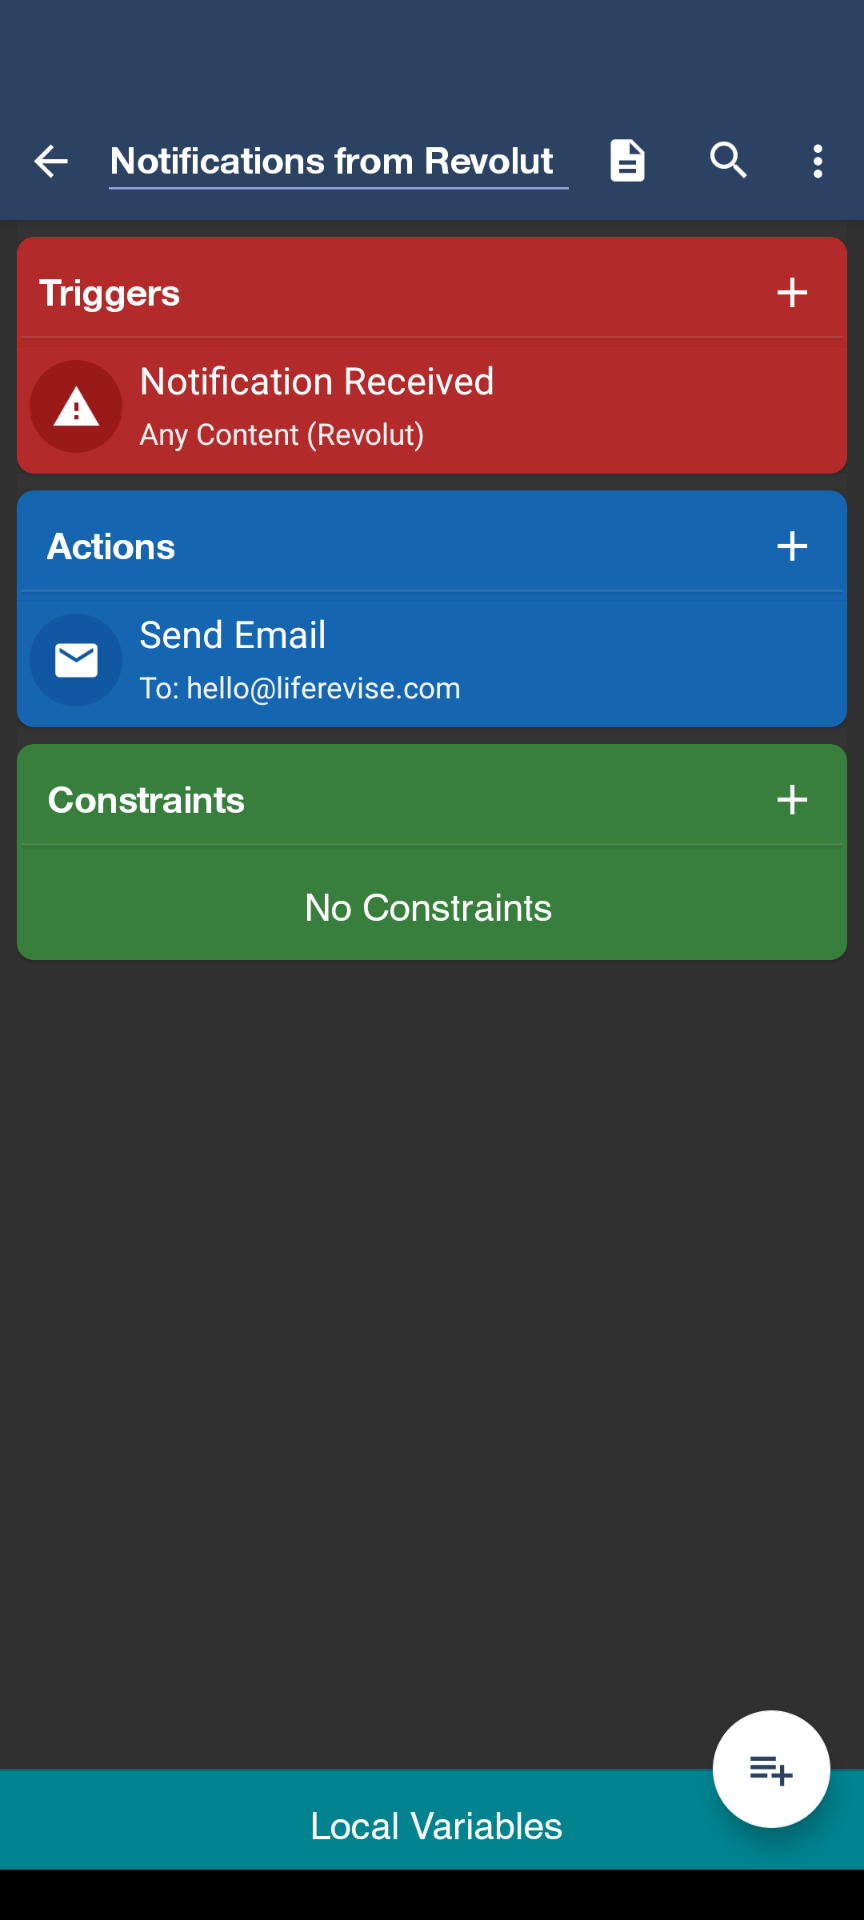
Finally, the last step is to add it to our list of macros.
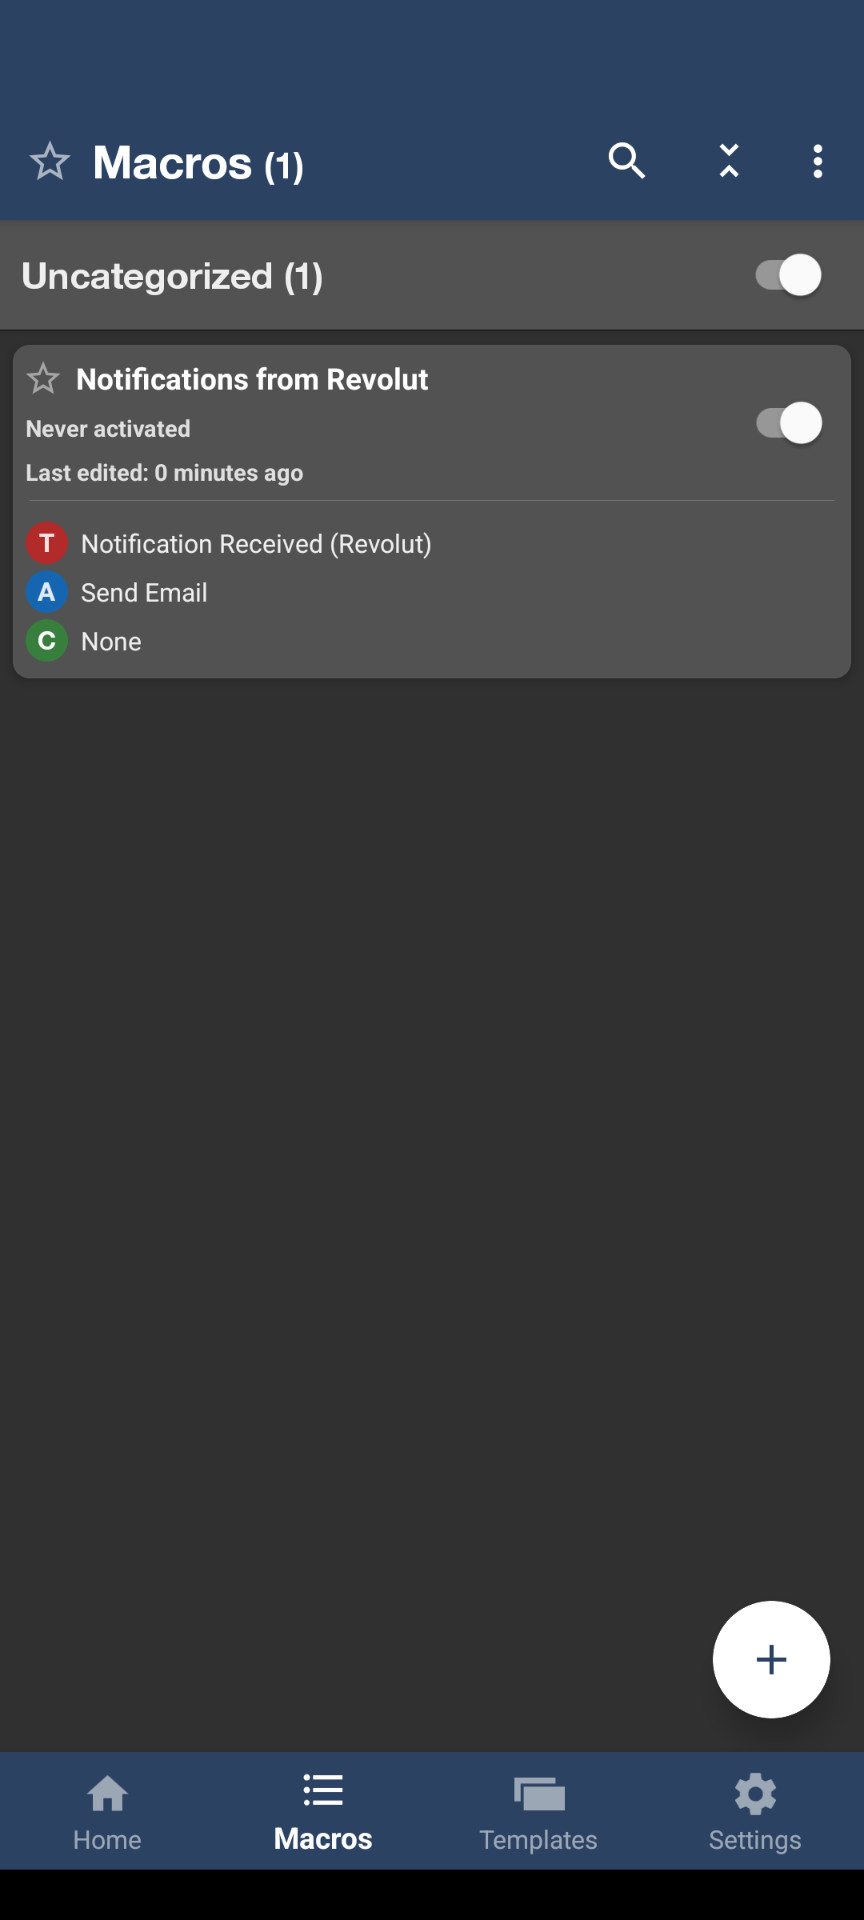
And here you go, you just created an automation macro. It hasn't run yet, so it says "never activated." However, while I was recording this video, I actually did a test run and also received a notification from Revolut.
This is how my mailbox looks at the moment.

The very first email still doesn't contain a proper email or message body and the app name because that was just a test run, so don't worry too much about it. I just did a test run.
However, the second email I just received actually does contain the name, which is like "MacroDroid Notification from Revolut." Since there was a transaction on my Revolut account, I actually received an email with the proper message body.
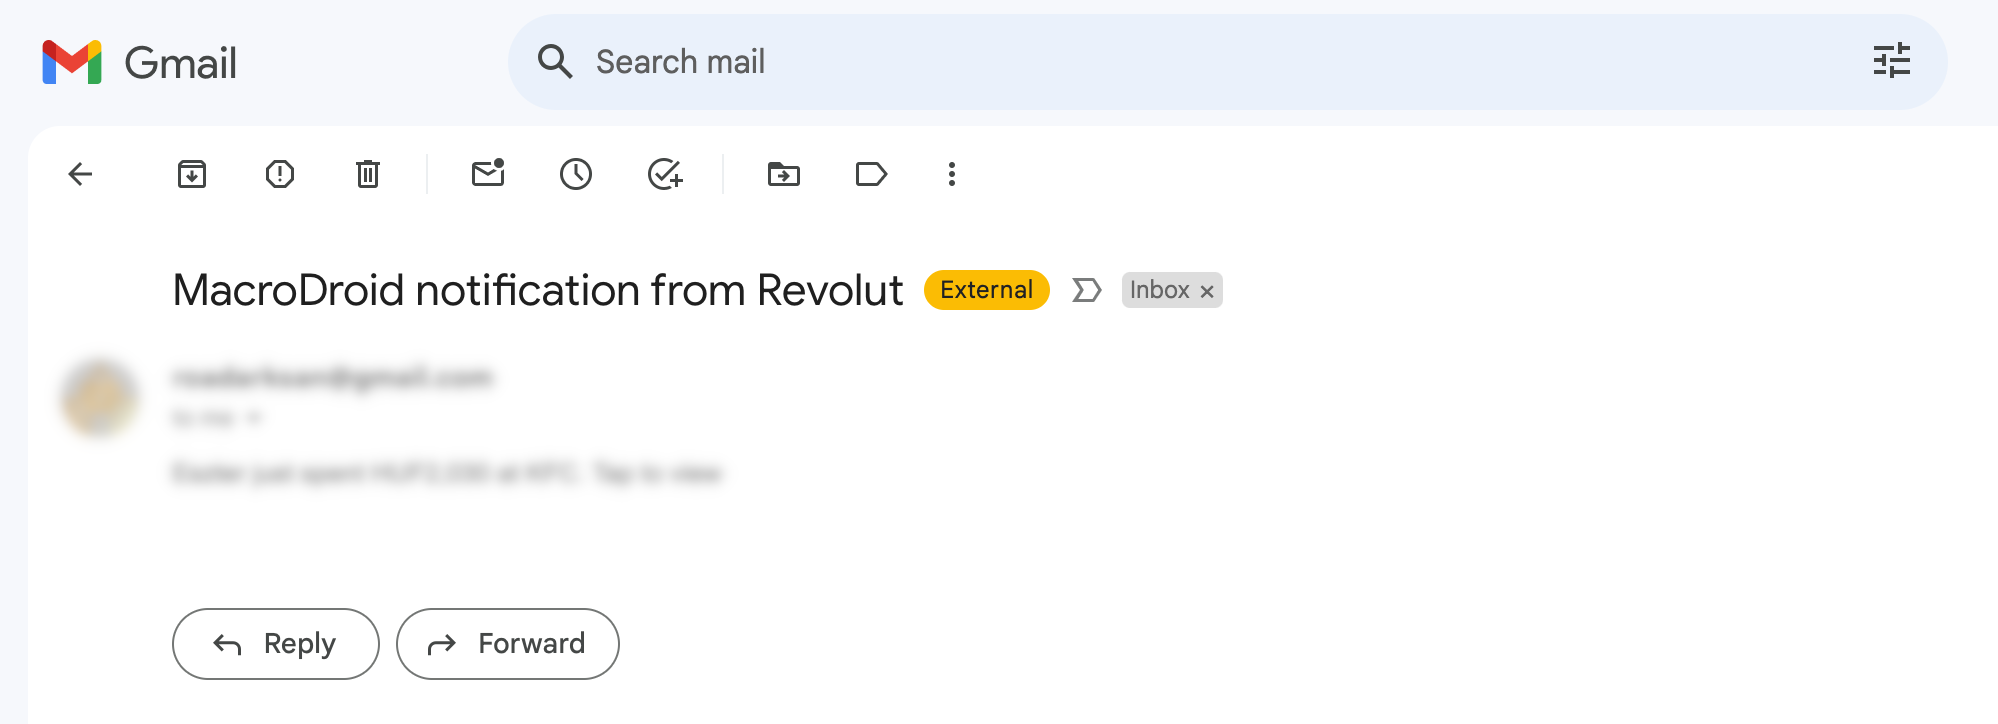
From here, just getting back to our financial tracker application, by receiving an email about every single transaction, you will be able to simply copy and paste your financial transaction details into your tracker spreadsheet.
And that's it! We are done with the second option for automation, which is done by MacroDroid.