Automate (with IFTTT), then sit back and relax
There's an elephant in the room: how do you easily and effortlessly get your day-to-day financial data, your transactional data, into the spreadsheet? Automation comes to the rescue.

If you've been following the key topics on this blog so far, then by now you should have a fully functioning and working financial tracking and planning tool—a spreadsheet. If that's the case, then great!
However, there's an elephant in the room: how do you easily and effortlessly get your day-to-day financial data, your transactional data, into the spreadsheet?
Automation comes to the rescue.
This is a presentation of an automation tool that I'm using to capture my push notifications from my banking application on my mobile device and save each notification into a spreadsheet on Google Drive. For this, I'm using a service known as IFTTT, which stands for "If This Then That." I have no affiliation with this company; I just love their product and appreciate that they provide this solution. Let me walk you through how you can sign up. It's free for, I believe, two automations. If you want to go beyond two solutions, you should sign up. But for the sake of this demo and for your purposes, if you are just going to use it for one single automation task, it's free.
Let's get started.
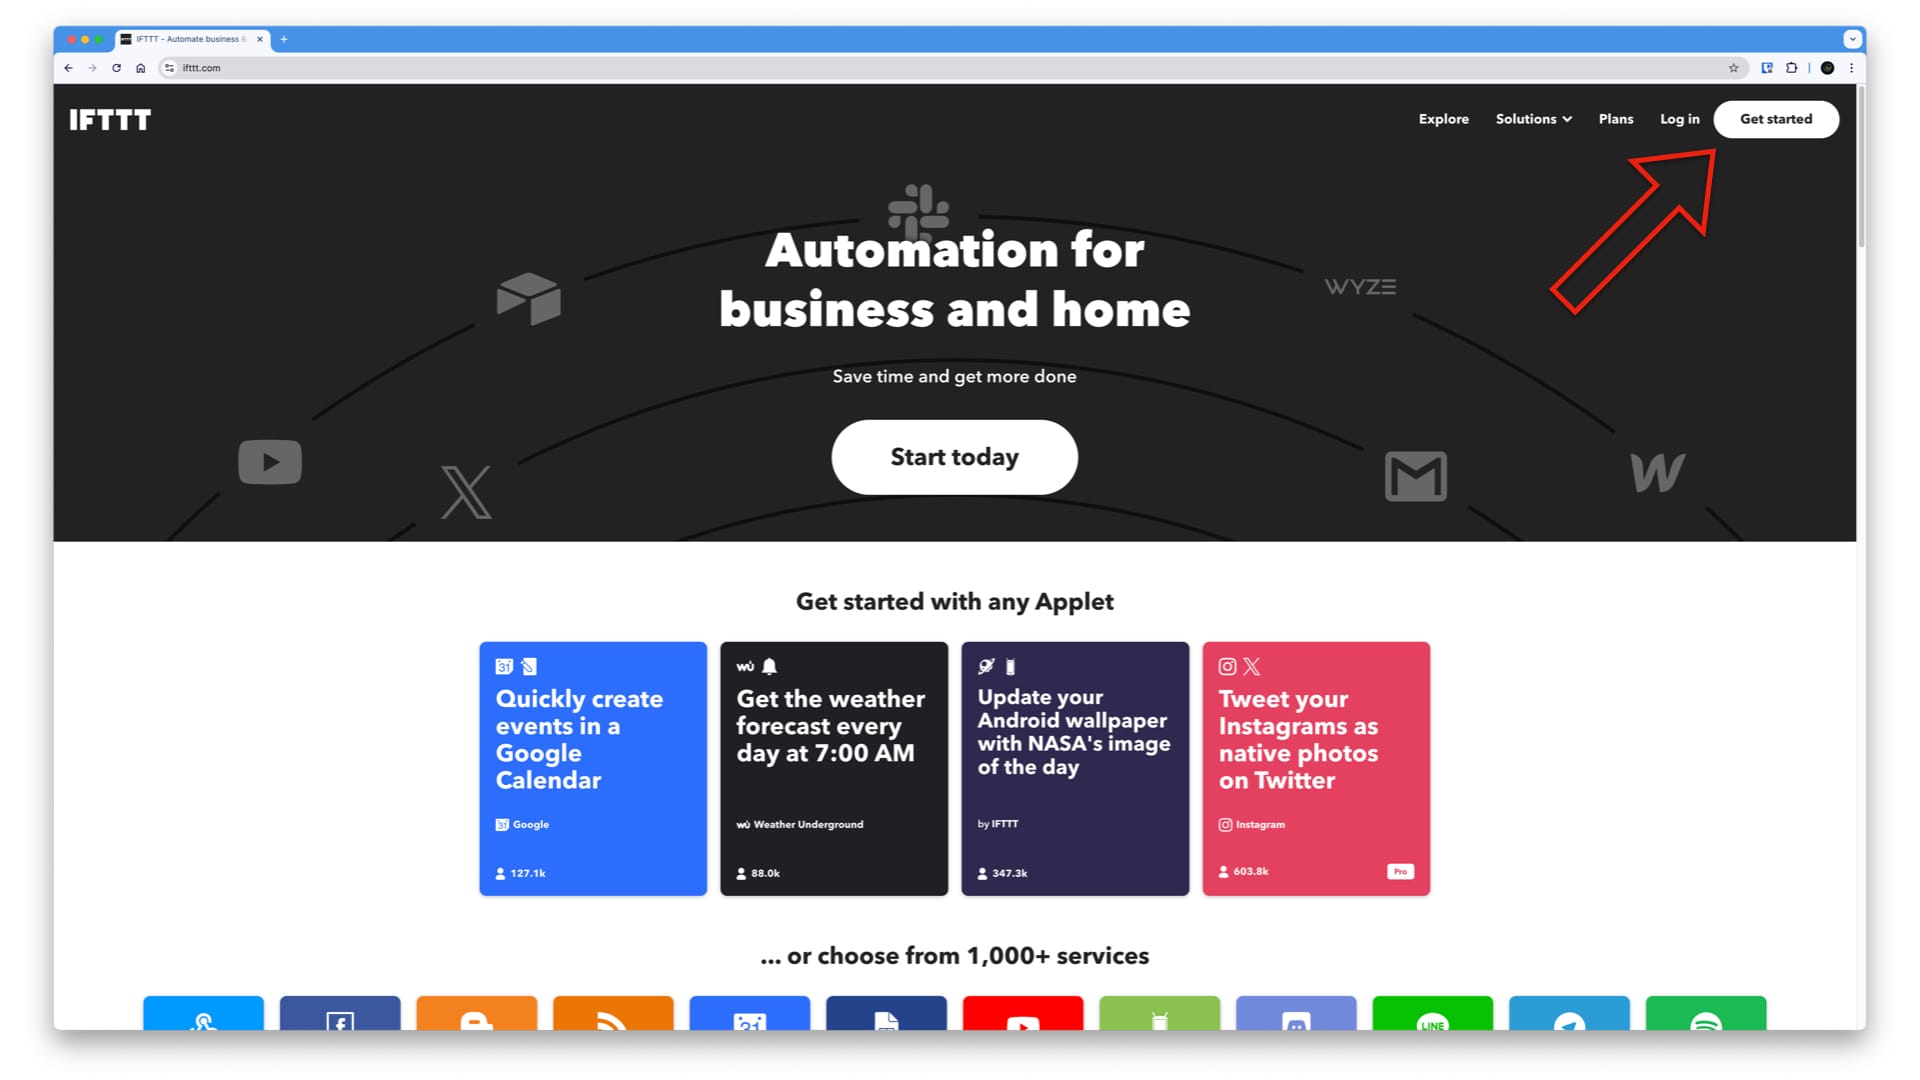
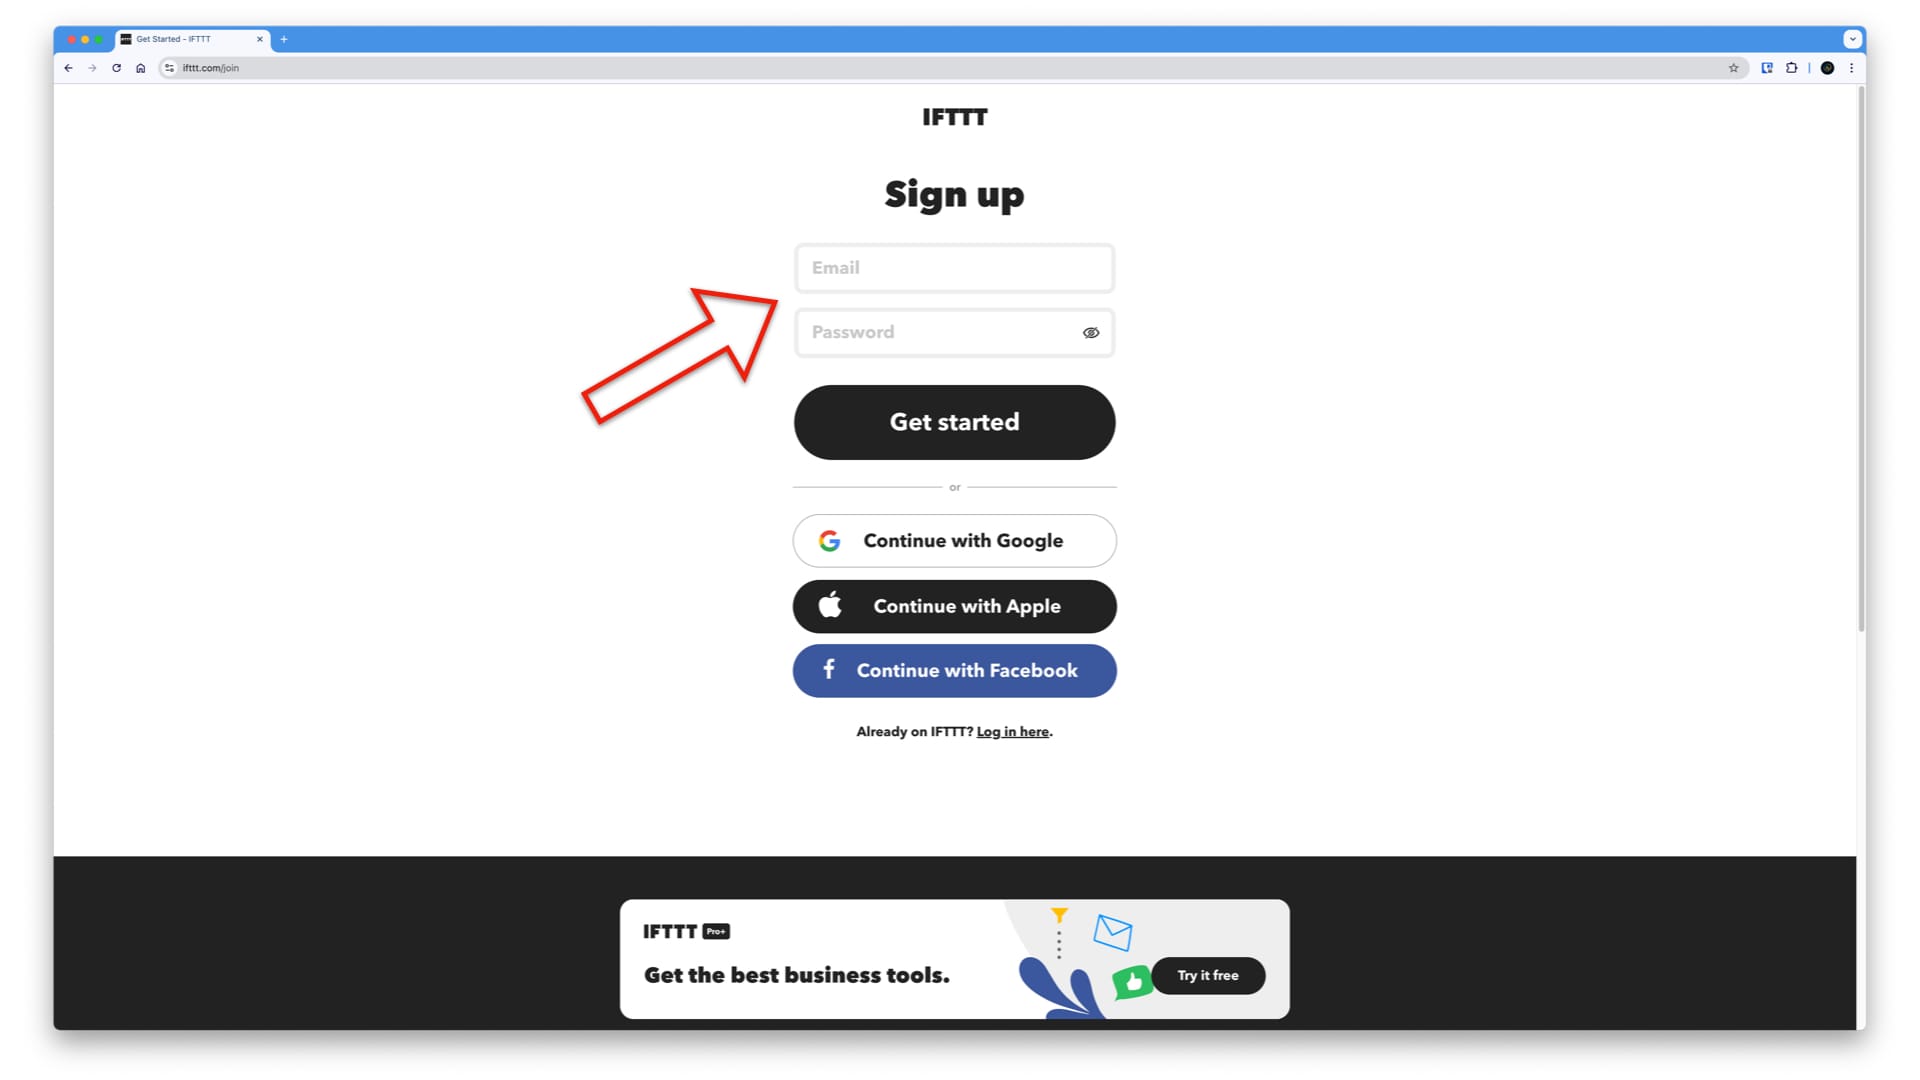
As the website suggests, you need to sign up by providing your email, coming up with a secure password, and hitting "Get Started."
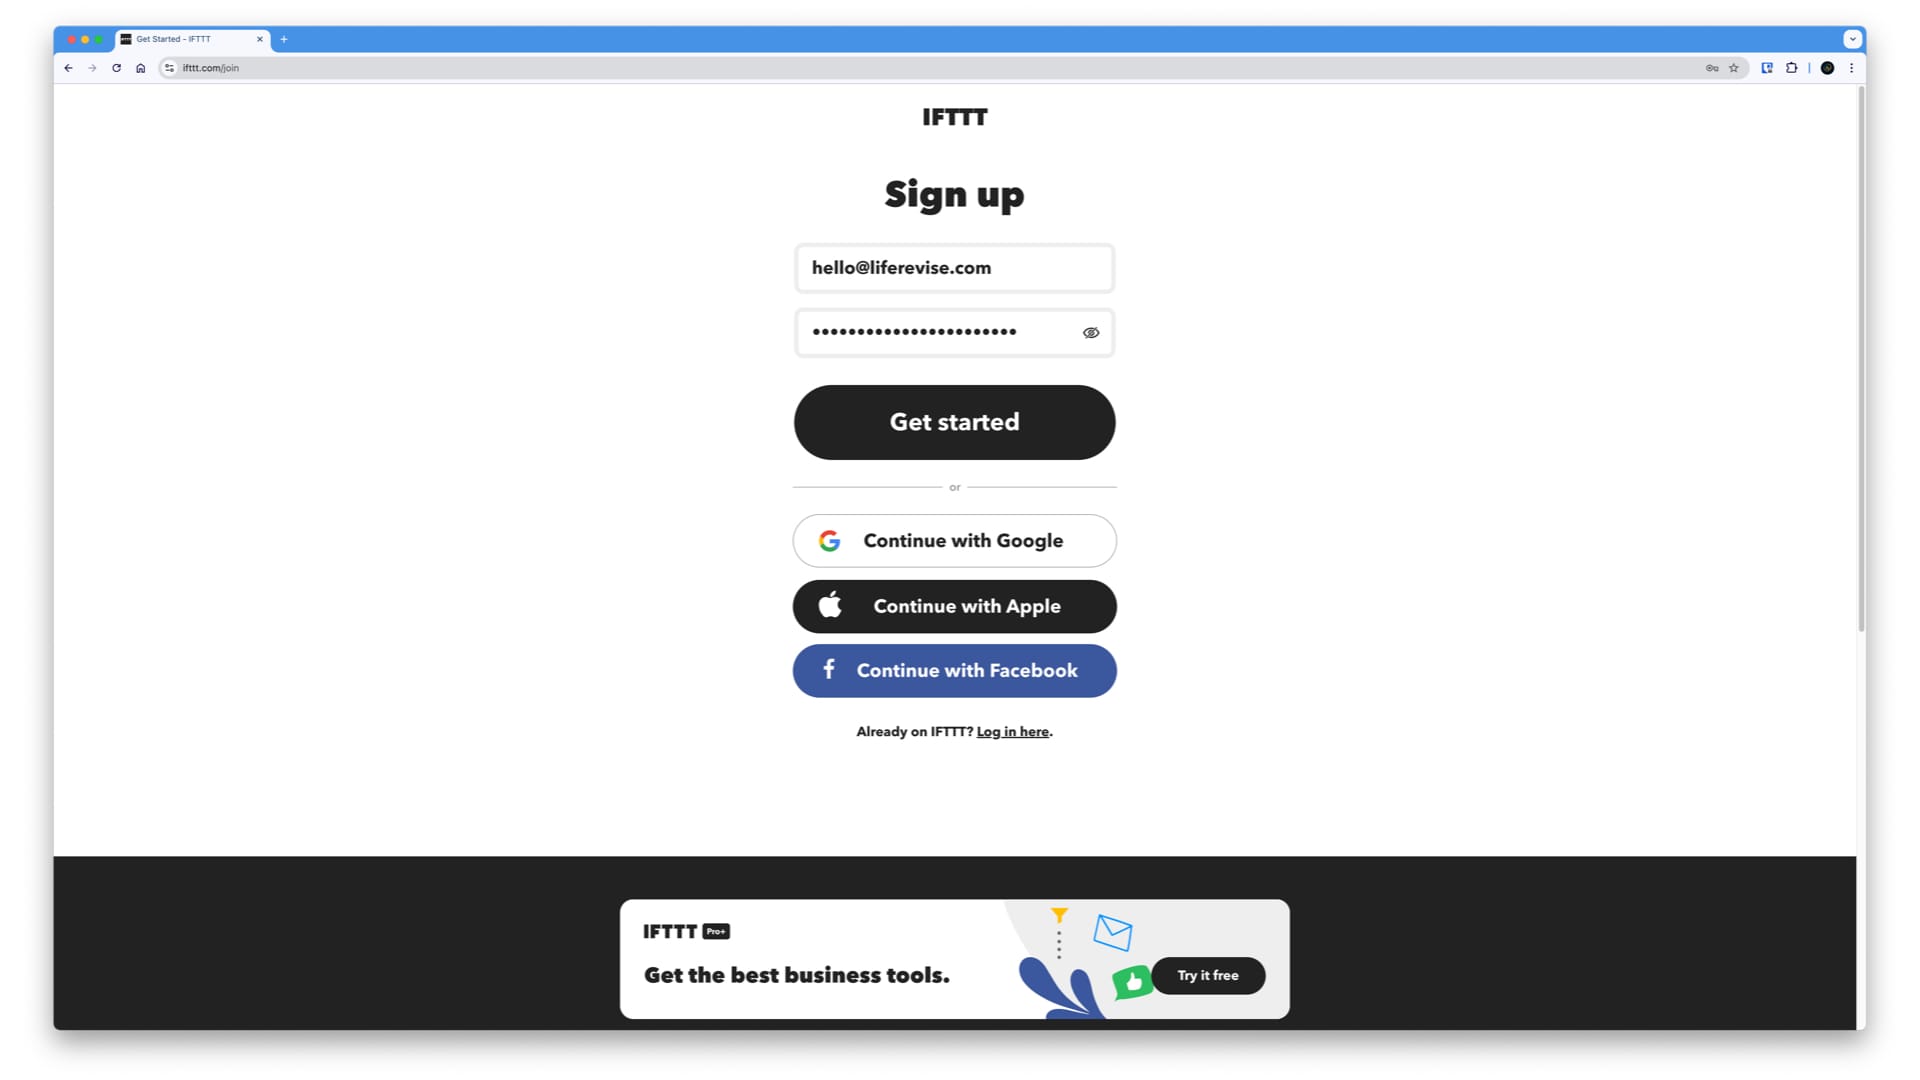
In the next step, you need to select which mobile phone you are using because you have to download the mobile app onto your device later. For my experimentation and for the sake of this demo, I selected both Android and iPhone, but of course, you only need to select the appropriate one for you.
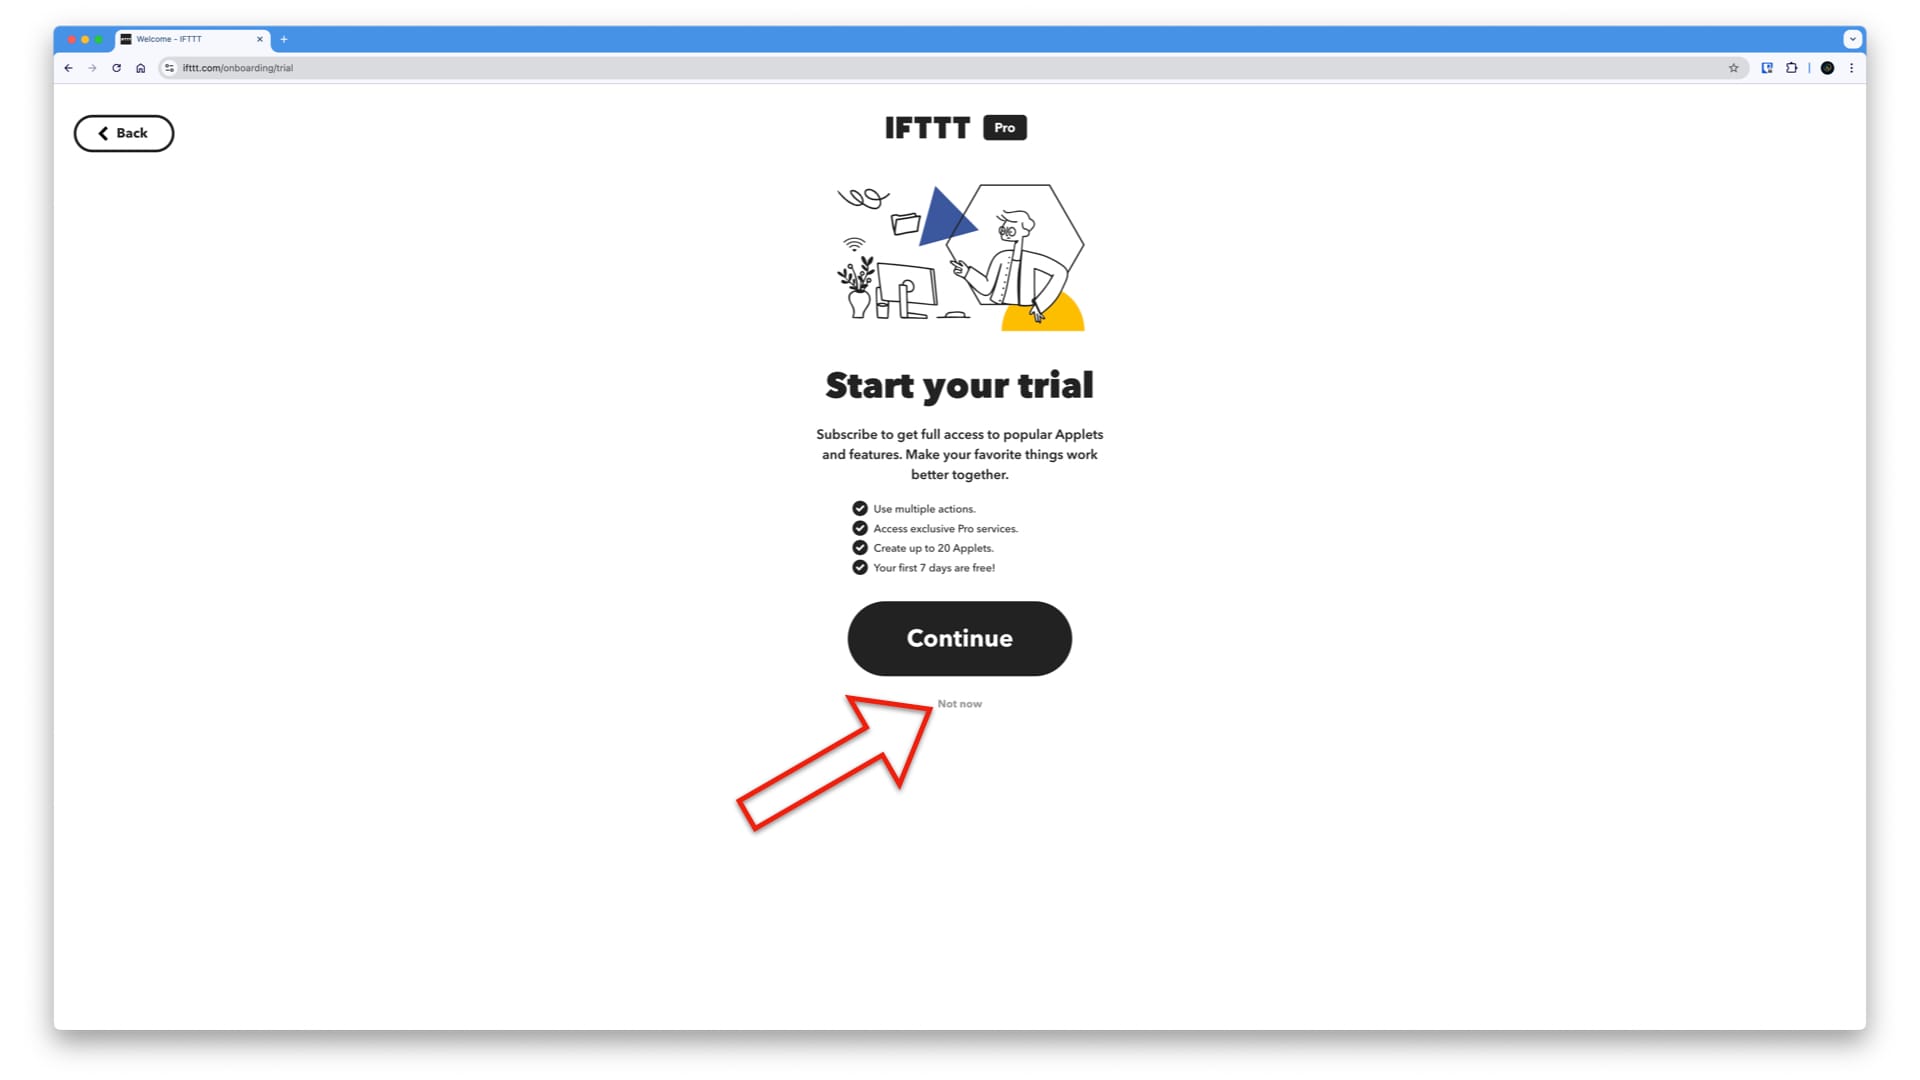
Moving on, be careful here because you don't need the pro package. Use the "Not Now" option to skip it.
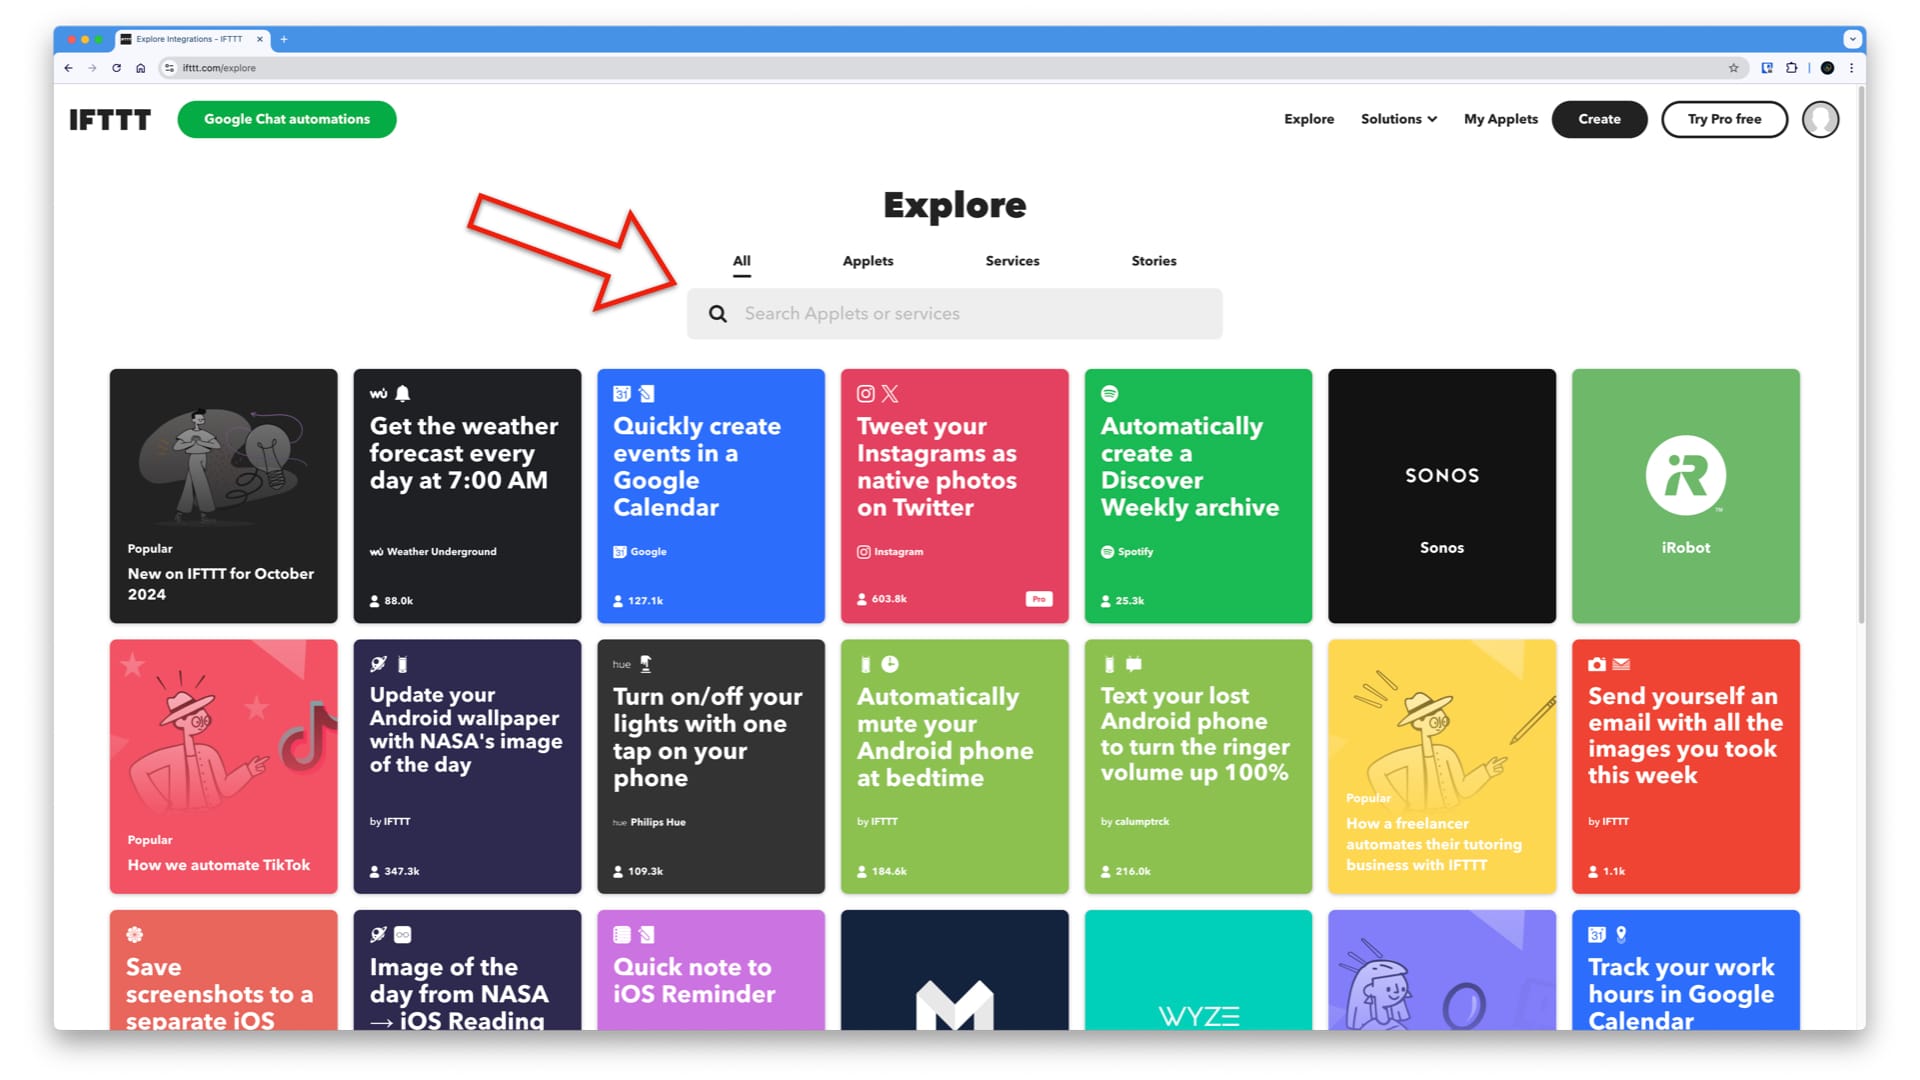
Next, IFTTT provides a variety of automation solutions, so you need to search for a specific one.
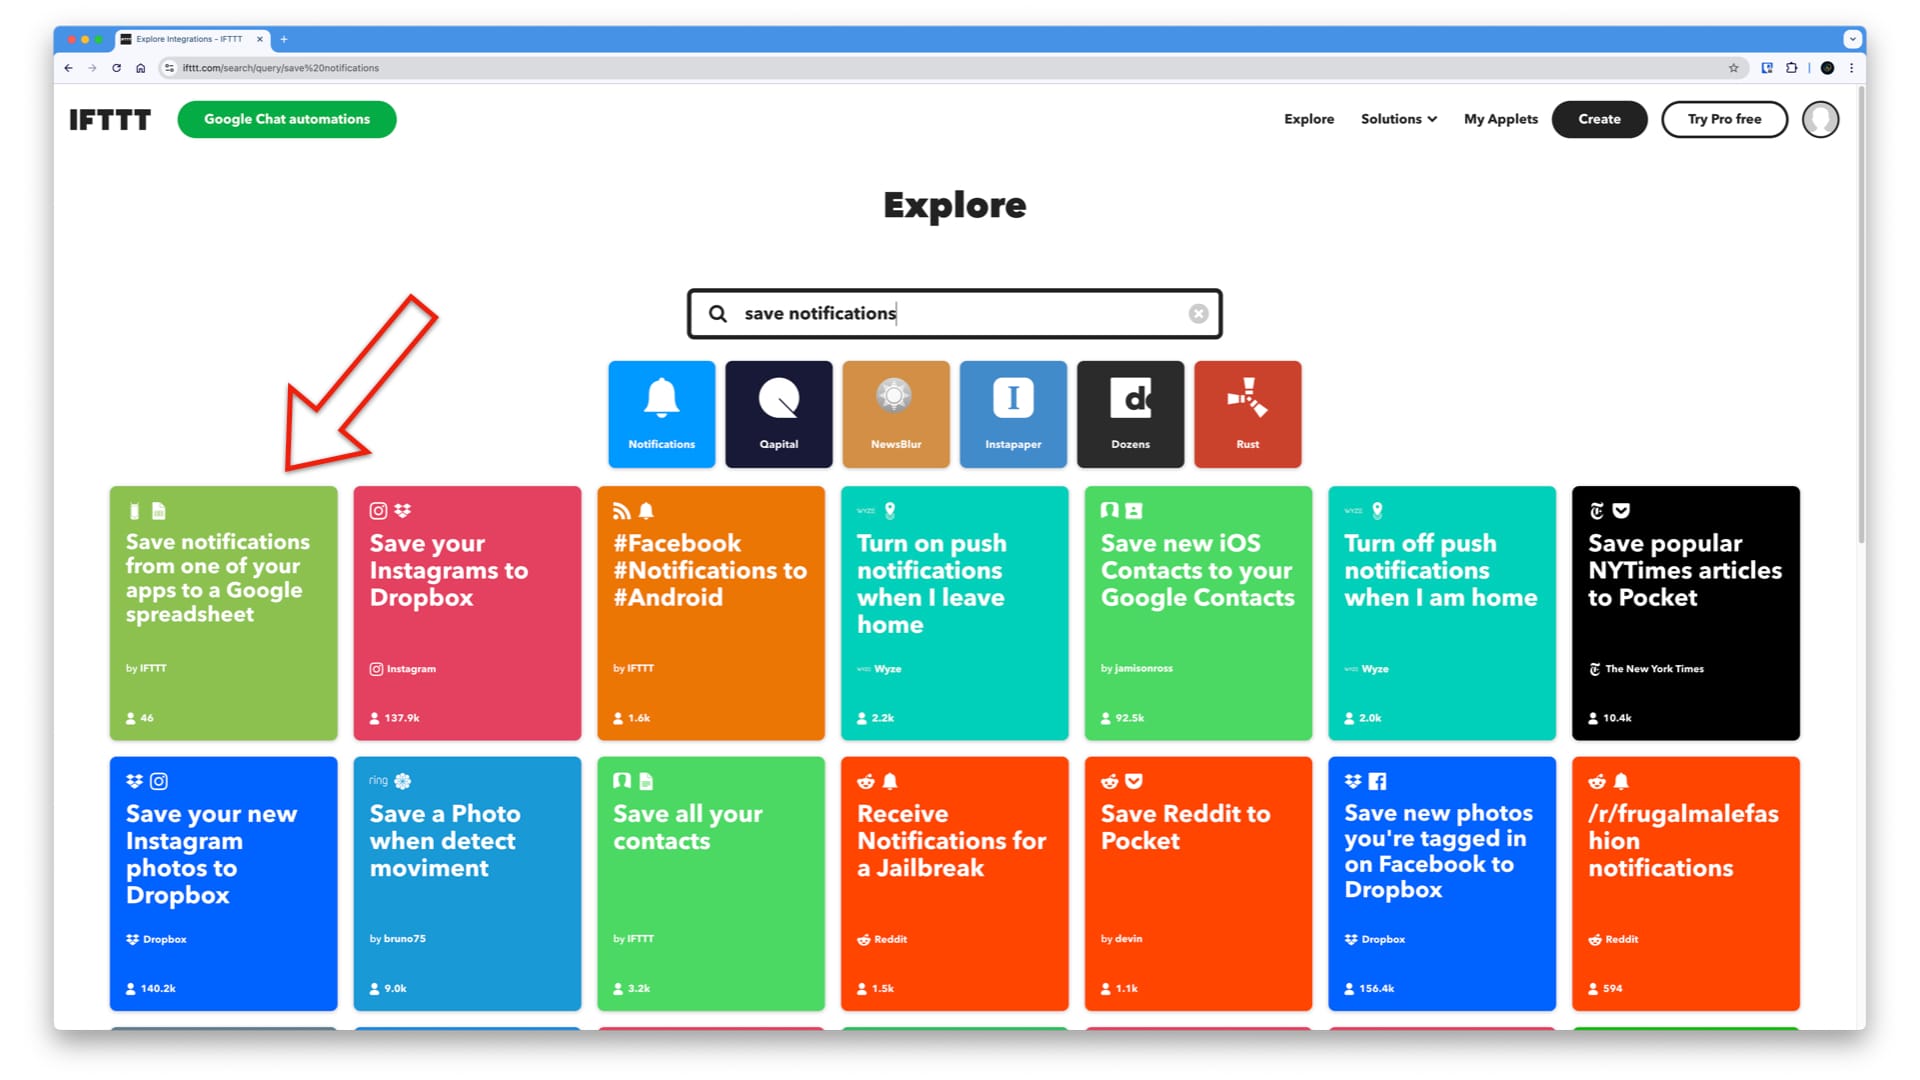
In the search box, start typing "save notifications" because this is how this automation's title begins. As you can see, the first option on the left, which is light green and has a little Android icon at the top left corner, indicates that unfortunately, this automation is only available for Android devices and not for iPhones. Click on that, and this is where the automation setup begins.
Before you click "Connect," open the "More Details" section.
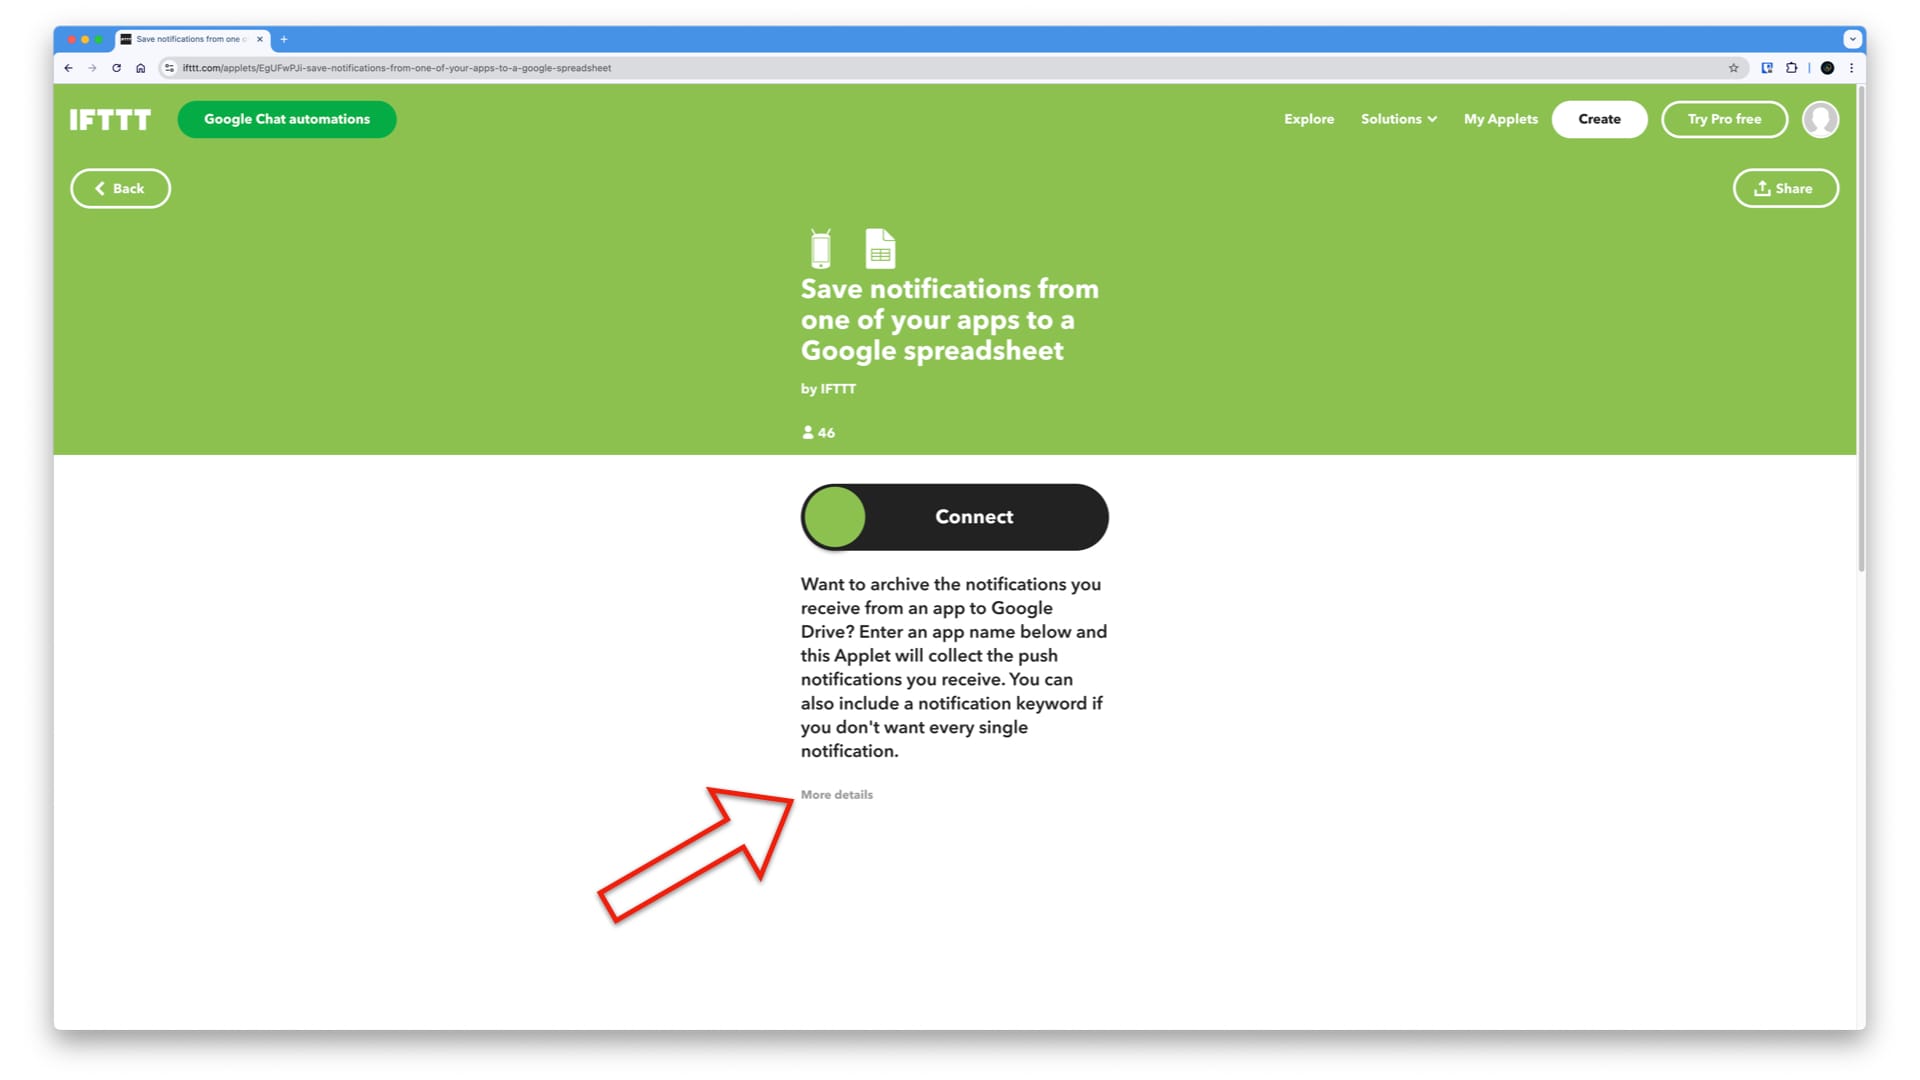
This section will explain the two steps. Essentially, as the service's title suggests, if something happens, then please do that. This is the whole philosophy behind this service. If a notification is received from a specific application on your mobile phone, this software will trigger another step. It will take the notification, save it, and add it to a new row in a spreadsheet on your Google Drive. It's as simple as that.
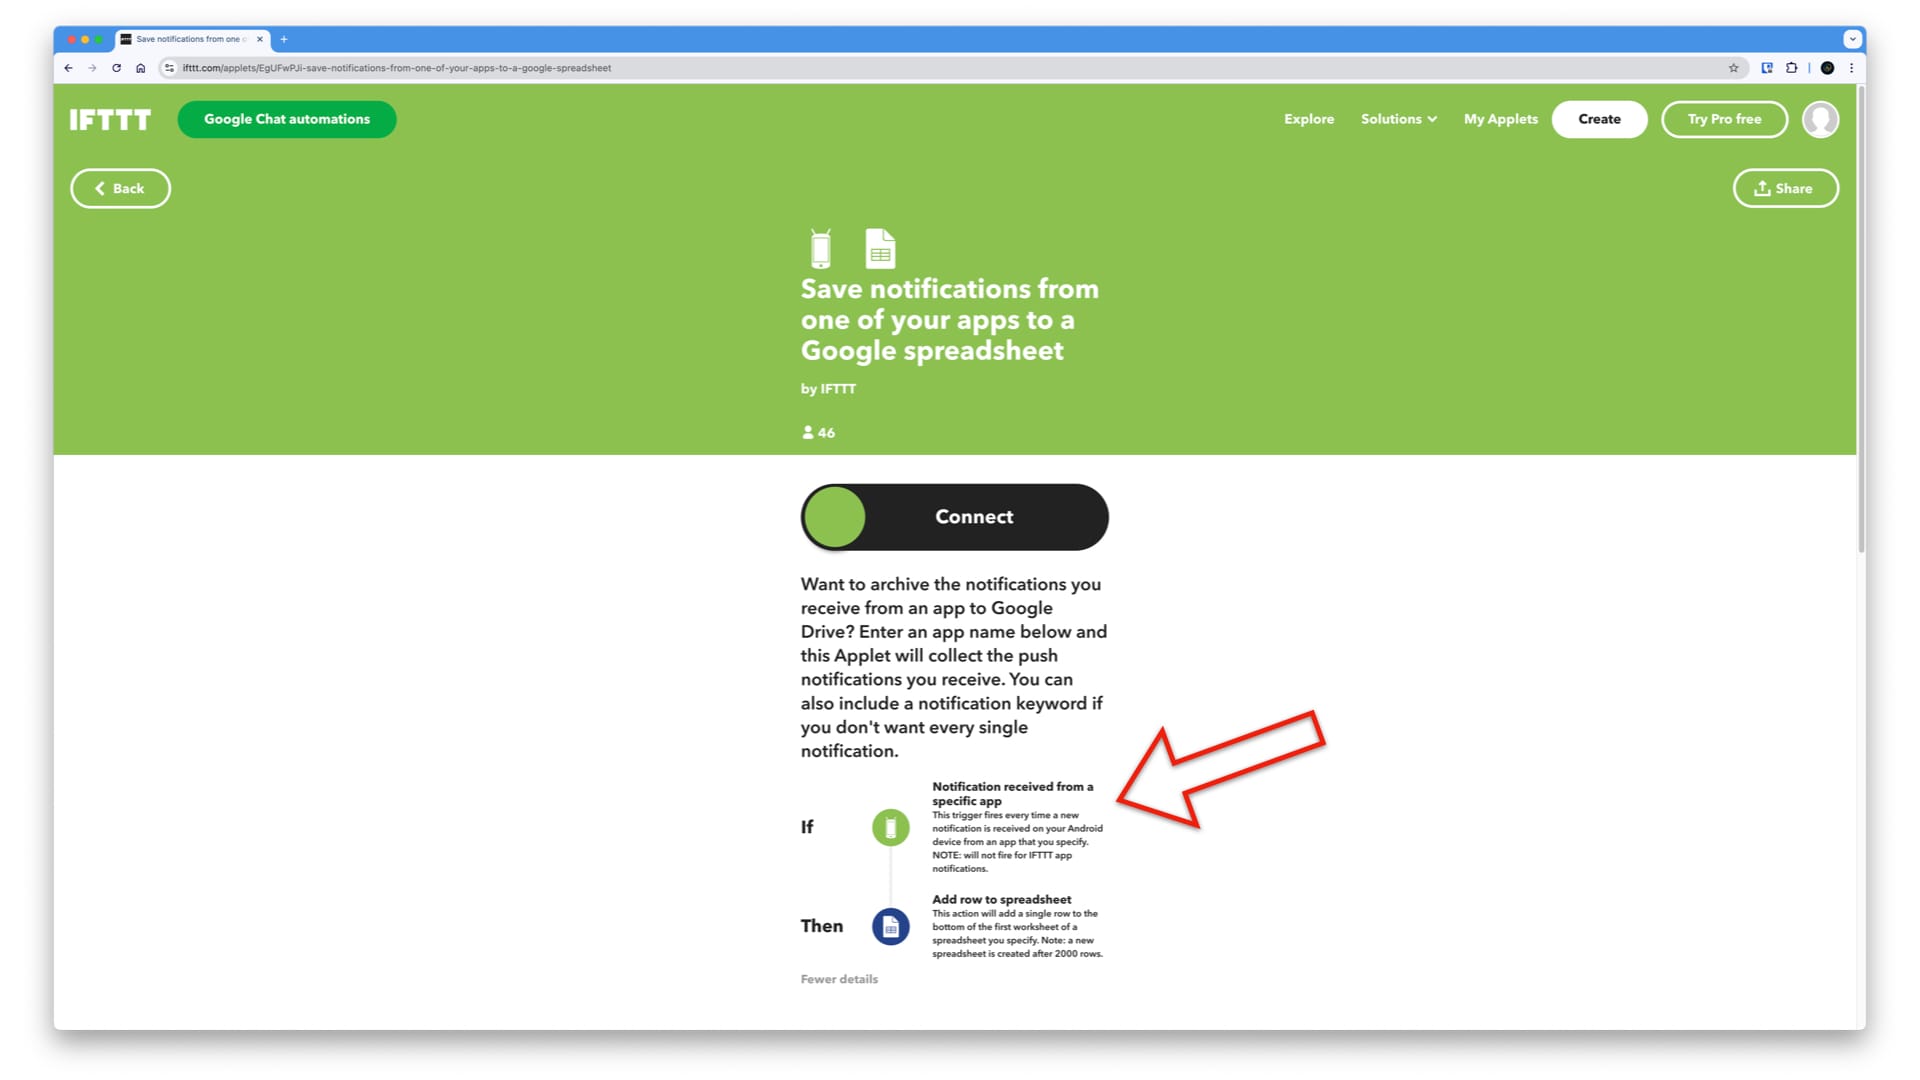
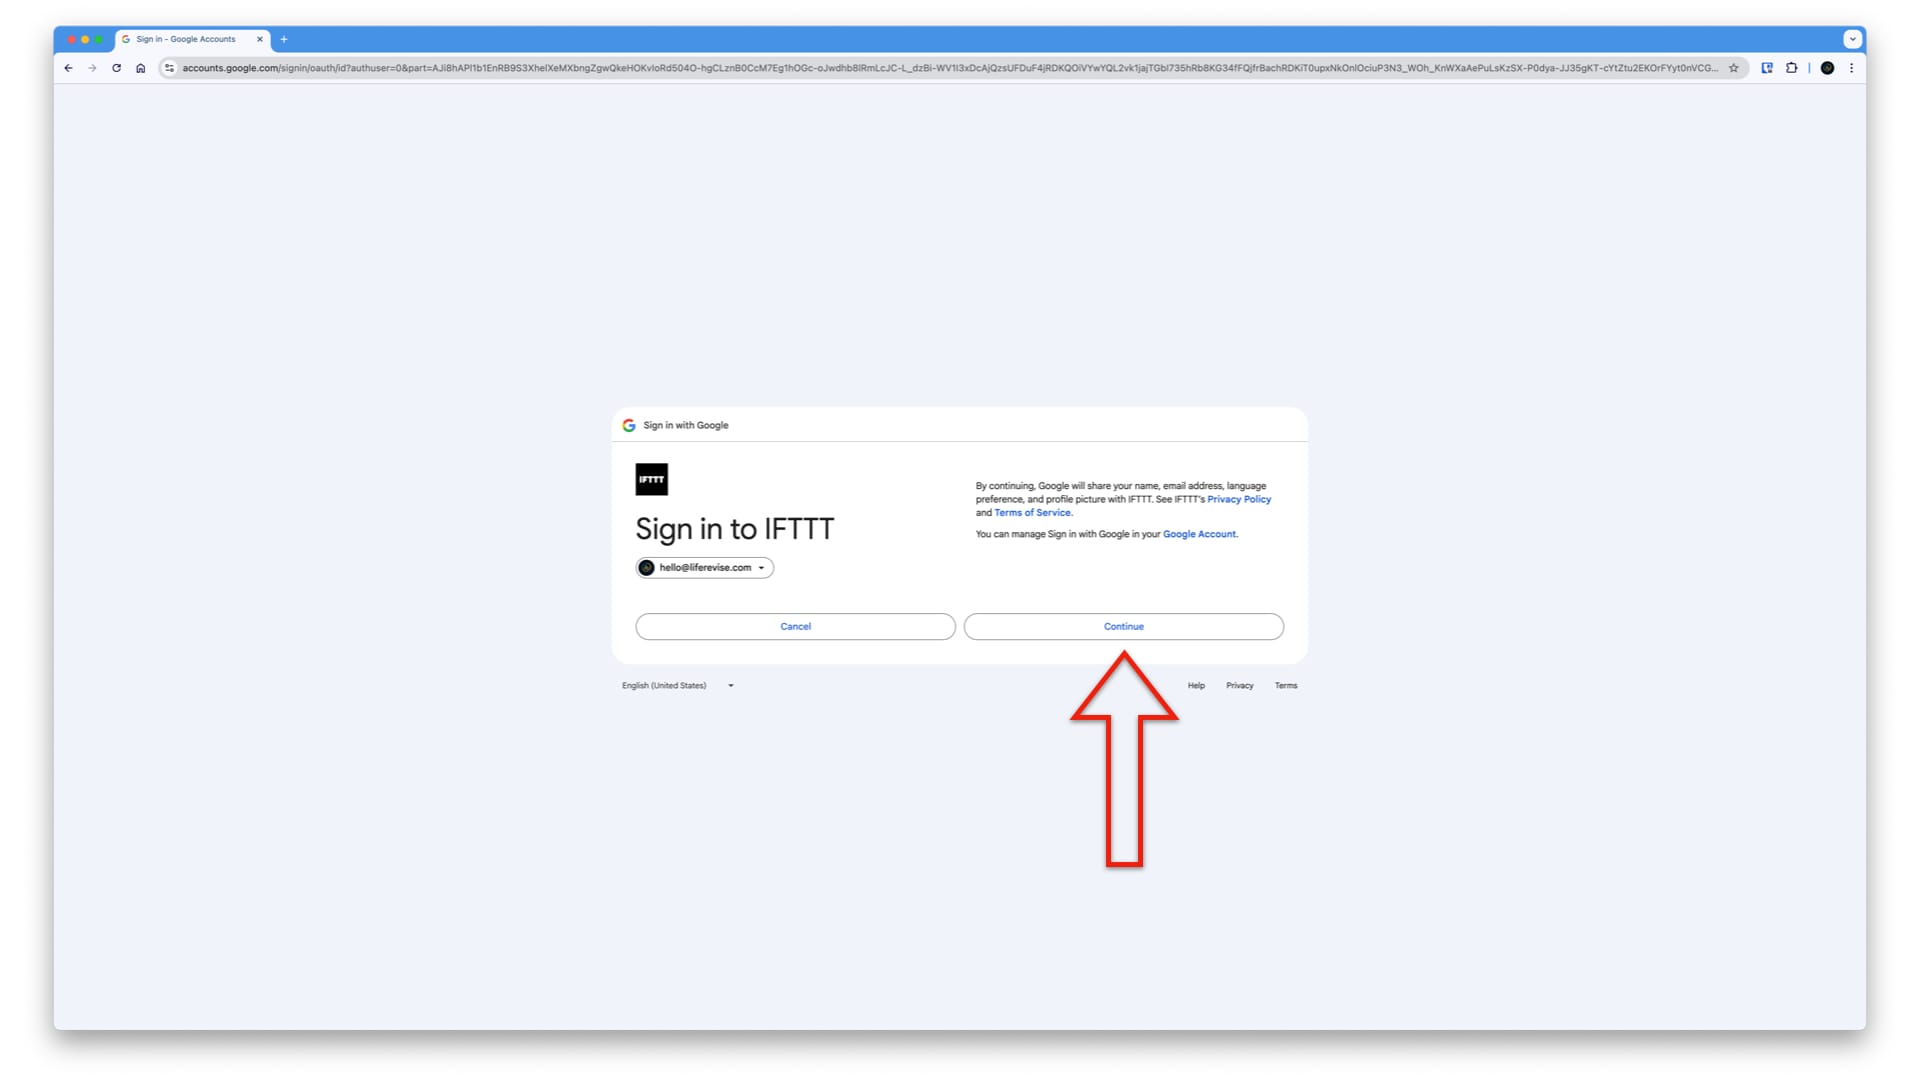
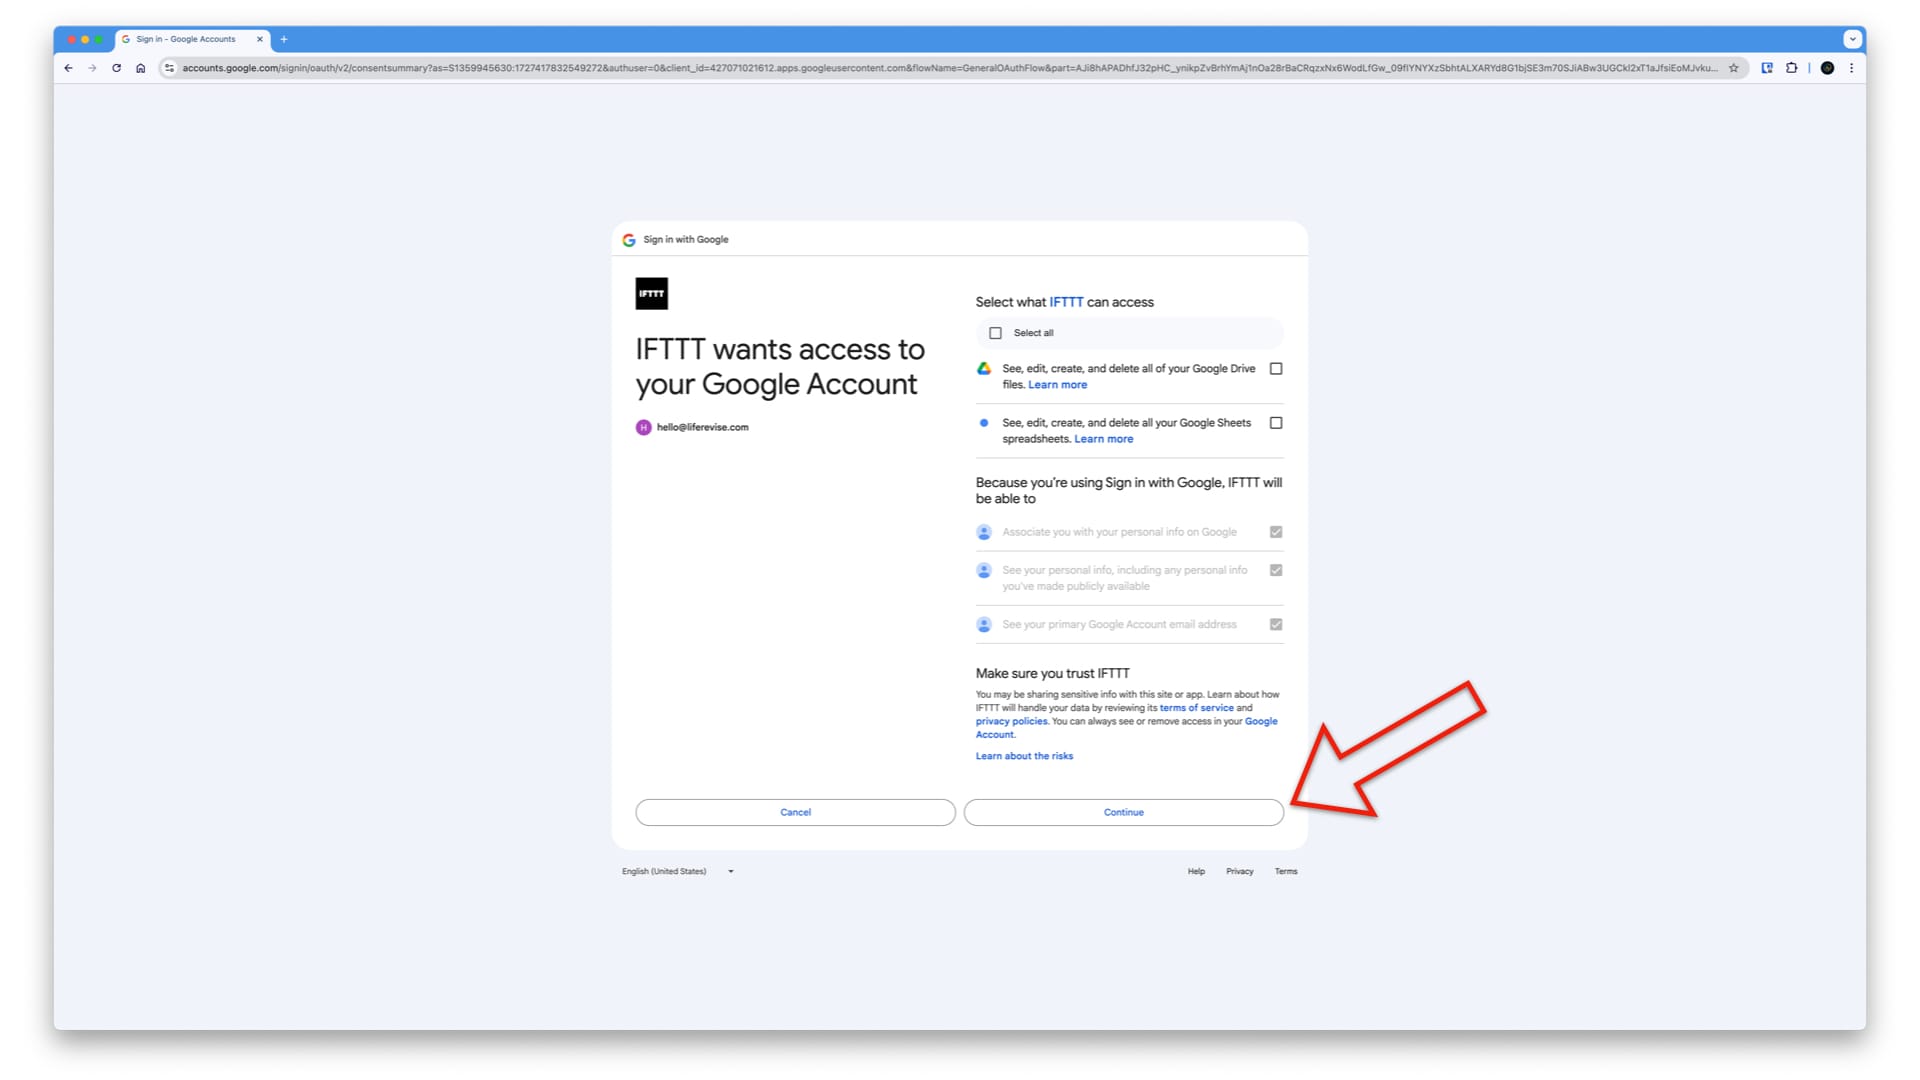
To set it up, first, you need to connect and allow IFTTT to access your Google Drive, create a spreadsheet there, and keep adding new records to that spreadsheet. You have to accept the terms of service and grant access to your Google account. I've done this, and it's been working for me for over a year now, so I consider it relatively safe and secure. By the way, if you are super conservative, you can set up a specific Google Gmail account just for this exercise to separate your private email account and private Google account from this service. But for now, let's hit "Continue."
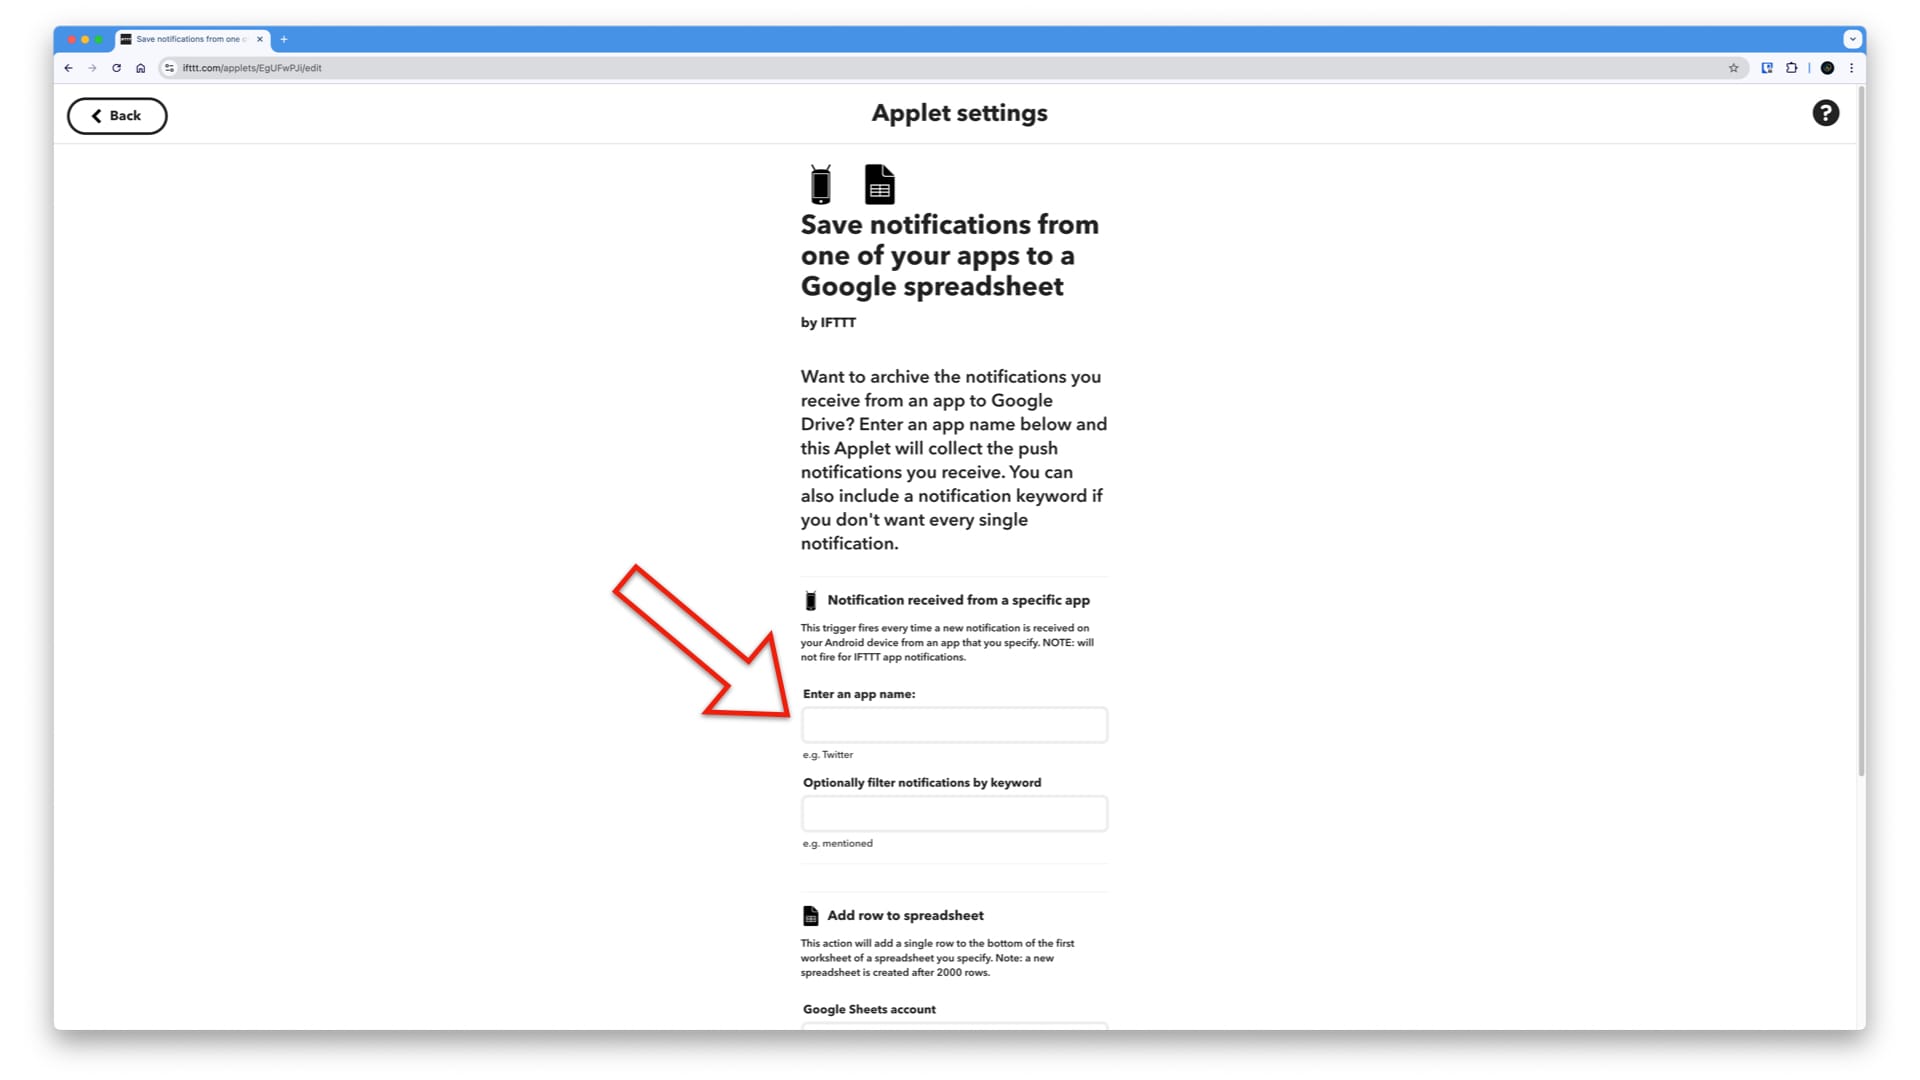
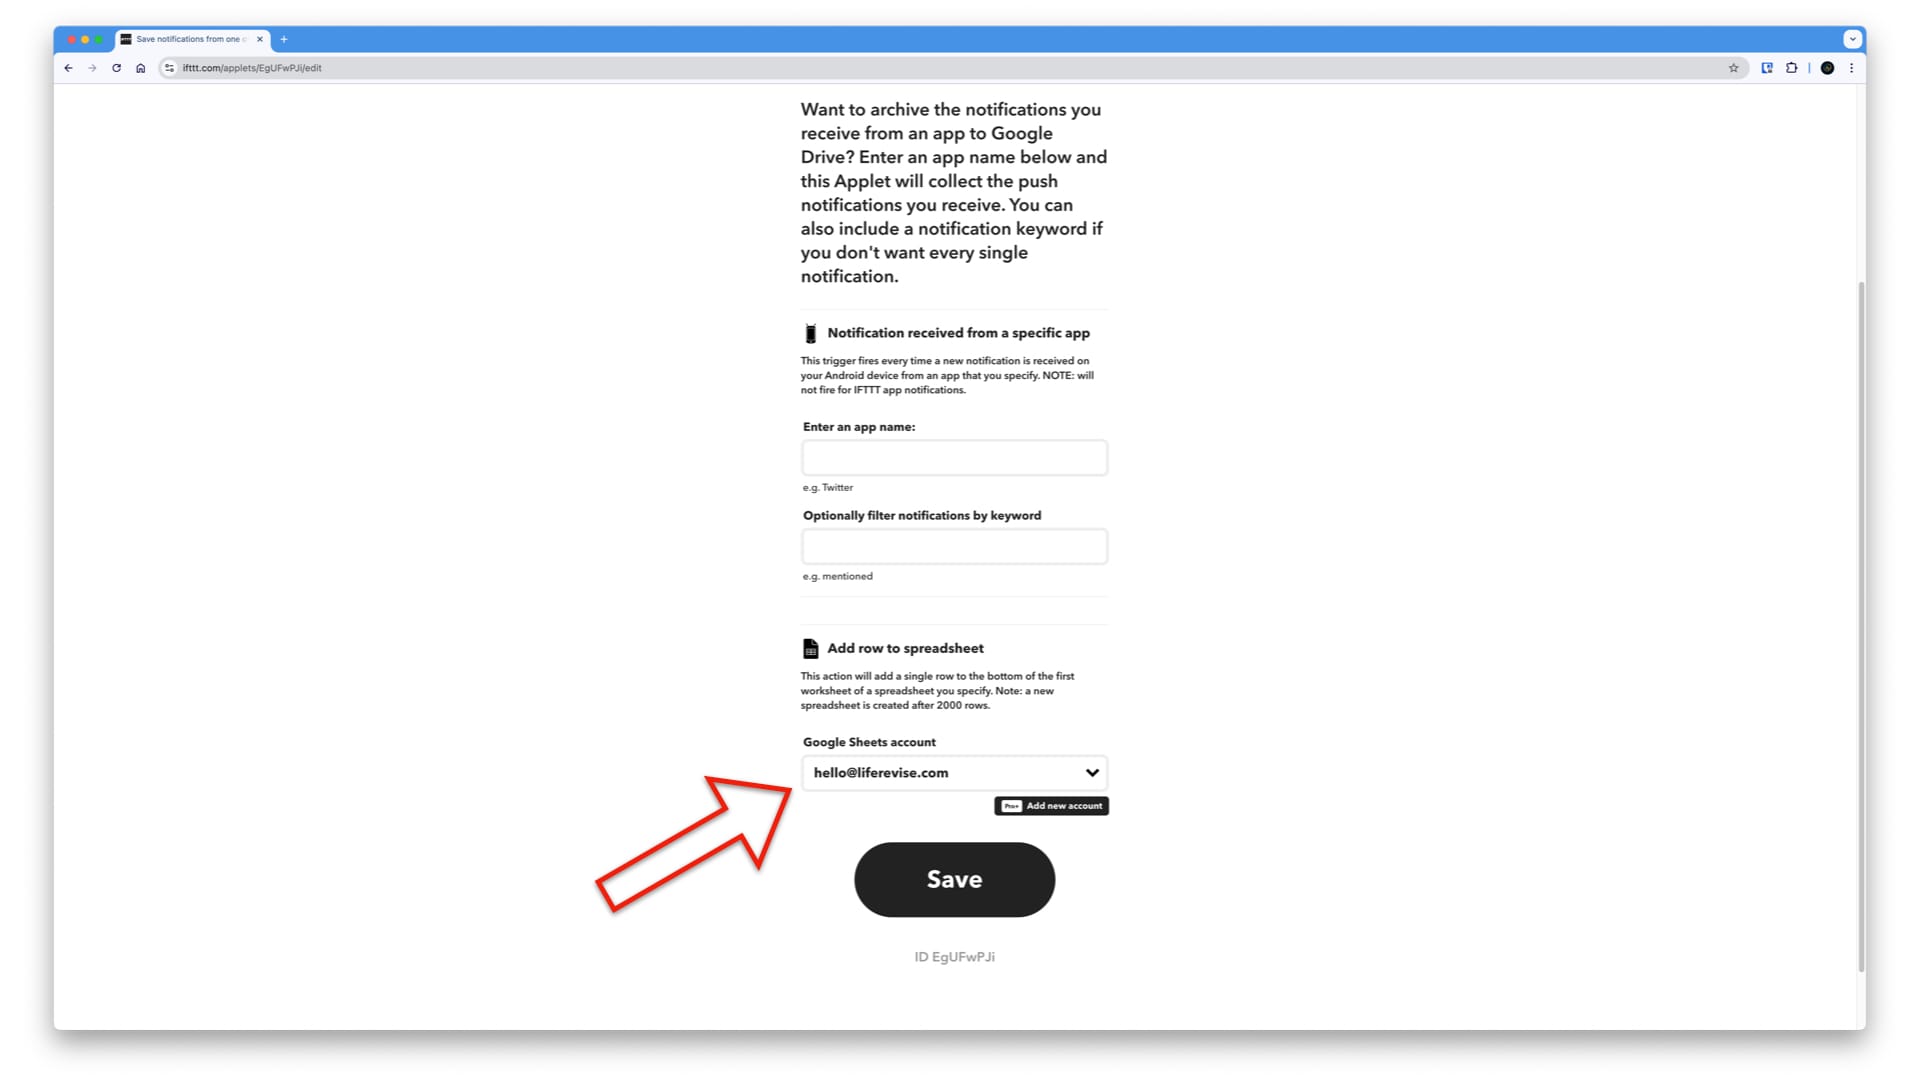
This is where the applet setup begins. You have to be very precise when entering the app name. You need to know the exact specific name, which is usually as simple as what is written on your mobile phone. Optionally, and I actually figured out that it became mandatory, you have to provide a filter keyword for those messages. I'll give you an example later.
The last item for the first step is to select your Google Sheet account, which in my case is this LifeRevise Google account.
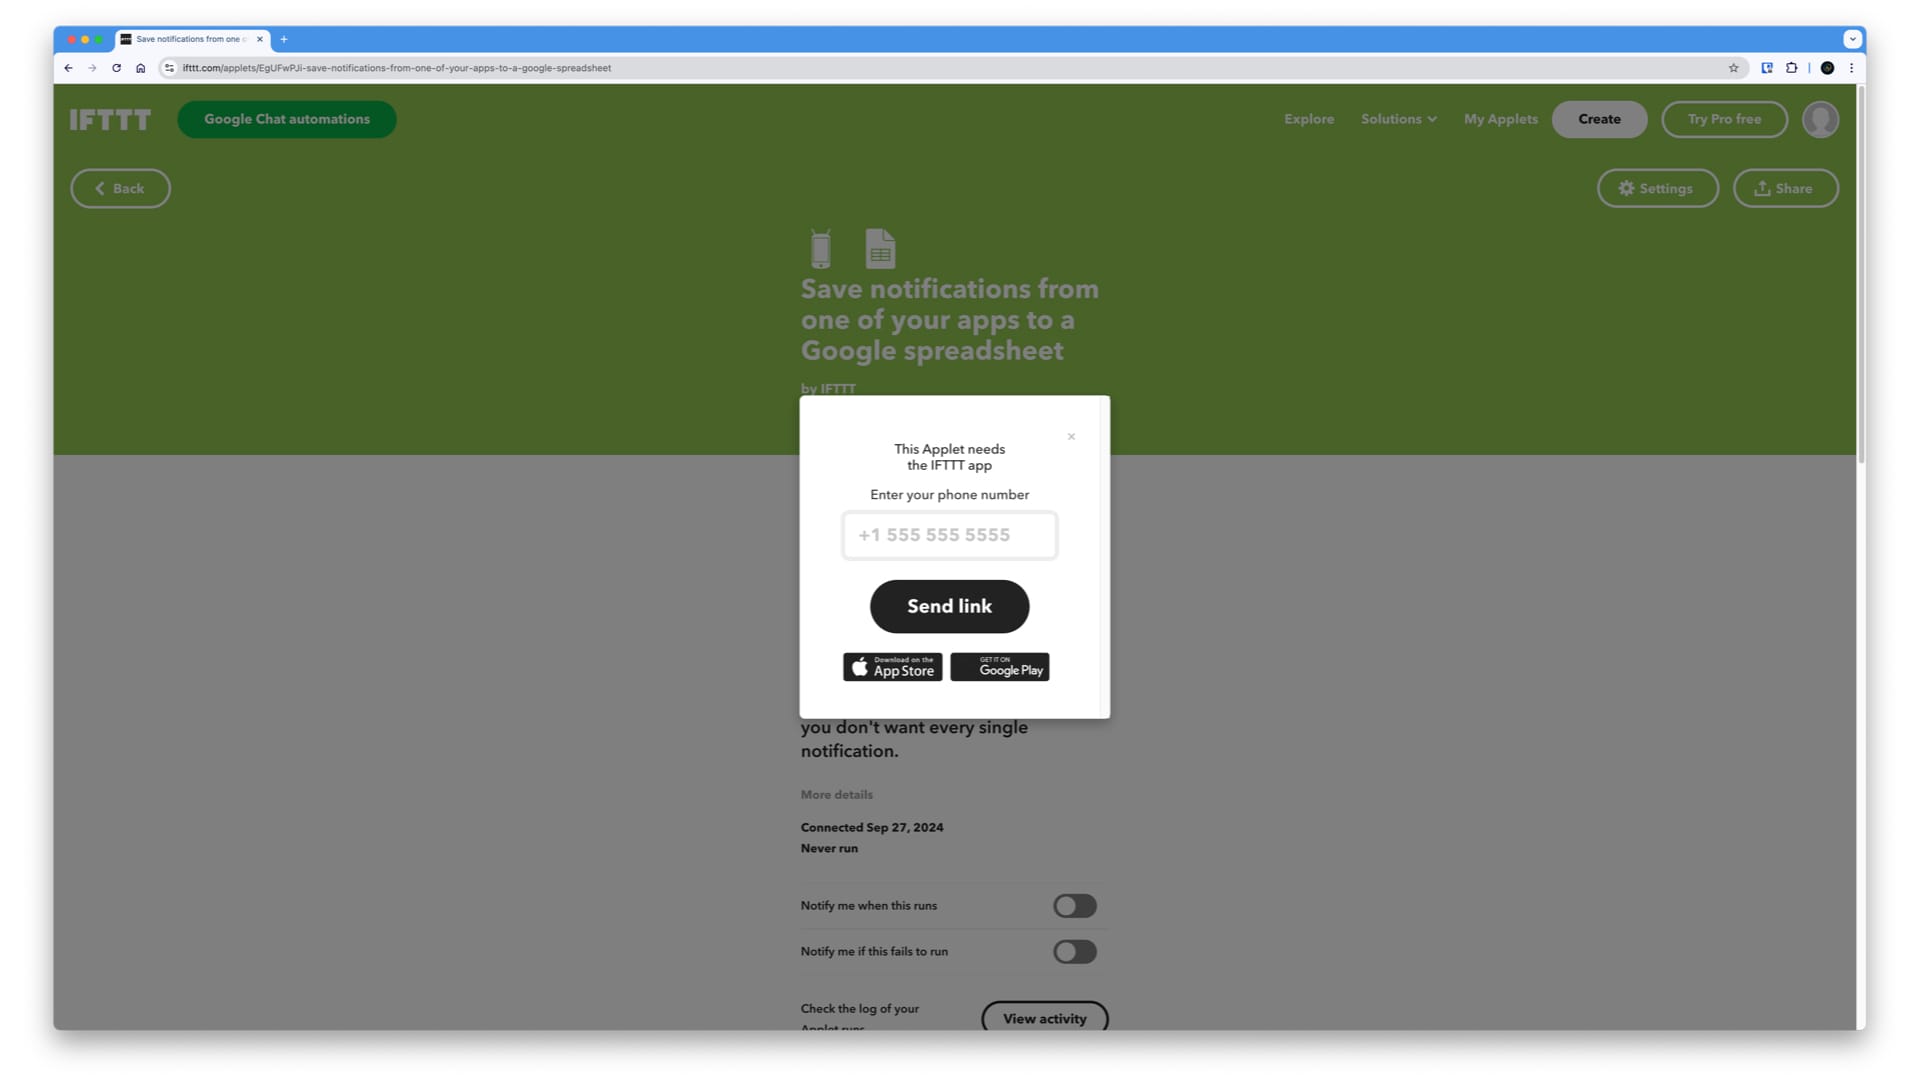
At some point during the process, it will ask for your mobile phone number to send you a link in a simple text message so that you can download the appropriate app for your application. You can ignore this if you have already downloaded it, but it offers you this option as well.
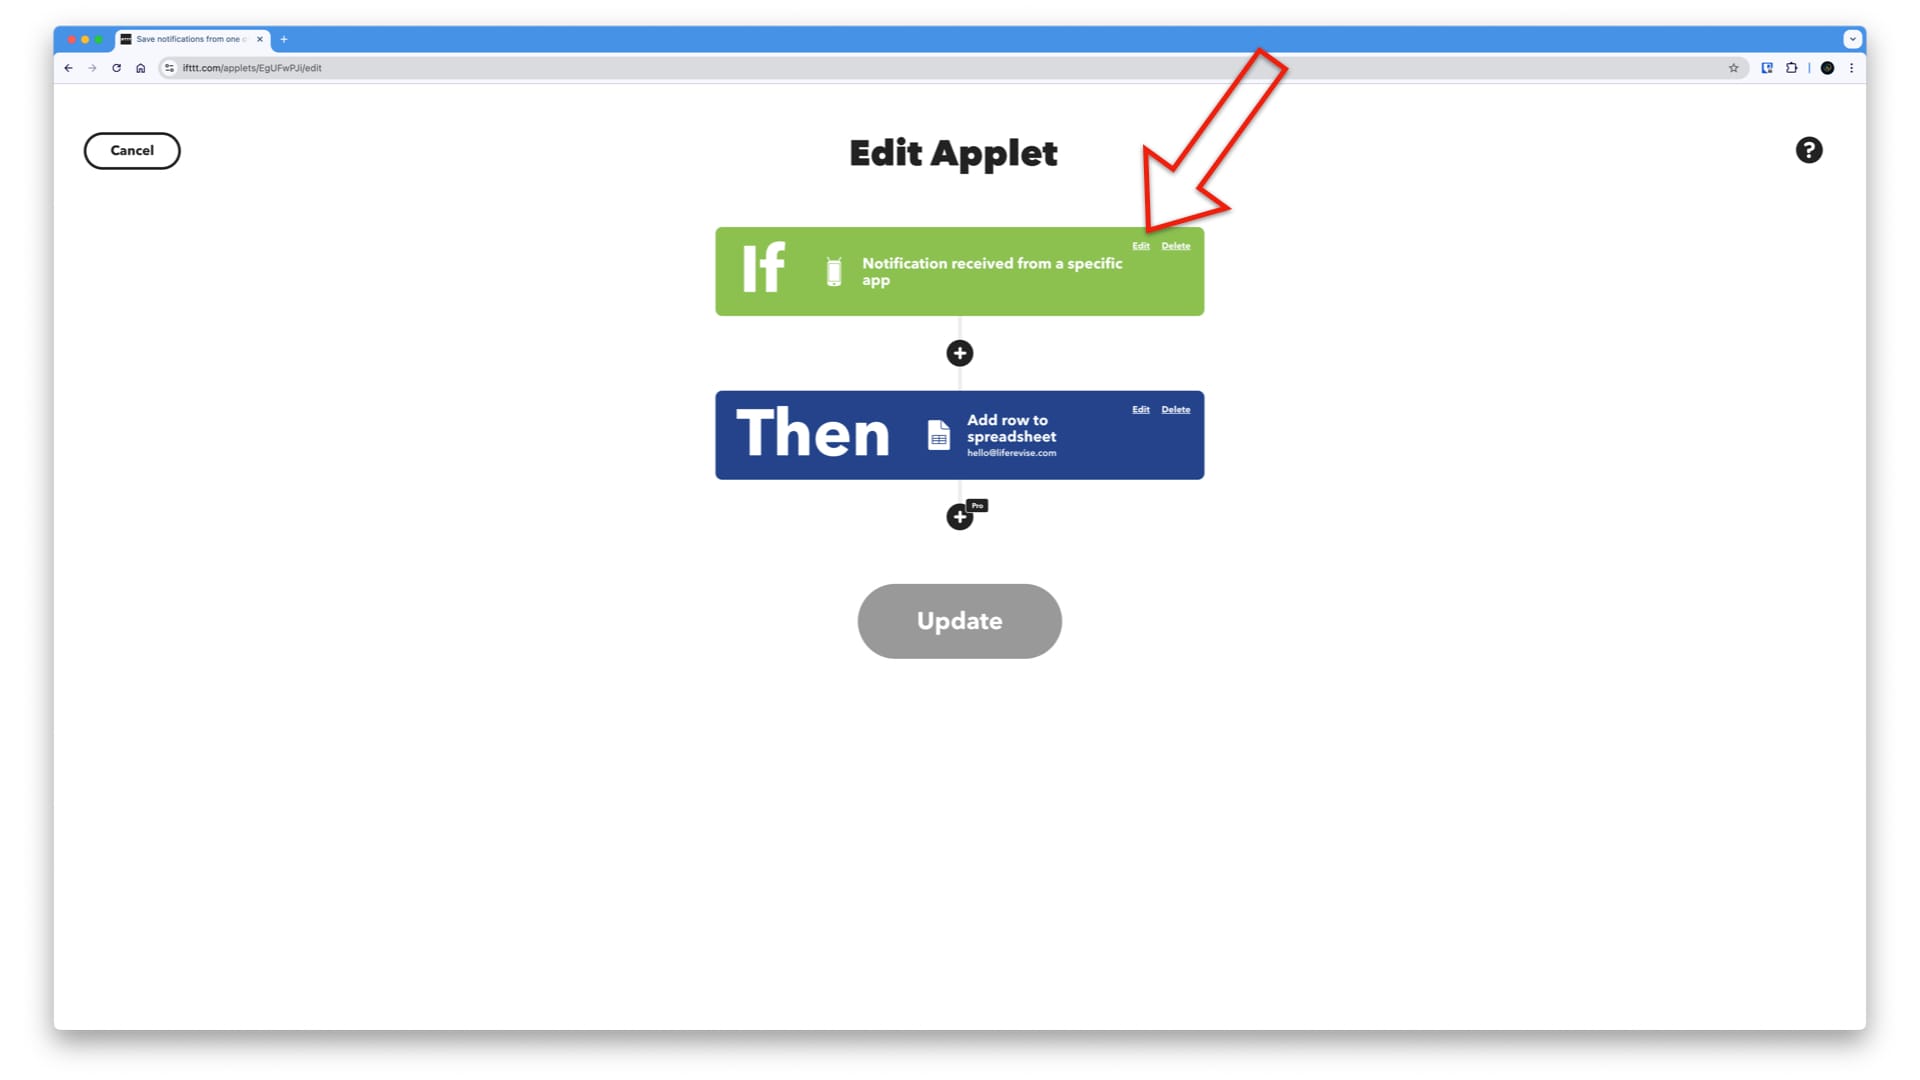
Click on the first step of the automation process, the green card:
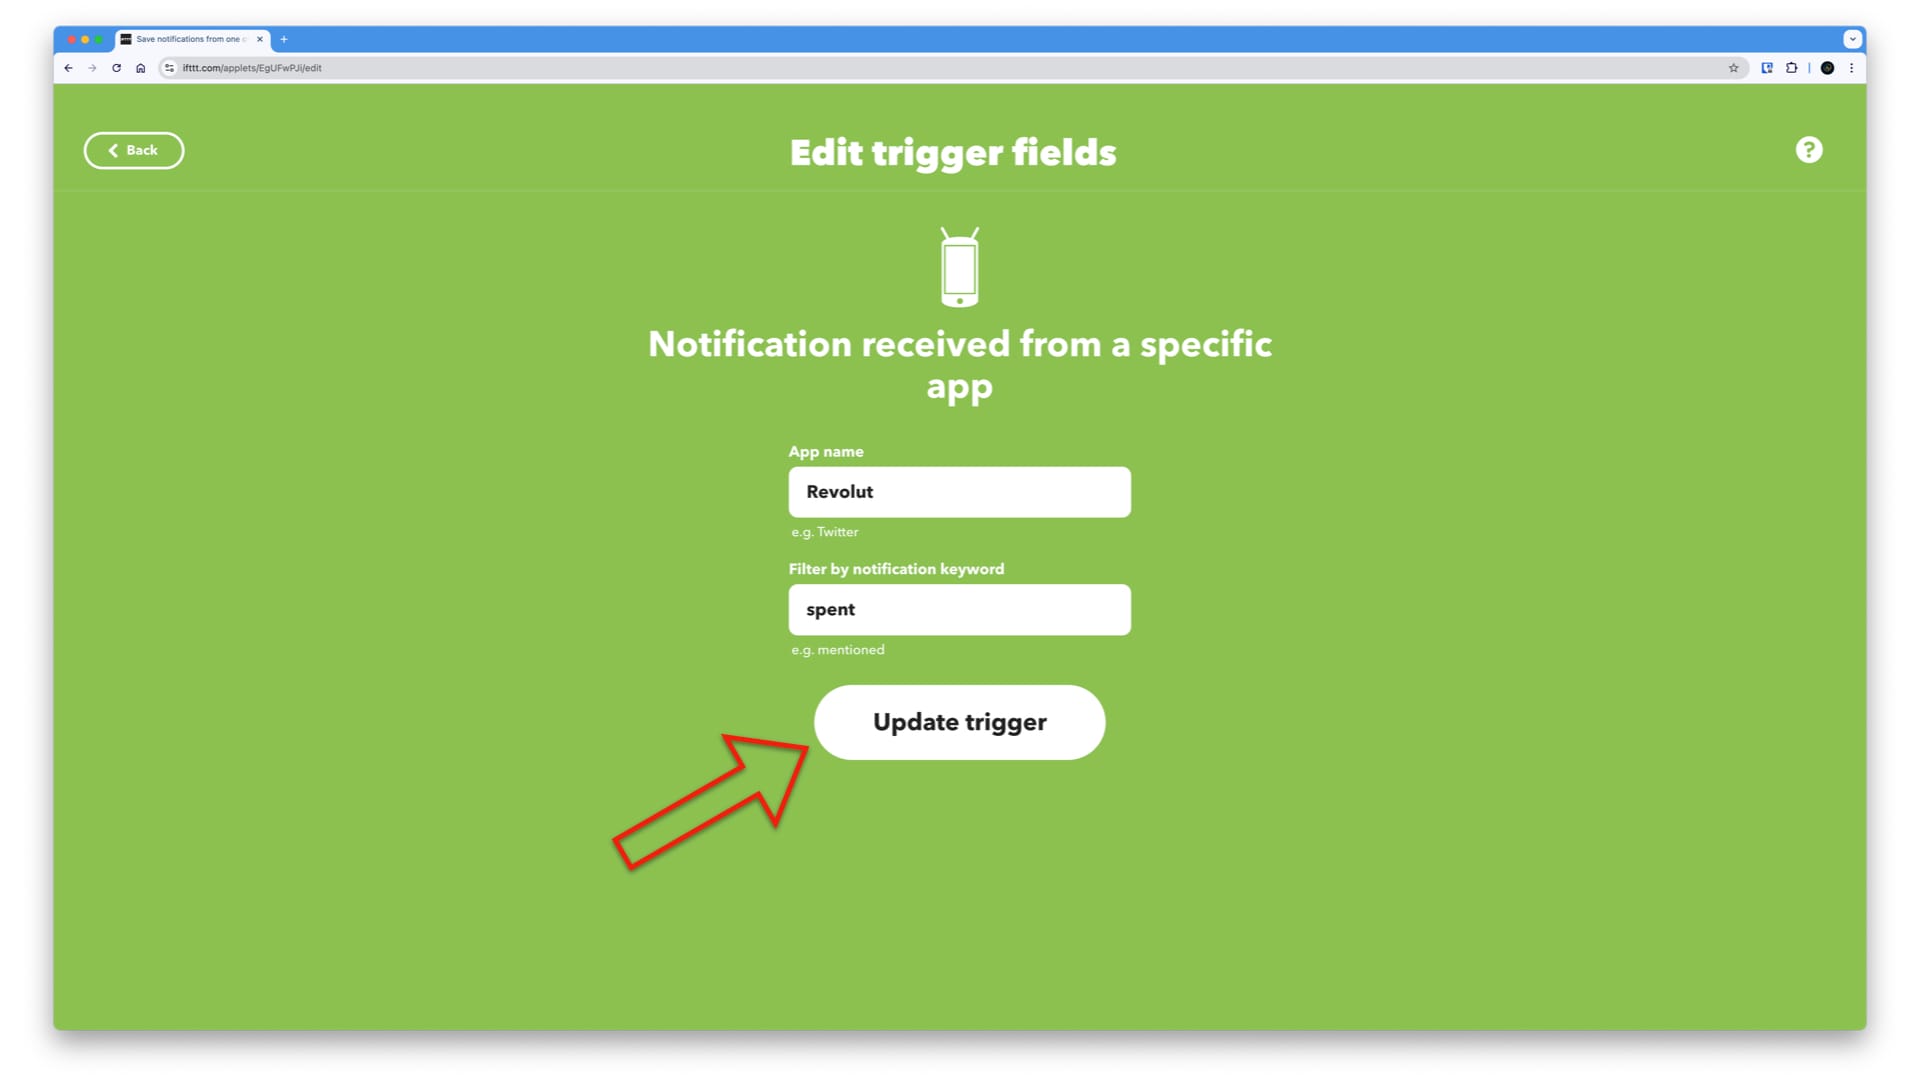
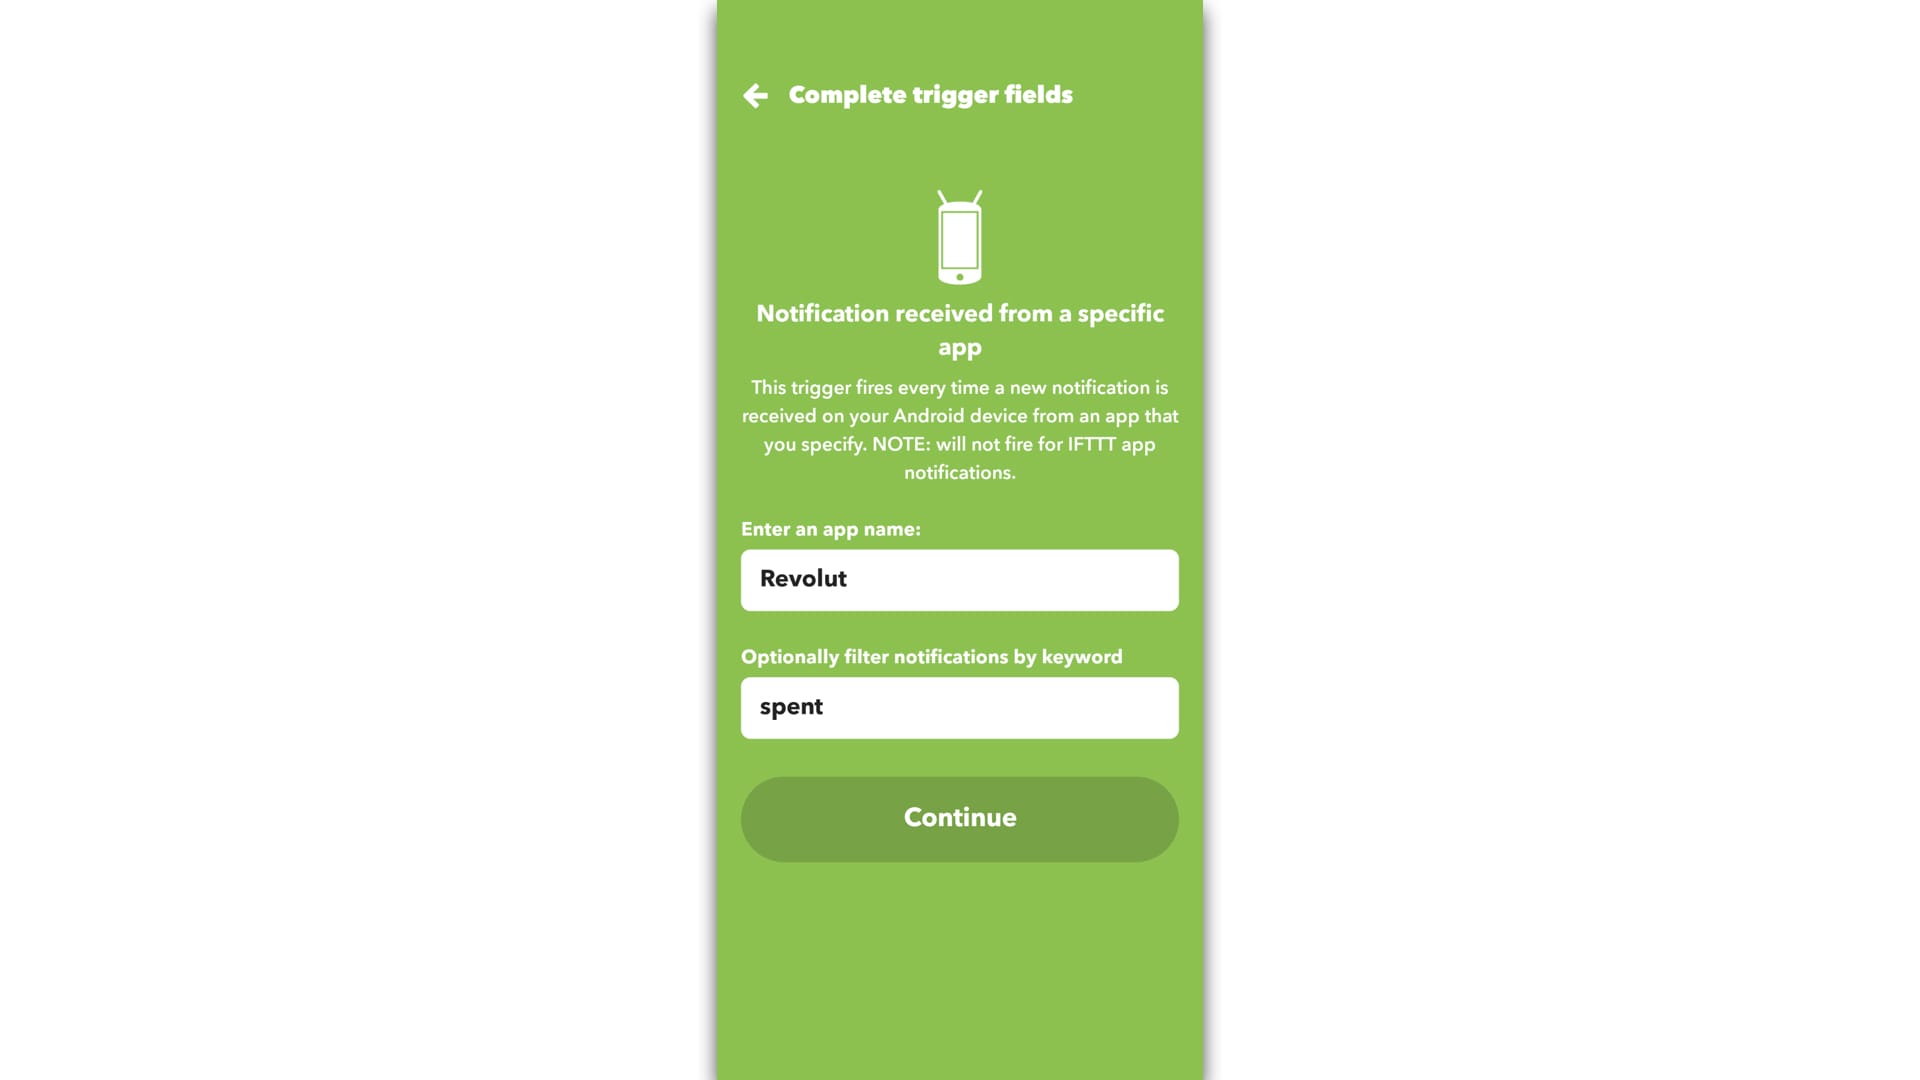
In my case, for the sake of this example, the app's name is going to be Revolut, and I'm specifically looking for a word that I know exists in every single notification message, which is the word "spent." So I'm just looking for this keyword. This is the first bit, updating the trigger.
The second step is where the location of the spreadsheet is going to be and how the spreadsheet's columns will play together nicely when receiving this notification.
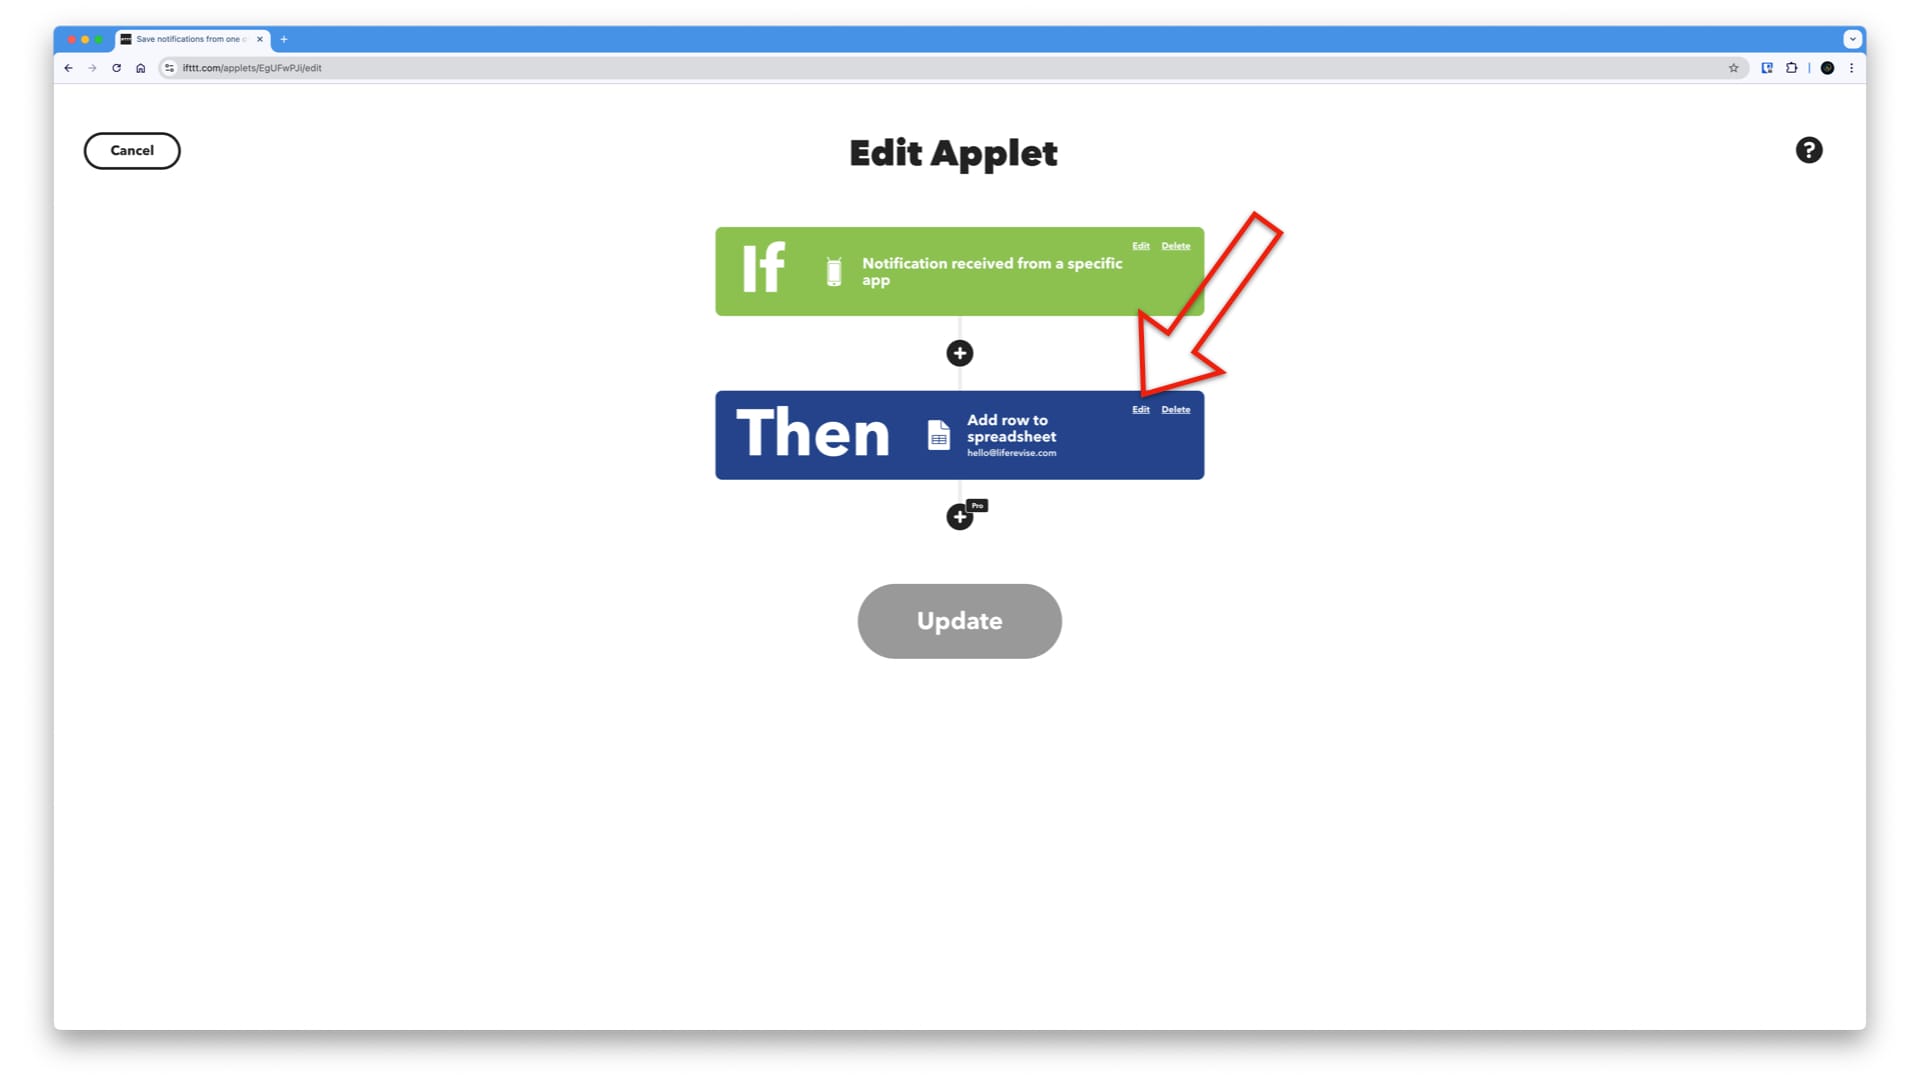
Everything is pre-filled, so you don't have to change anything if you don't want to. The spreadsheet name is going to be your app name plus the word "notifications." There will be certain columns, and it's very neat and nice to see how it works. Basically, the first column will be a timestamp when you receive the specific notification. The next column will be the app name. Column C is going to be the notification title, if there is any, and finally, column D will be the notification message, the body of the message. Again, you don't have to make any changes here.
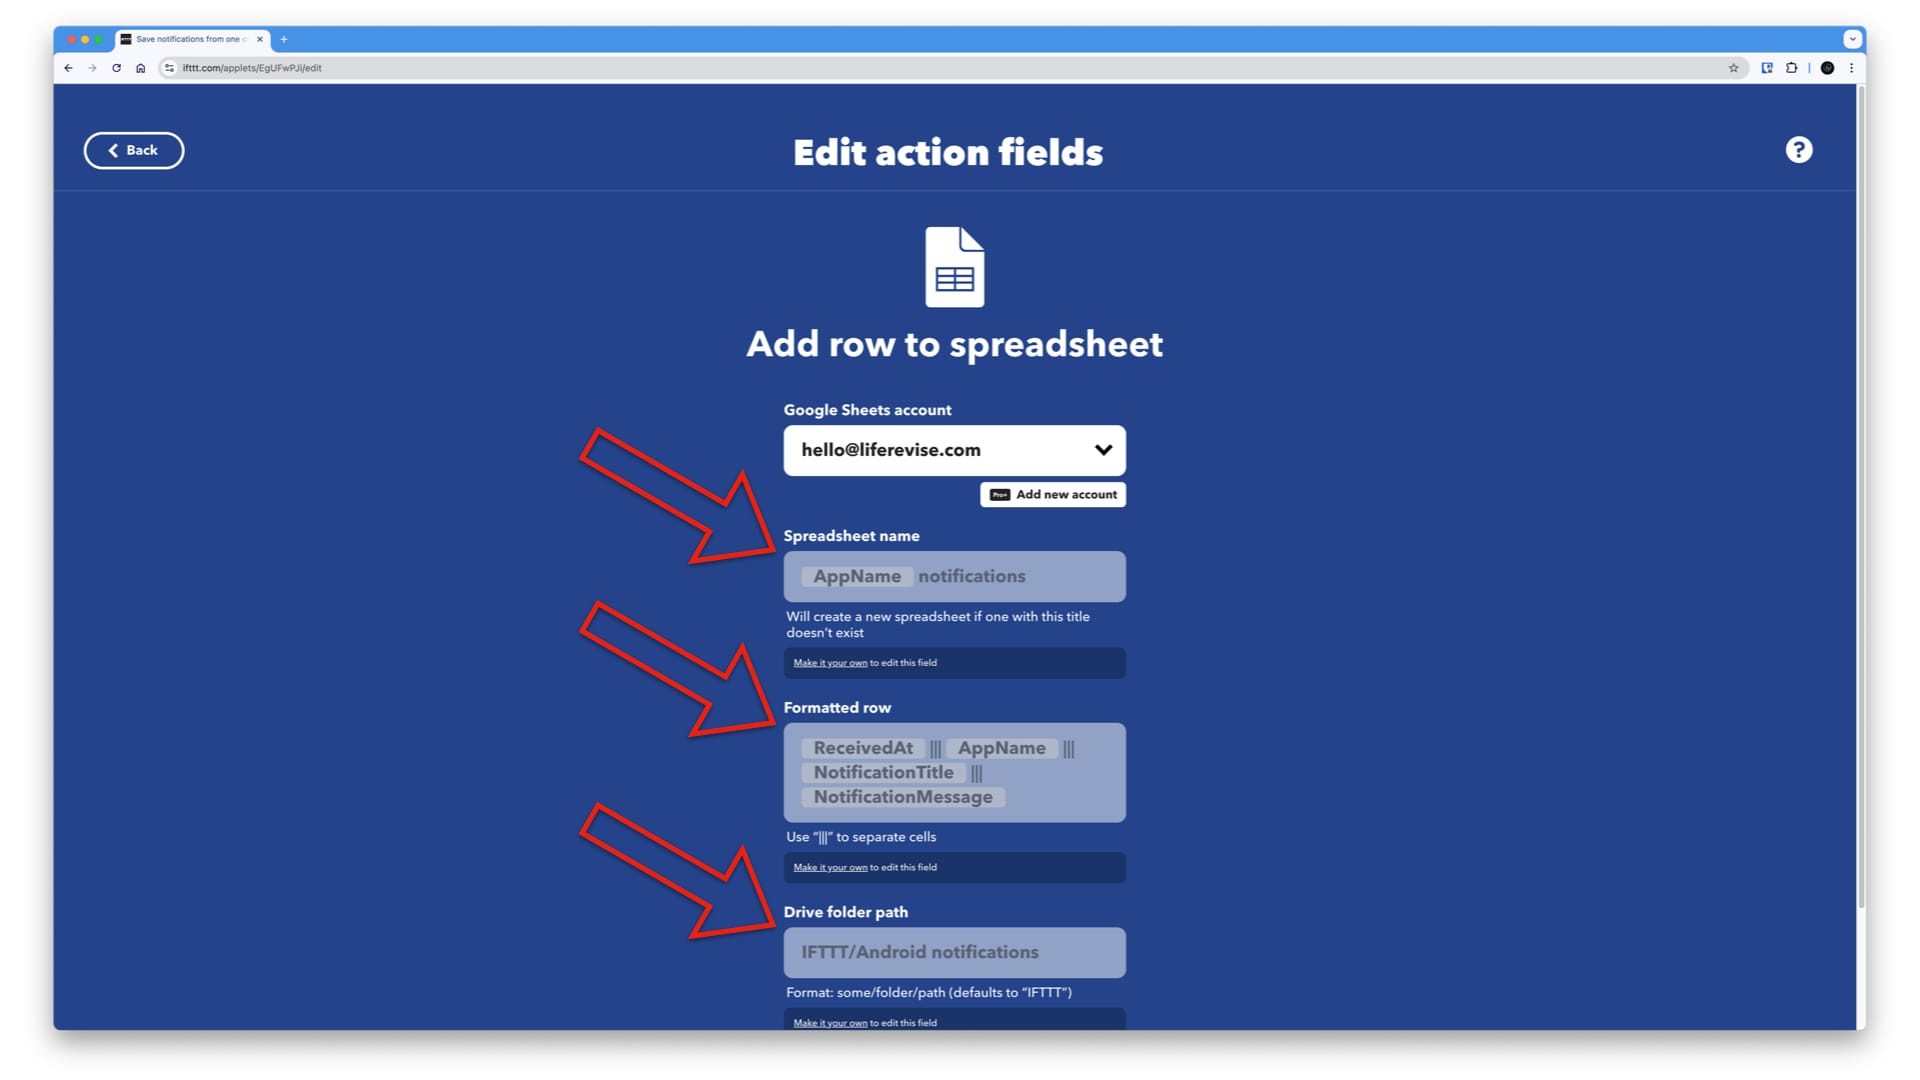
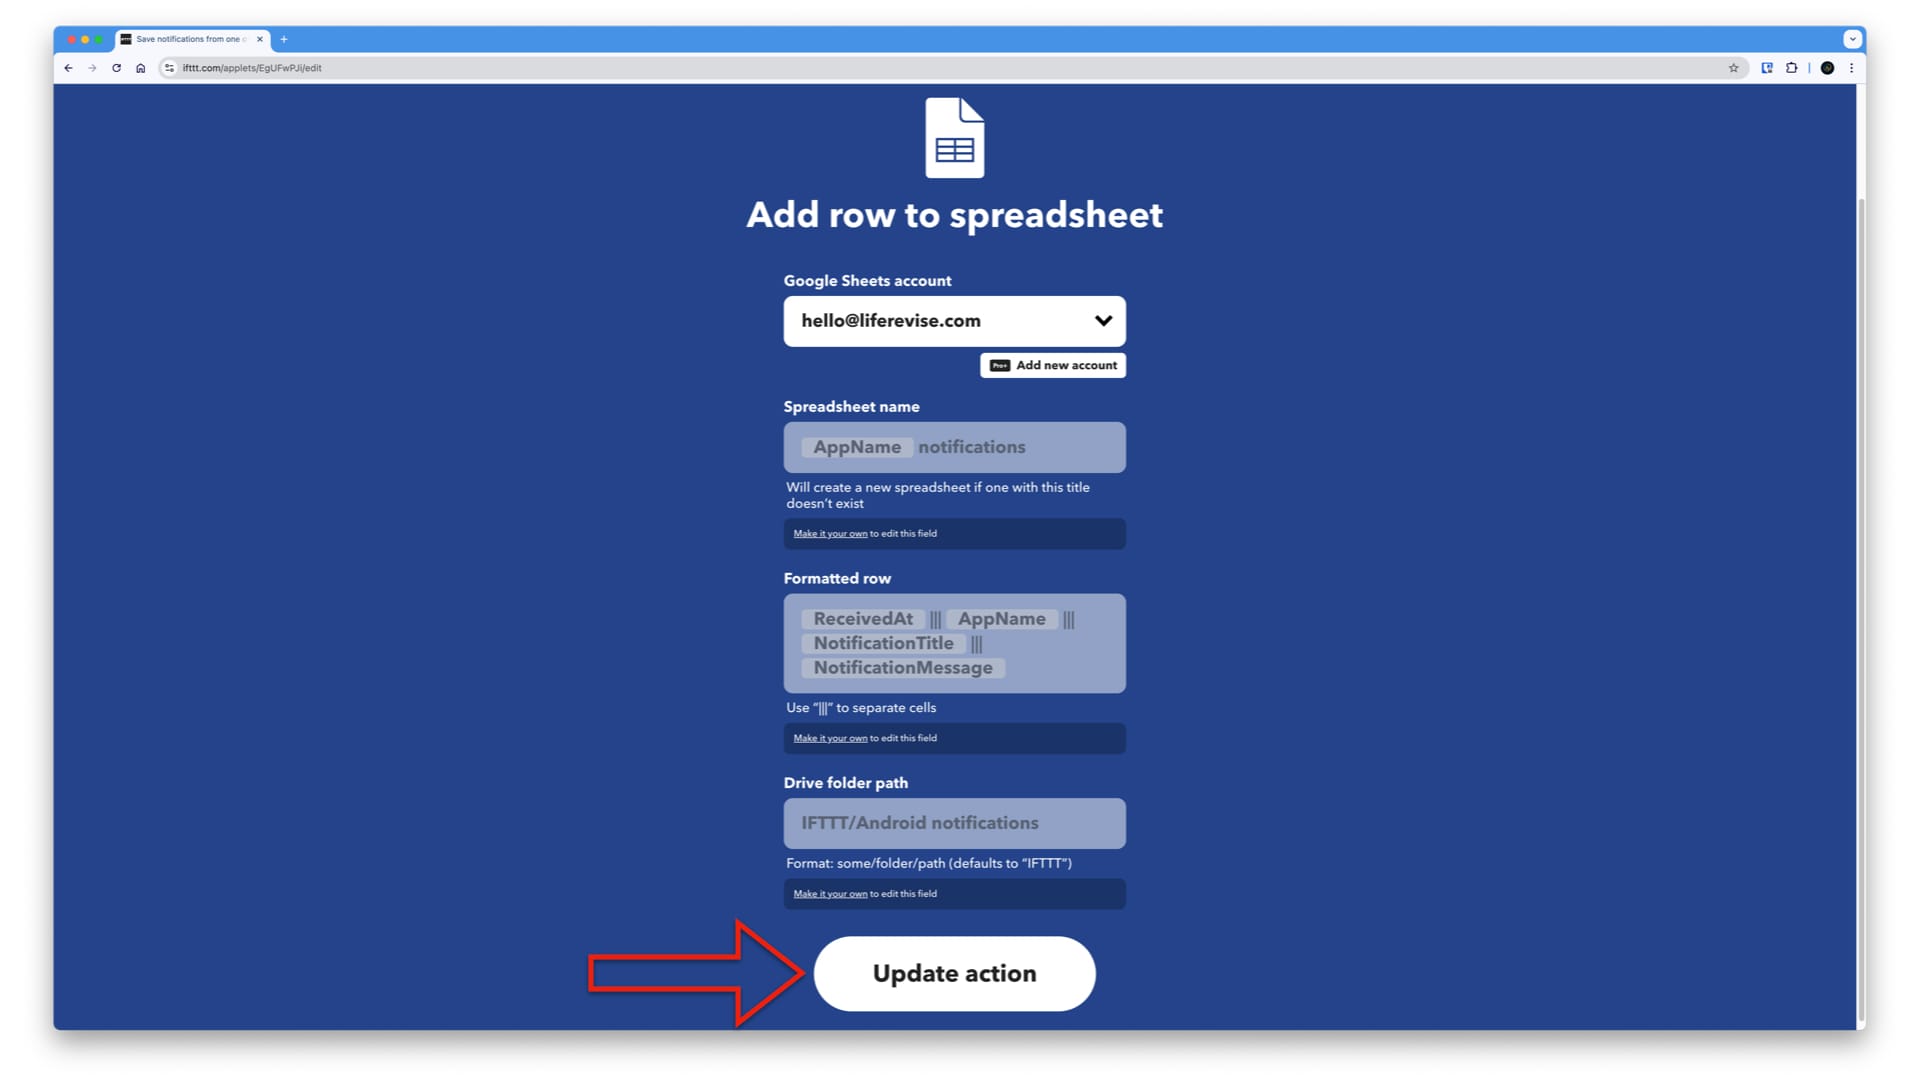
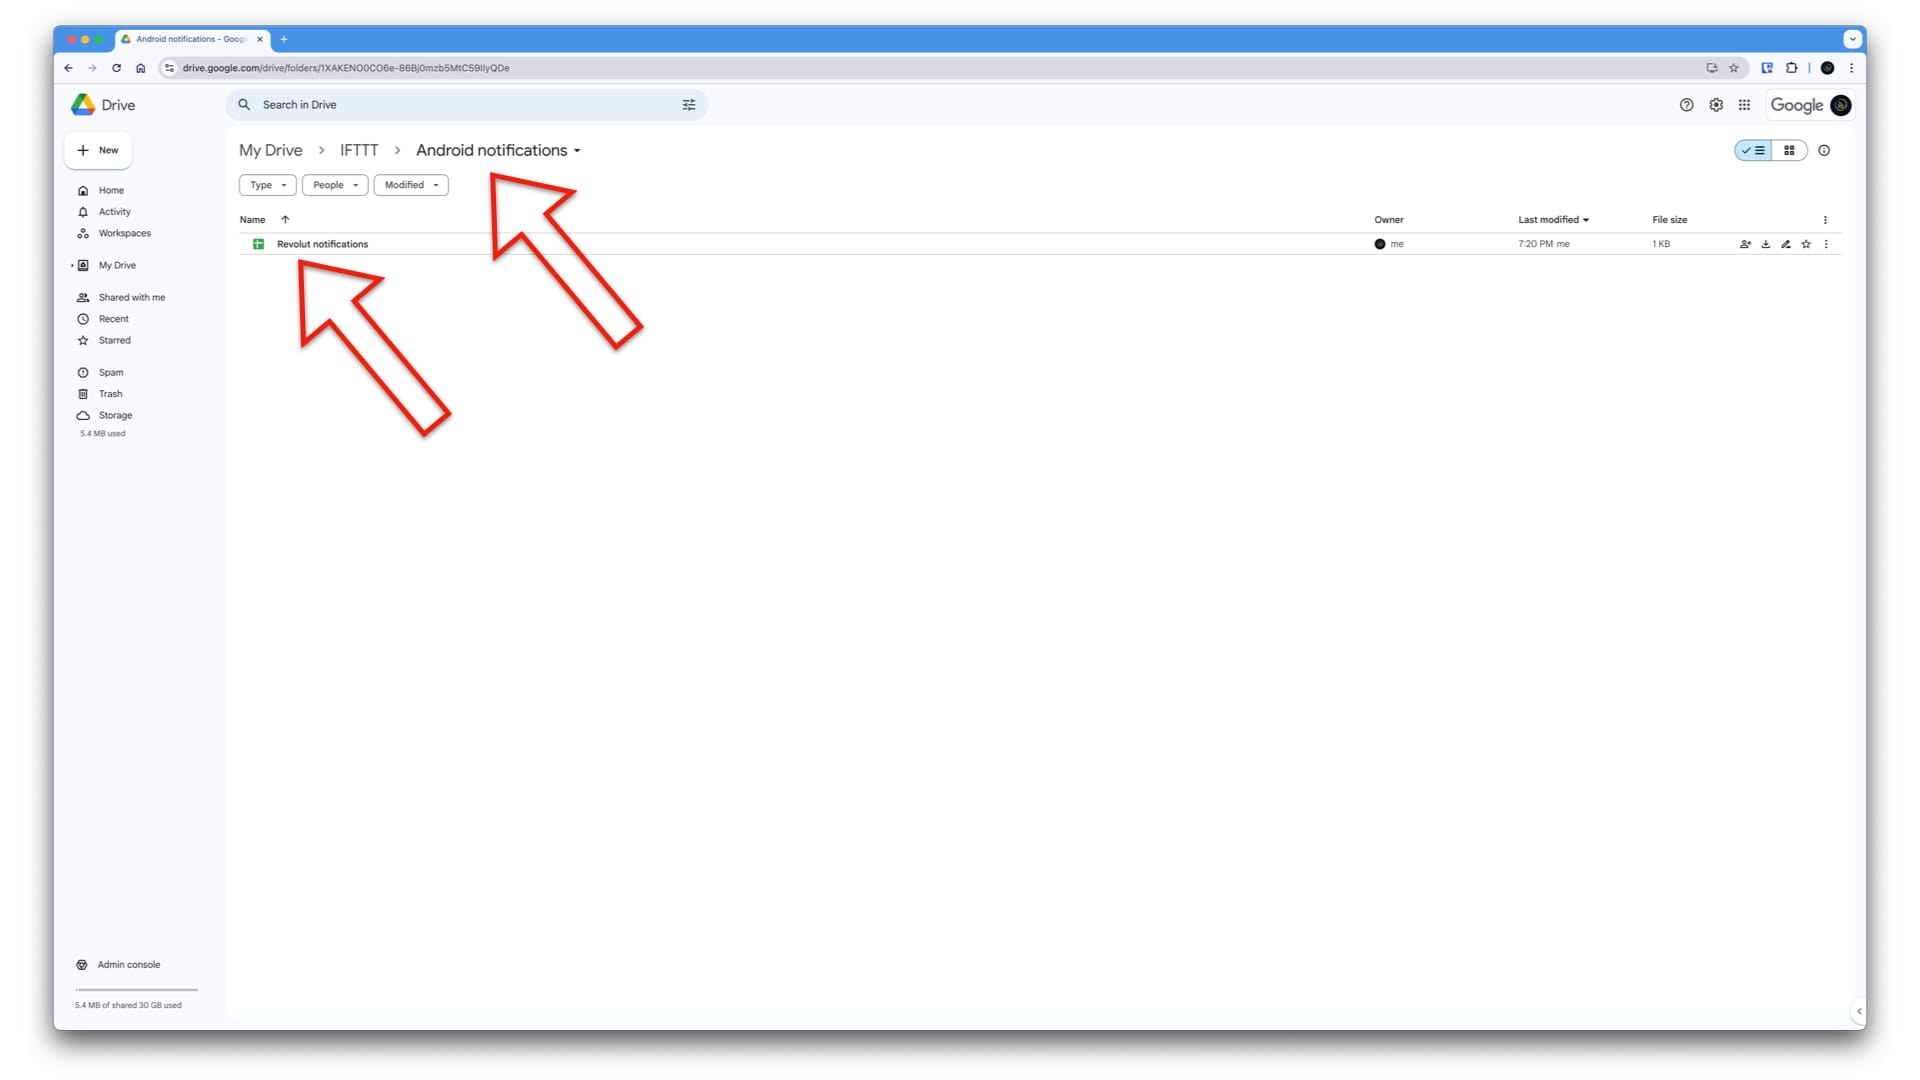
Last but not least, this IFTTT service will create a specific folder on your drive and name the spreadsheet as the Android notifications. I believe it's going to be a folder in Android notifications, and then the app name will be the spreadsheet name. Again, nothing else to change here; just say "Update action".
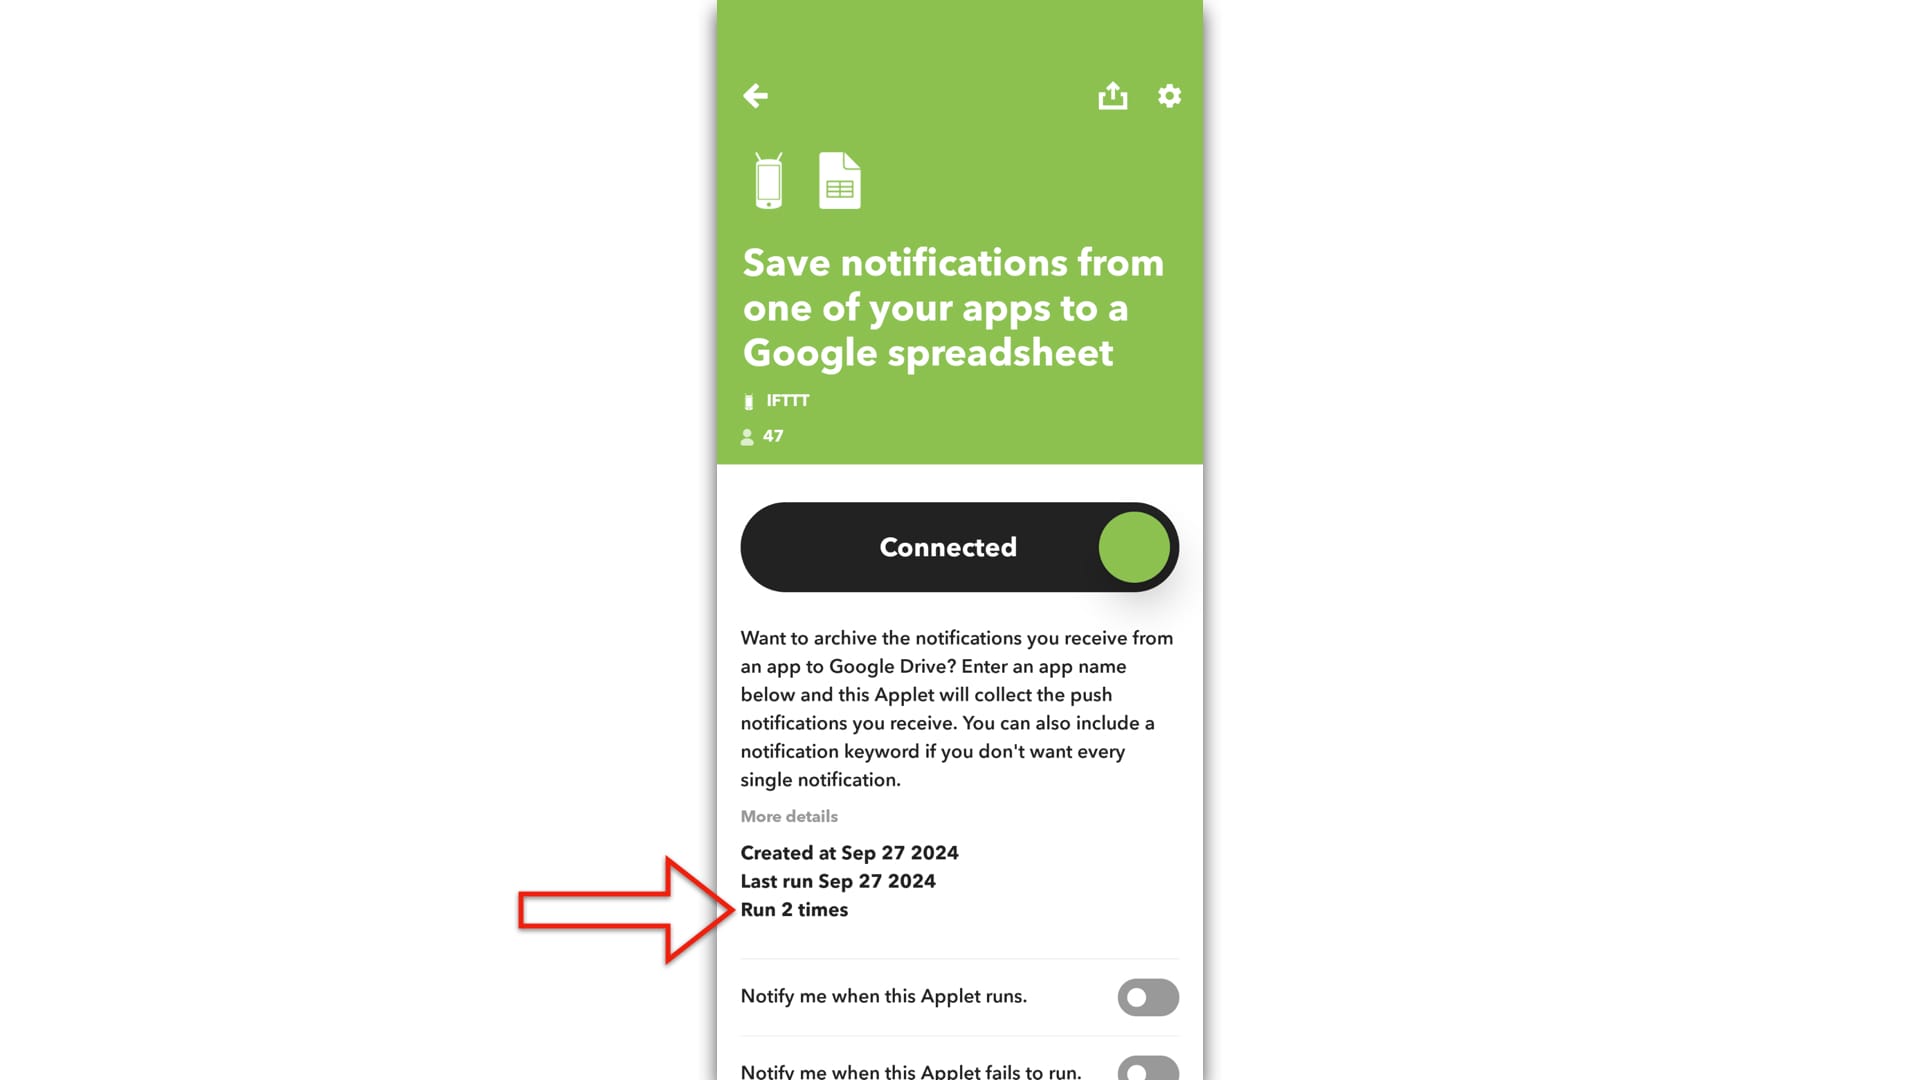
We are now switching to the mobile phone. You download the app, log in with your registered username and password, and you will already see this card saying "Connected." You are already making this connection between your banking app, where the notification will come from, and your Google Drive spreadsheet, where this notification is going to be saved. The look and feel are very similar. IFTTT is quite possibly a mobile-first company, so the webpage looks exactly like how it should look on a mobile device. Nothing new here.
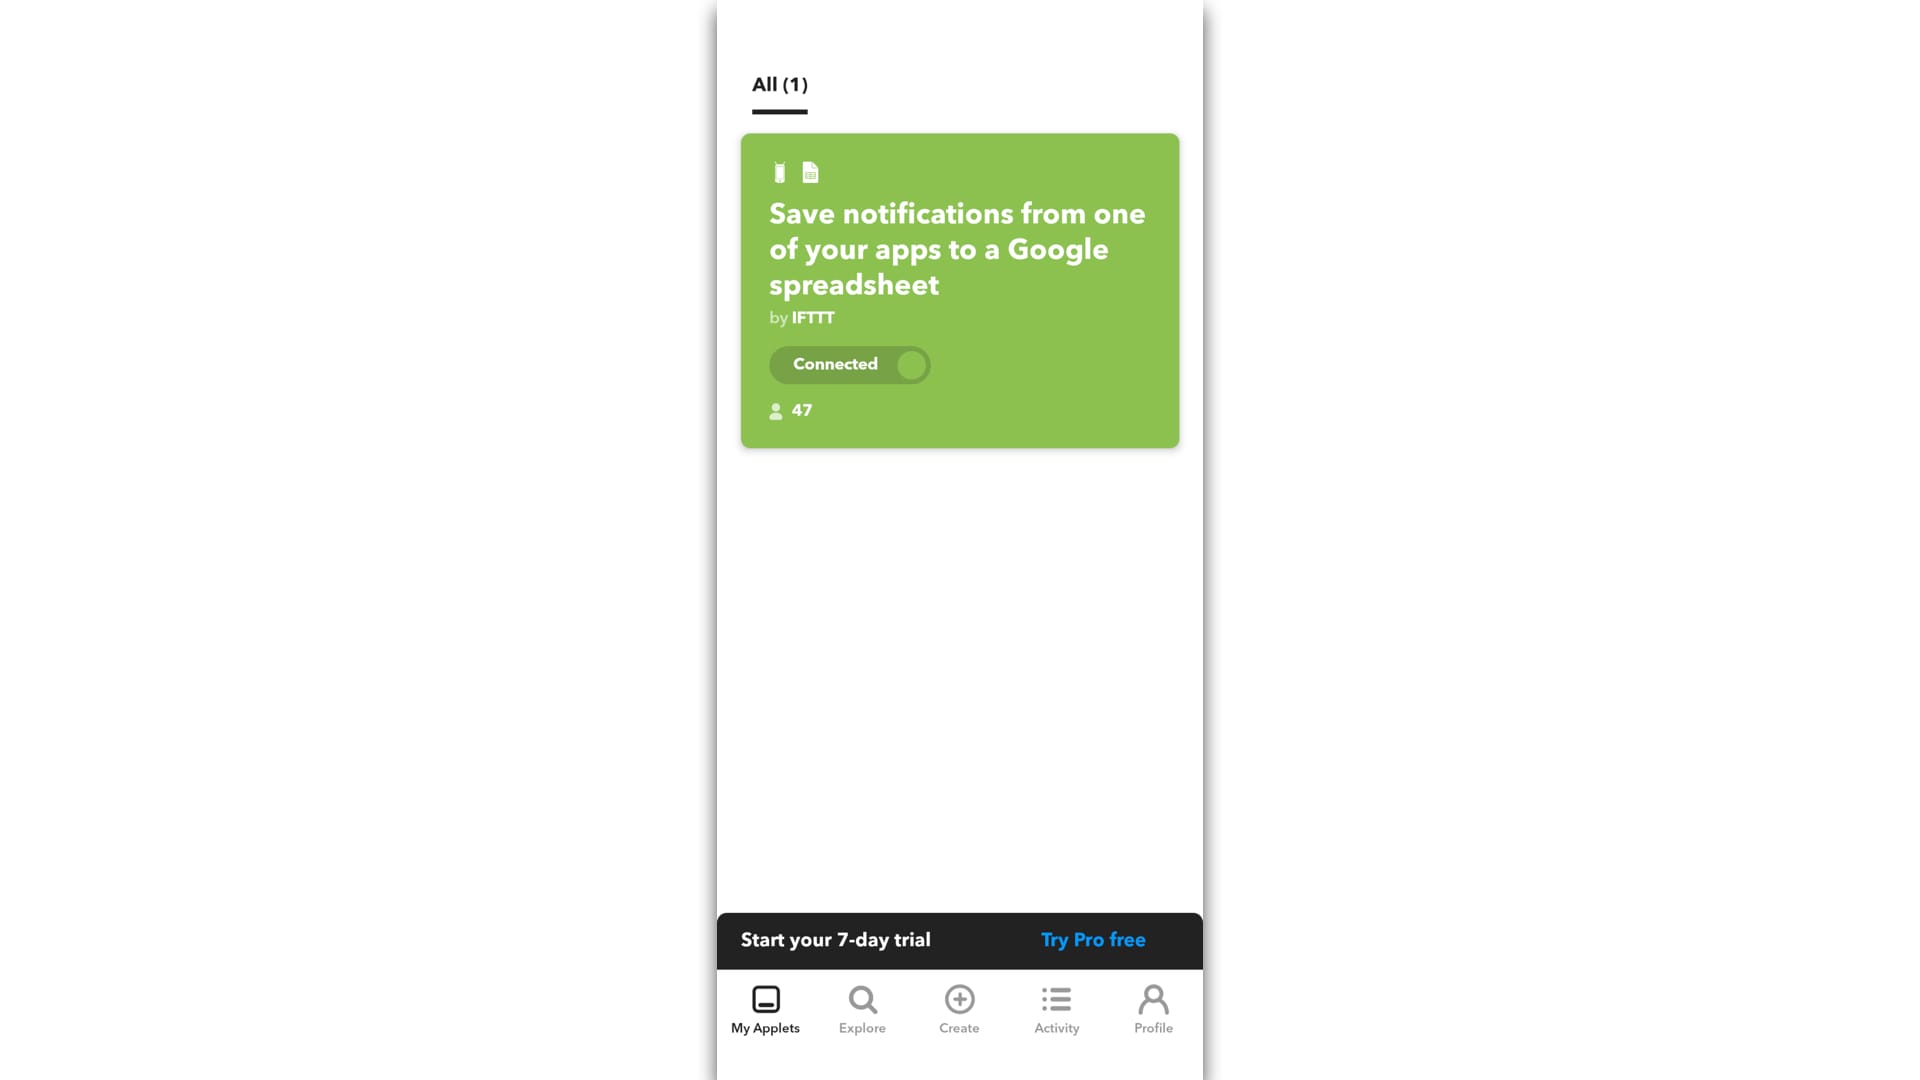
One interesting aspect is that you will notice that this automation has never run, which is true because we have just set it up.
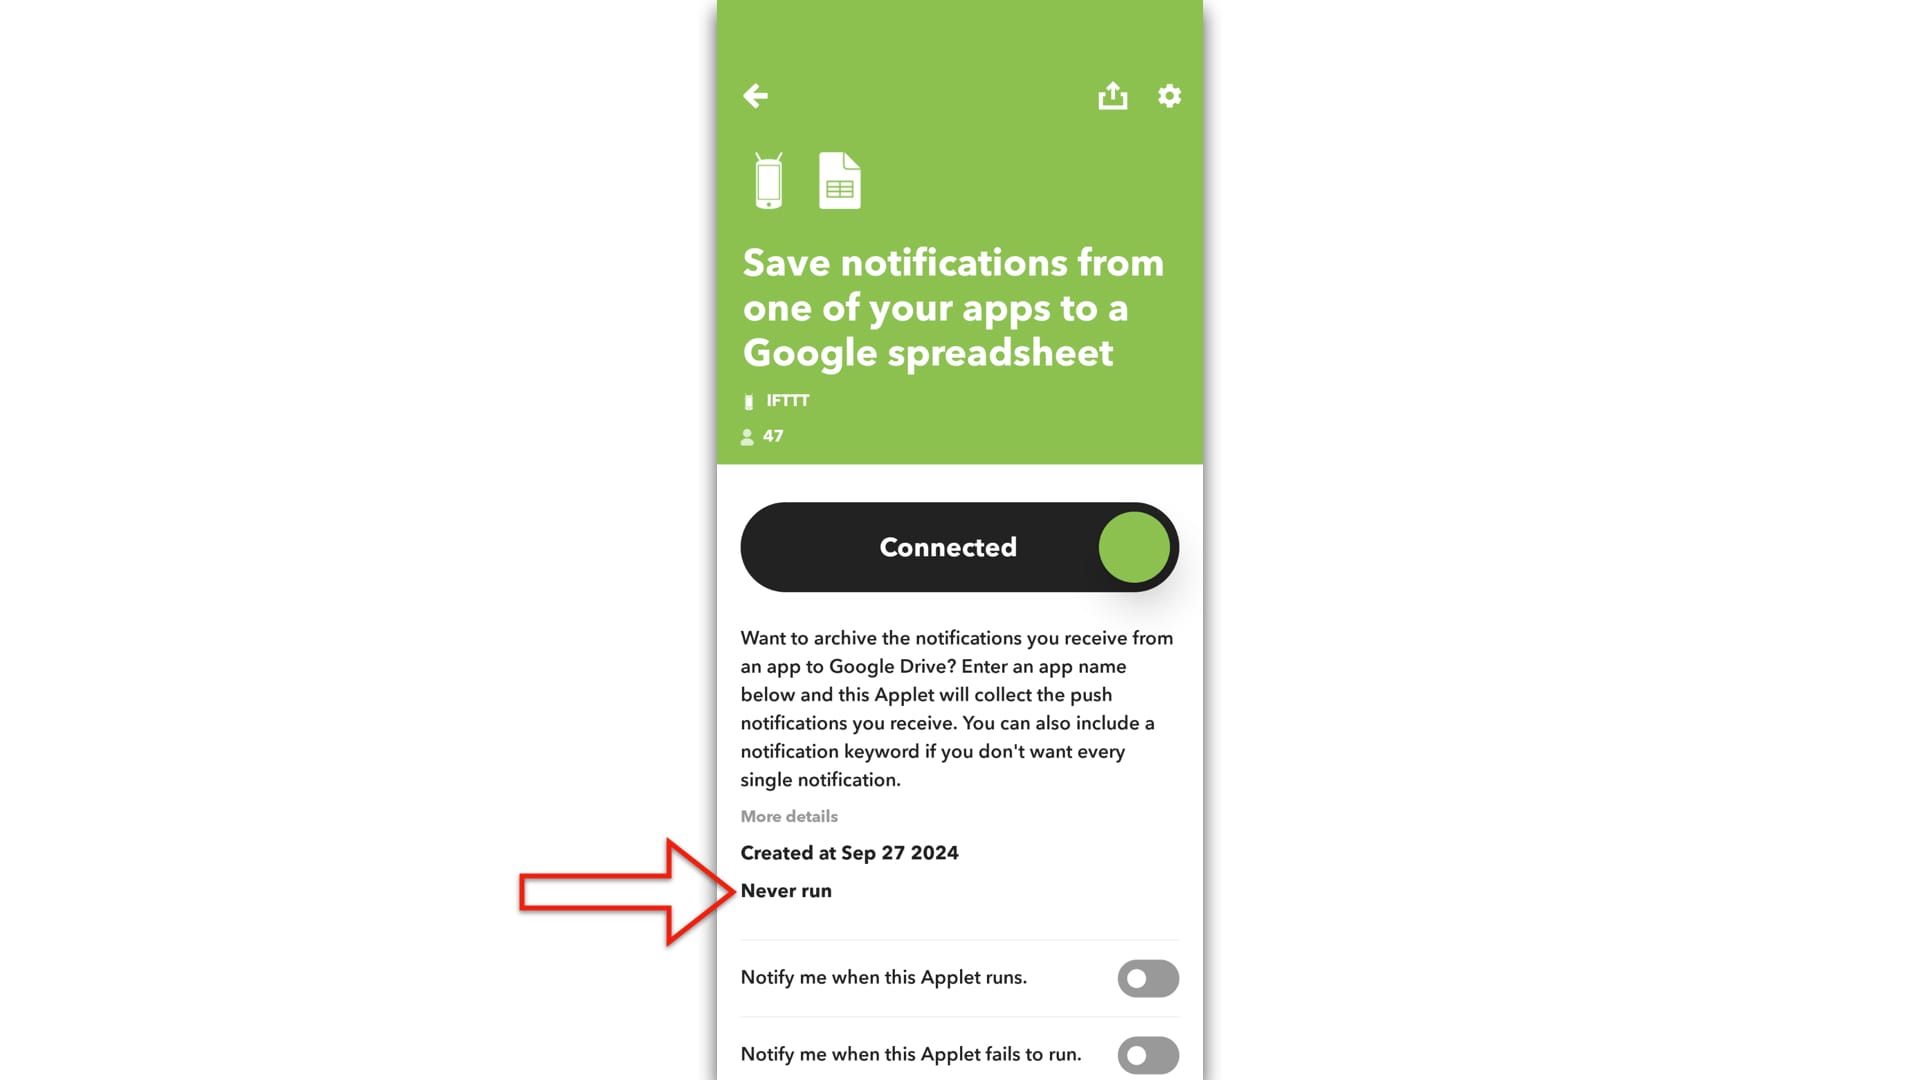
If you touch on the green icon, it will take you to the setup that we have just configured in the web browser.
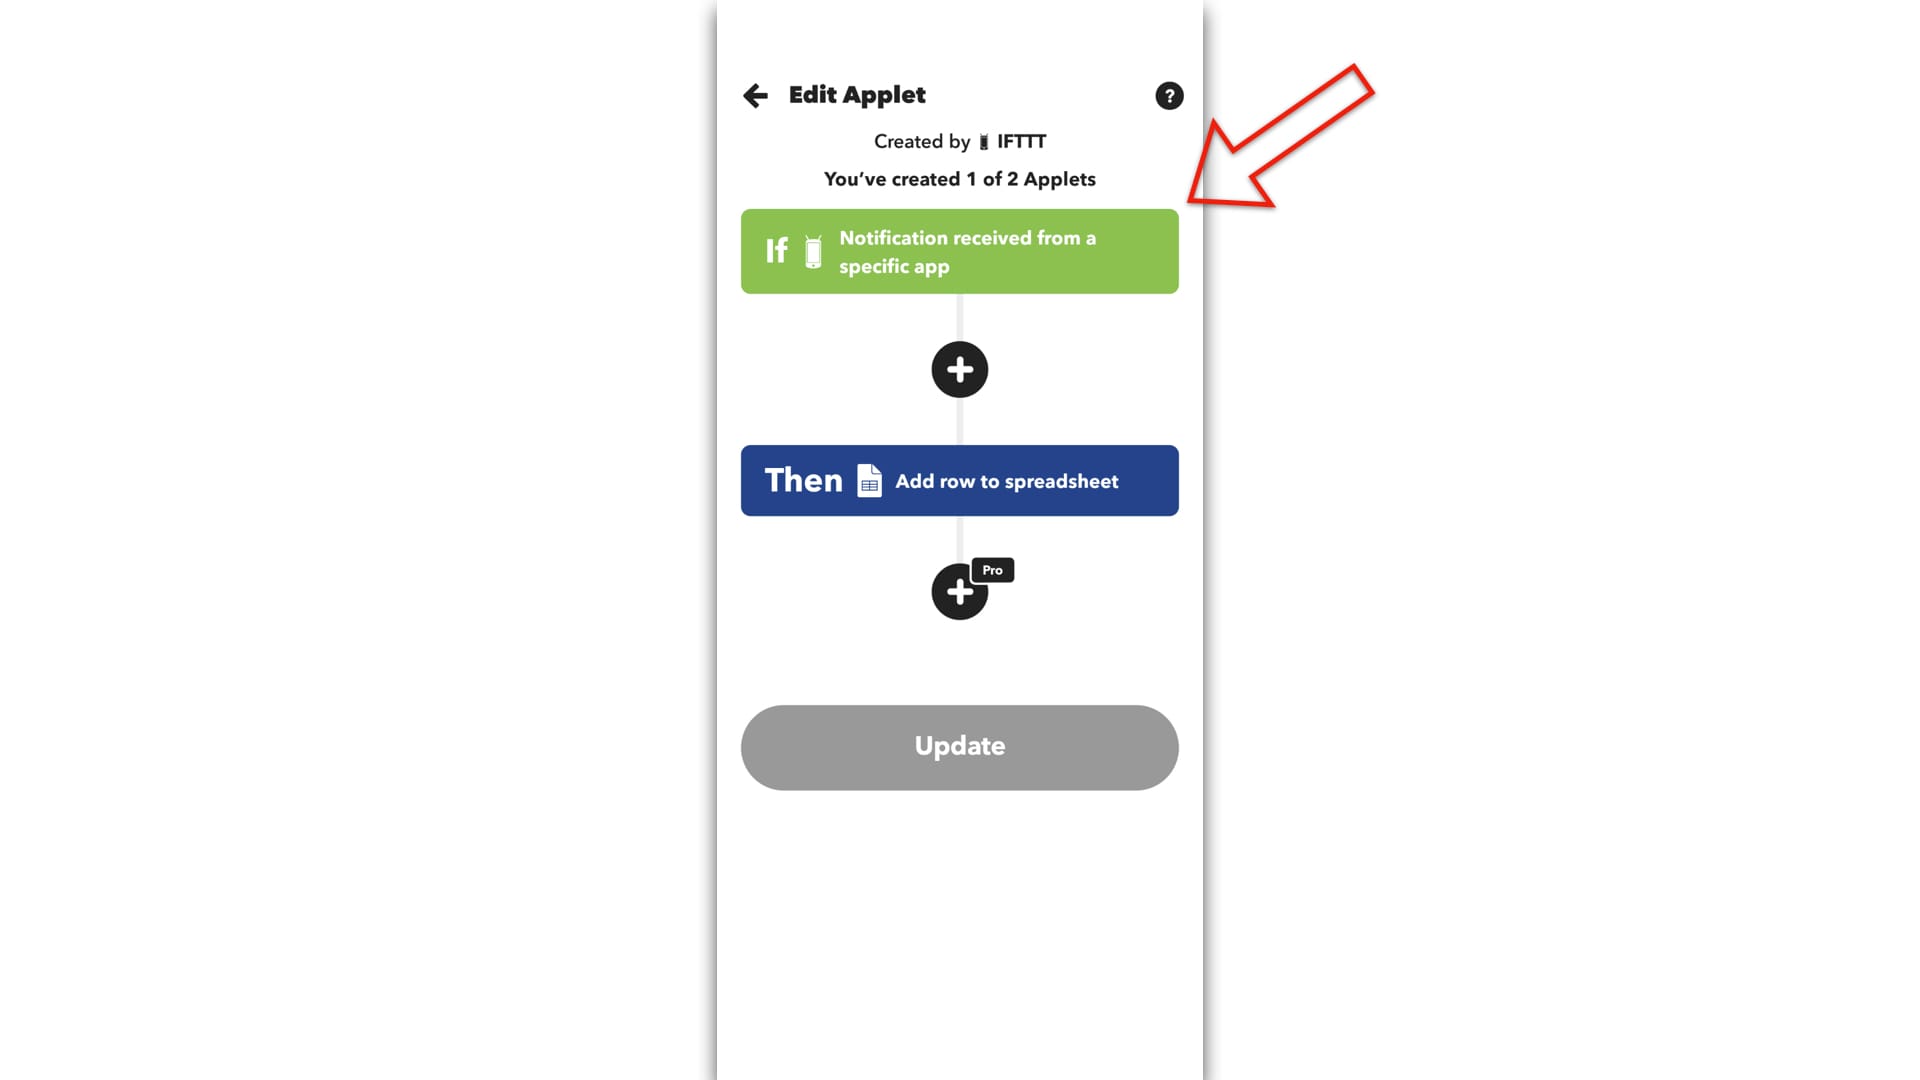
The application is Revolut, and the keyword we are looking for is "spent."
If you click on the blue card, there is nothing to change here; this is the spreadsheet side of the equation.
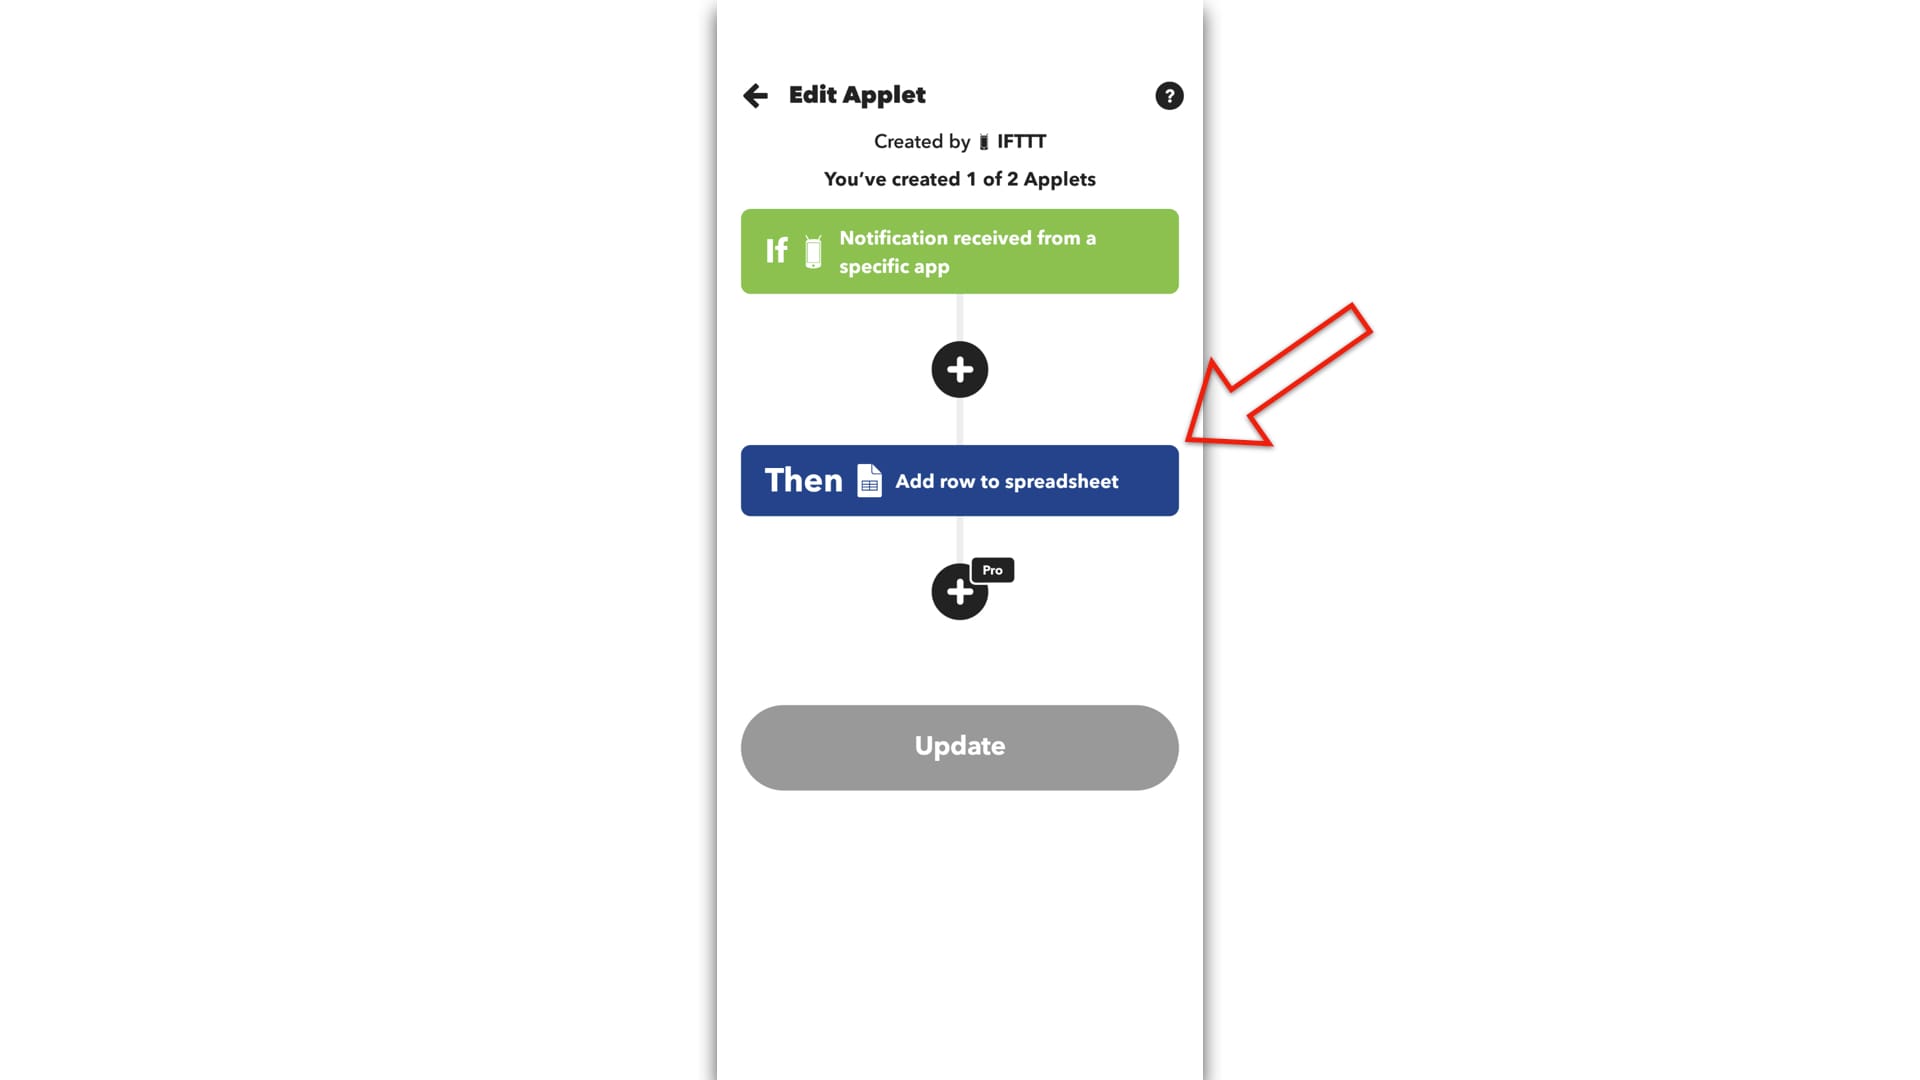
You can see the same pre-filled elements here, just like we saw it on the web interface.
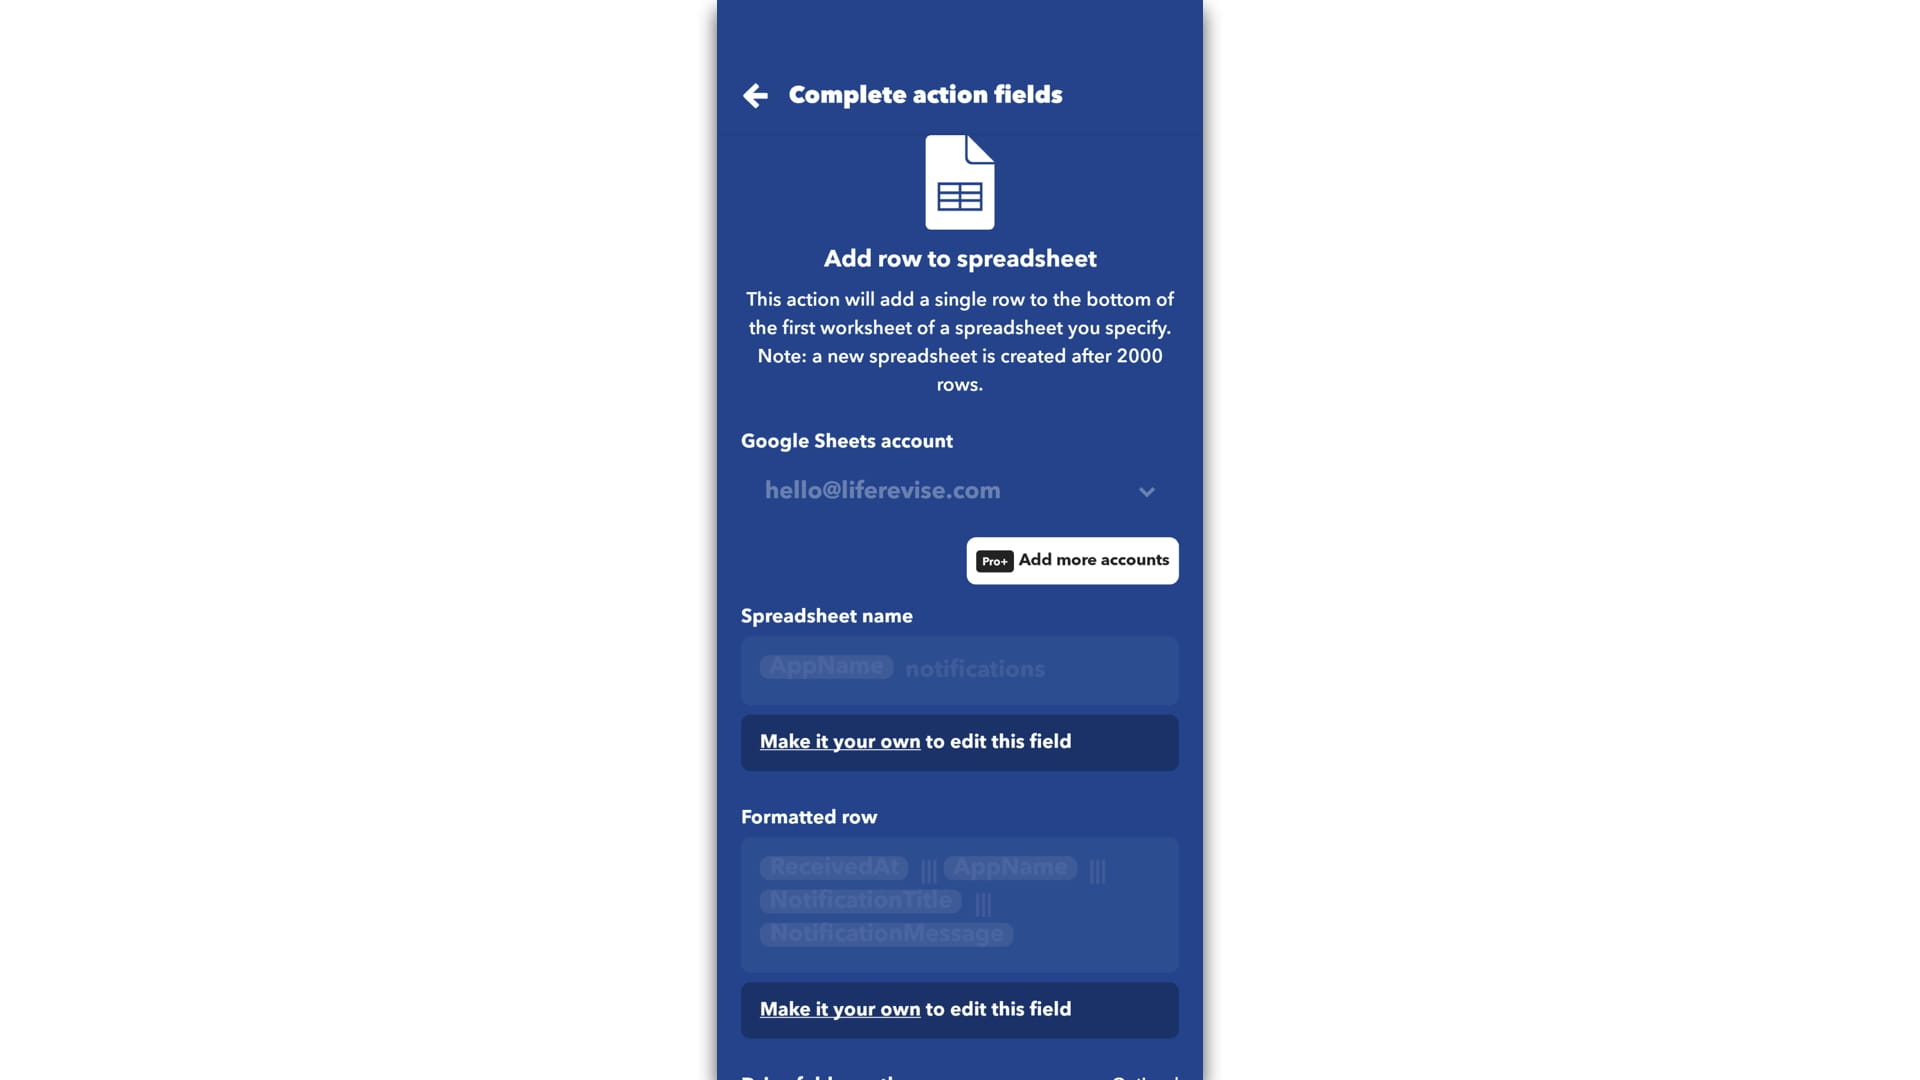
Everything is connected. All good!
Now, you can see on my screen that it has actually run two times because I just received two notifications.
As a final step, let's switch to our Google Drive. You can already see that the application has indeed created an IFTTT folder and an Android notification folder within that folder. It has also created the Revolut notifications spreadsheet.
It already added the two entries. Sometimes, notifications happen in batches, so all of a sudden, within one minute, you might get multiple notifications on your mobile. This is what happened here, so I've got two entries already there.
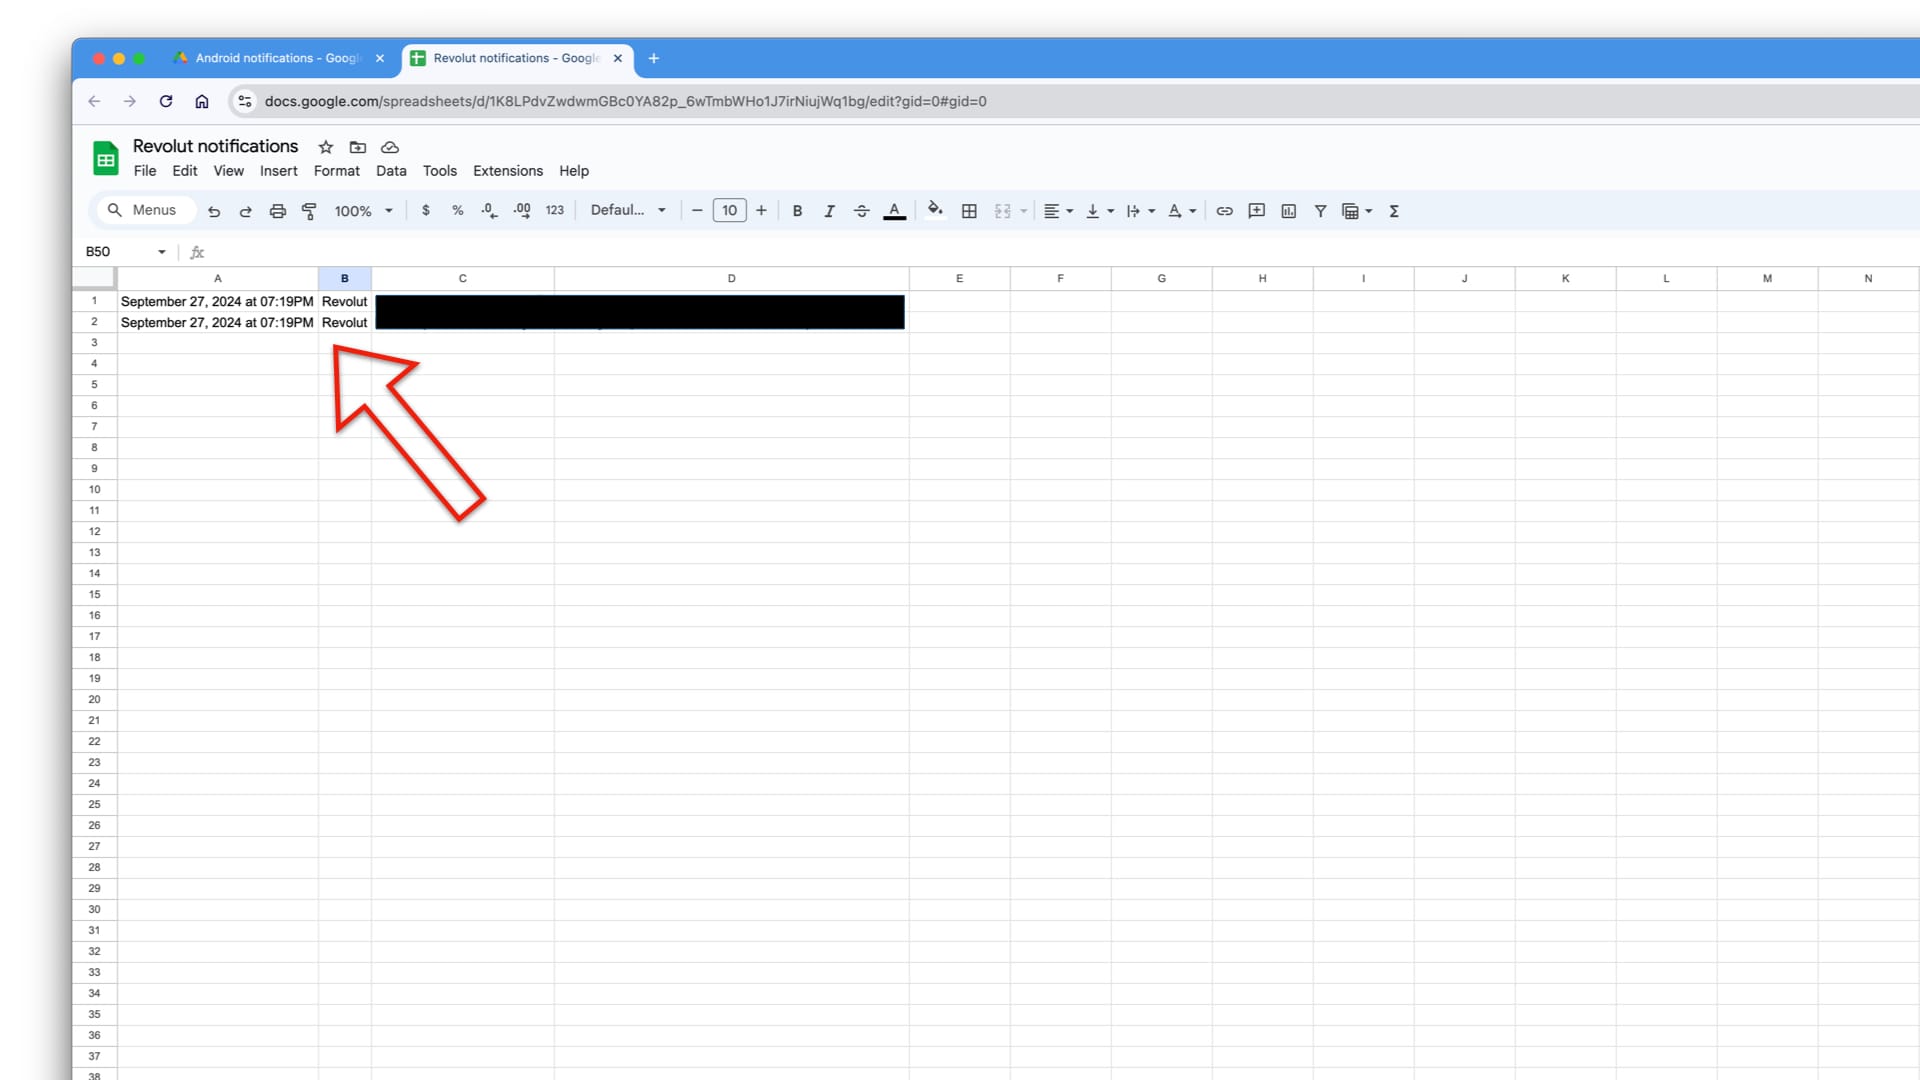
As I mentioned, column A is the timestamp, column B is the name of the app, column C is the title of the message (if there is any), and column D is the body, the main part of the message.
From here, you can easily copy and paste your financial transaction details into your original spreadsheet.
And that's it!